
Mooncakes
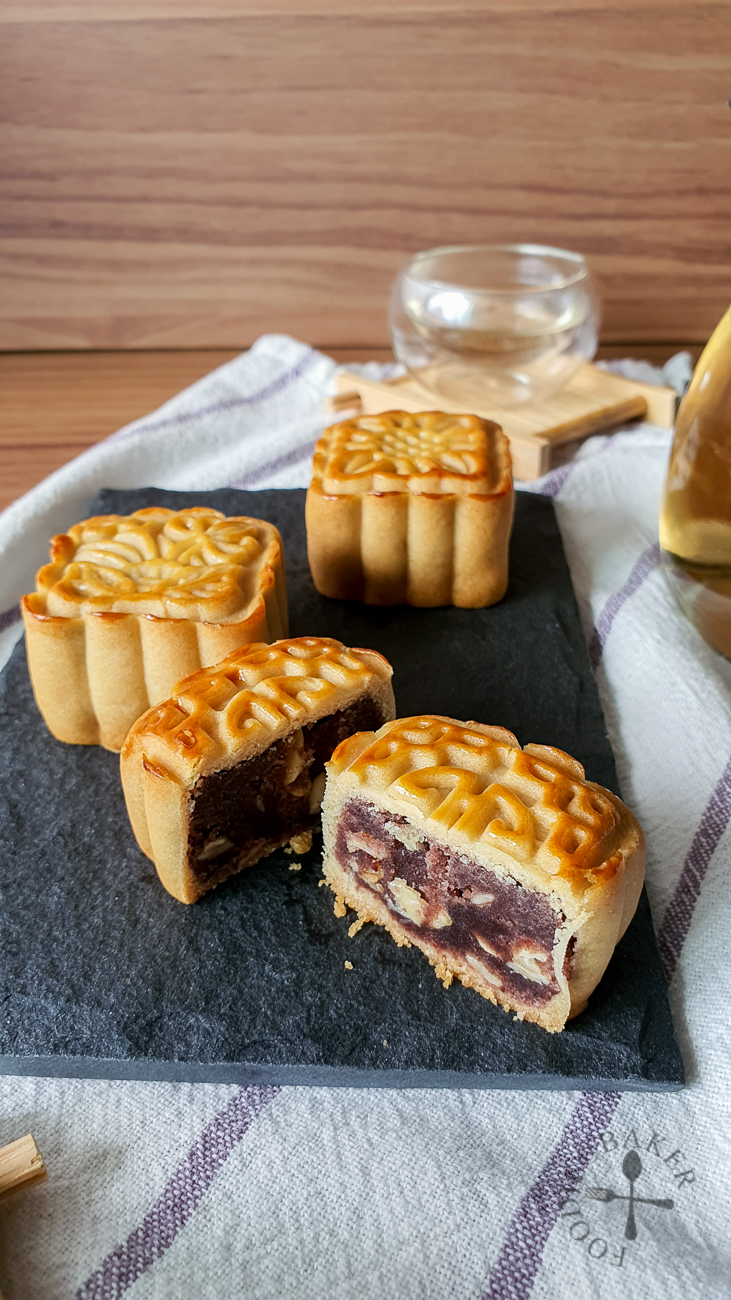
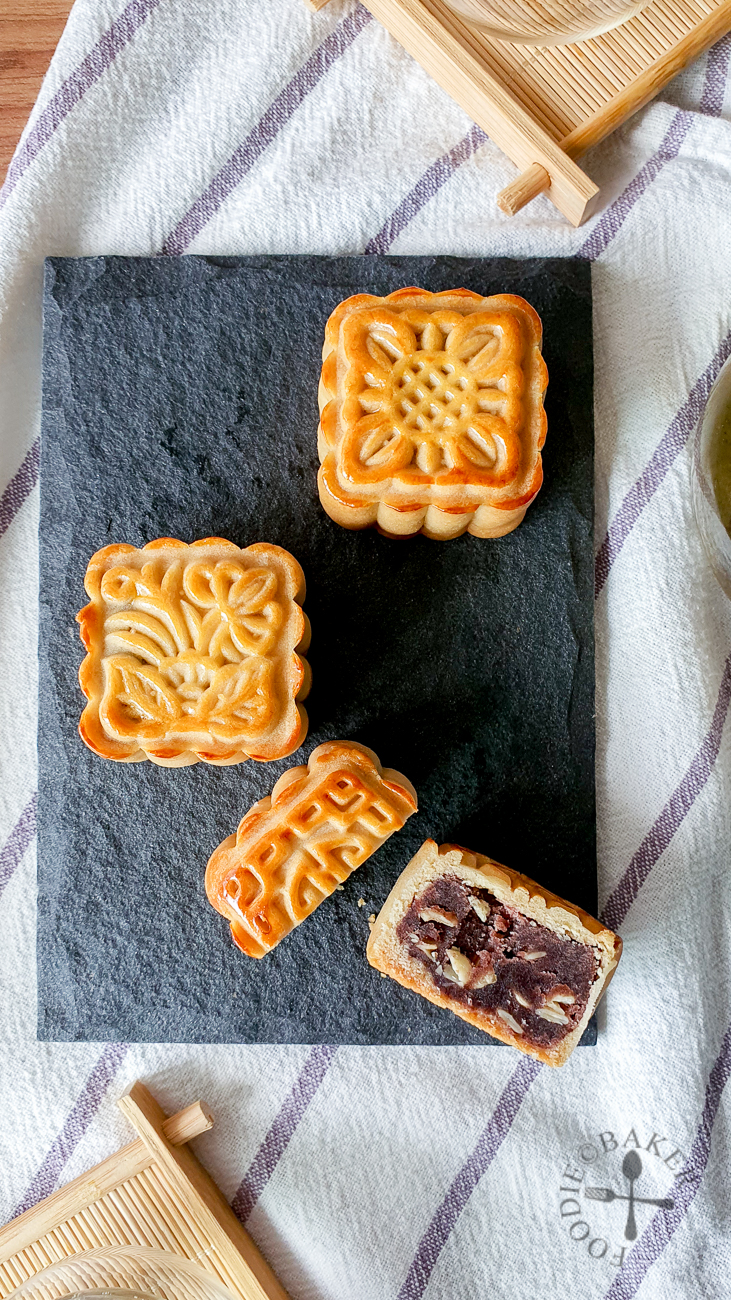
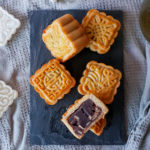
Mooncake is a Chinese pastry traditionally eaten during the Mid-Autumn Festival (中秋节 zhōng qiū jié). The traditional baked mooncake contains a rich, dense and sweet filling encapsulated in a thin crust. The filling is usually made from red bean or lotus seeds. Inside the filling may sometimes contain salted duck egg yolks.
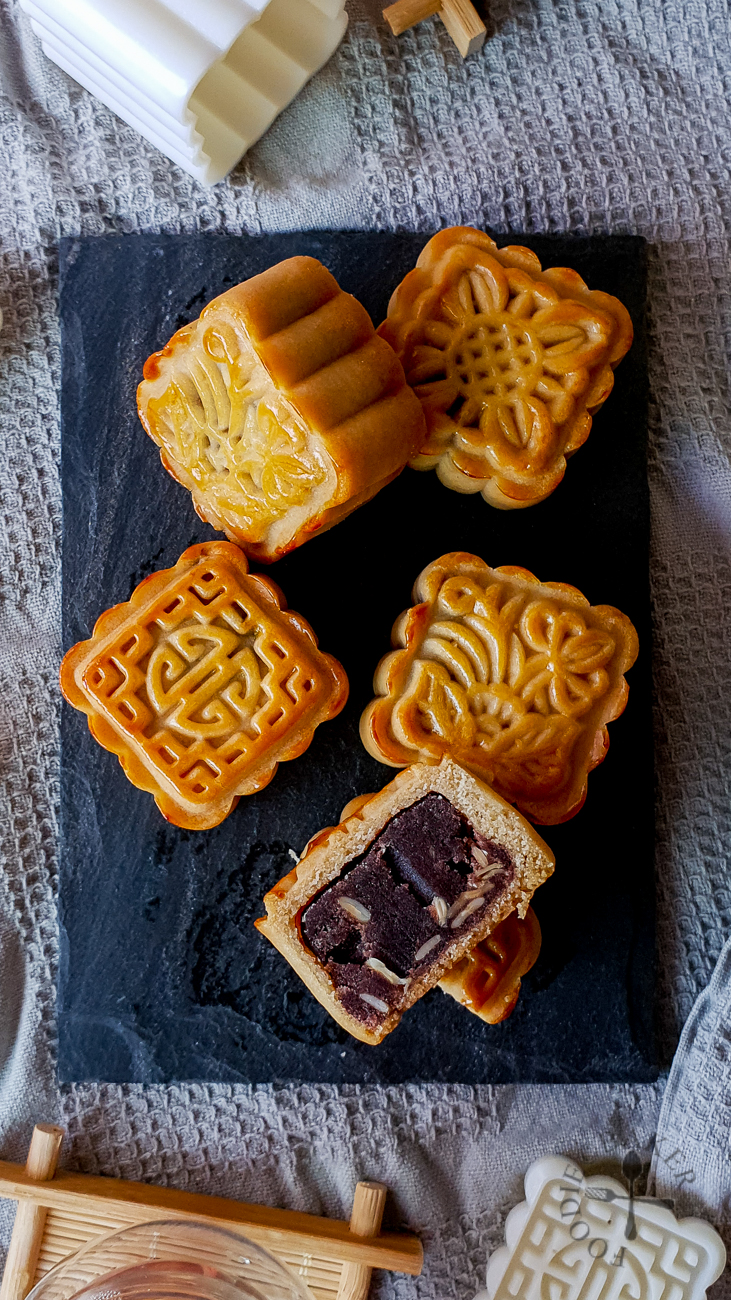
I grow up eating baked red bean mooncakes and plain piggy mooncakes (no filling). The red bean mooncakes are small, about 2-inches wide, with no salted egg yolk inside. Somehow my family is never really into louts seed mooncakes, salted egg yolks or those snowskin varieties. As my mom and I love baked mooncake, I try to bake a batch of these mooncakes every year during Mid-Autumn Festival period.
Tools Required
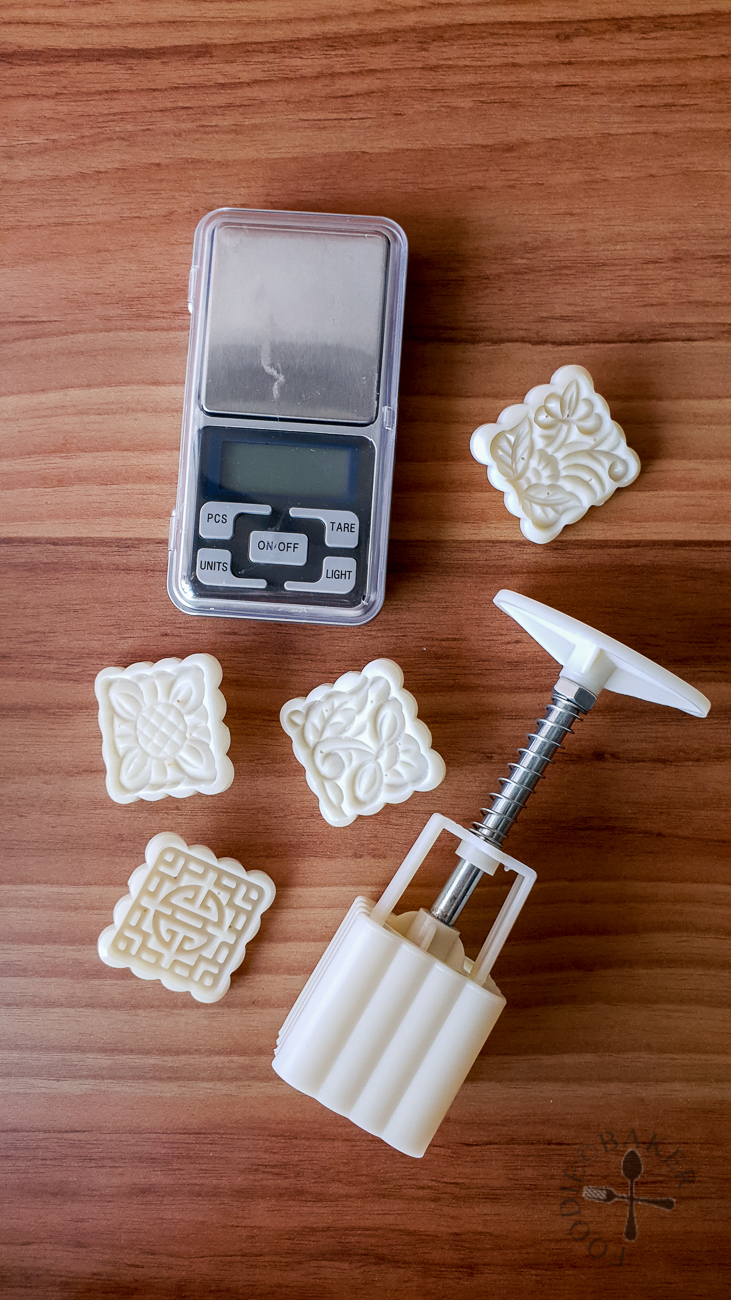
Mooncake Moulds. There are different shapes and sizes for mooncake moulds. The common shapes are square and round, but I’ve also seen flower-shape and animal-shape moulds online. The moulds are traditionally made from wood, but the plastic stamps are getting more popular, as they offer a wider variety of designs. Sizes range from 50 grams to 150 grams but I own only 50-gram mooncake moulds because I like my mooncakes small: 1) I can try to stop at one; and 2) small things are cute! While mooncake moulds are not an absolute must as you can shape them manually (like into piggies and rabbits), it will be very time-consuming without the moulds.
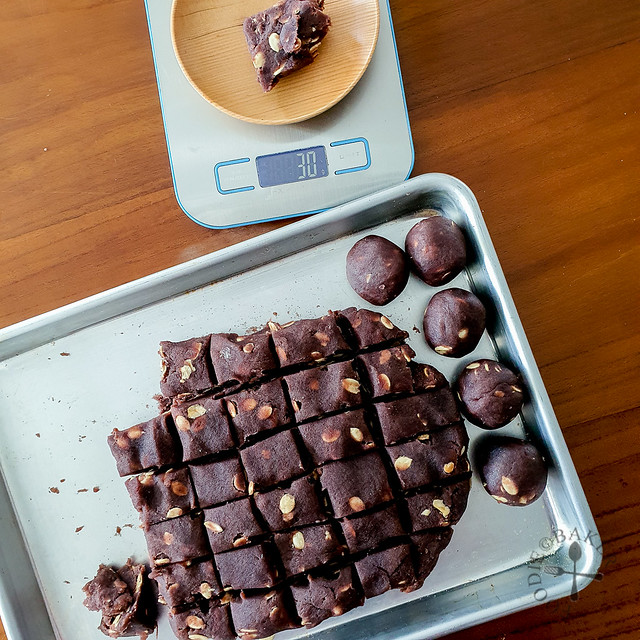
Weighing Machine. Definitely a must as precision is key. It is required to weigh out ingredients and portioning the dough and filling accurately. If you choose to eyeball instead of accurately portioning out the dough and filling, you will end up with some mooncakes having more dough, or some with insufficient dough to wrap the filling completely. I have a separate jewellery weighing machine to weigh out the lye water. I use it to weigh items less than 10 grams, such as yeast, gelatine etc., it’s definitely a worthy investment in the kitchen.
Pastry Brush. This is needed to brush the top of the mooncakes with egg wash. I like brushes with natural bristles as it’s easier to control the amount of egg wash on the brush. If you apply too much egg wash, the egg wash will fill the gaps in the designs, and the resulting mooncakes won’t be as pretty. (It will still be delicious though!)
Ingredients for Traditional Baked Mooncakes
Flour. I used to buy Hong Kong flour specifically to make mooncakes, but always did not manage to finish the remaining flour by its expiration date. Hong Kong flour is pretty similar to all-purpose / plain flour in terms of gluten content, just that it’s supposed to be finer in texture. This year I made my mooncakes using all-purpose flour and without a side-by-side comparison, it’s hard to tell if mooncakes made with Hong Kong flour are better than those made with all-purpose flour.
Golden Syrup. This is an inverted sugar syrup which helps baked goods to retain moisture and have a tender texture. I have tried making golden syrup from scratch once but it’s a tad too tedious. The only downside with store-bought golden syrup is that there will most likely be leftovers. I will be looking for recipes to use them up, hopefully there are some good recipes out there for me to blog about them!
Lye Water. An alkaline solution that gives mooncake skin the dark golden colour. It’s very interesting because the mooncakes will be golden at the top fresh out of the oven, but after a few days of resting, the mooncakes will slowly become darker and more golden in colour. Again, only a little lye water is required for a batch of mooncakes and I’m going to try finding recipes to use them up.
Oil. Mooncakes are traditionally made with pork lard, but these days peanut oil is used instead. I guess it’s so that vegetarians can enjoy mooncakes as well? Peanut oil is preferred over other oils because it’s supposedly more fragrant.
Mooncake Filling. My mooncake filling has always been store-bought as 1) I didn’t have time to make my own red bean paste from scratch; and 2) I worry they won’t turn out well. I will still want to make my filling from scratch in the future though, one day… Some common places to get mooncake filling are Phoon Huat (aka Red Man) and Kwong Cheong Thye. Phoon Huat’s filling are all 1-kg each. Kwong Cheong Thye used to sell 500-gram of filling but due to COVID-19, they told me they aren’t allowed to repack them into smaller packages. So for this year I made only red bean mooncakes. You can use whatever filling you like. There are many recipes and YouTube videos out there teaching how to make mooncake filling from scratch too.

Dough : Filling Ratio
Most mooncakes have a dough : filling ratio of 1:2, but I prefer my mooncakes to have a bit more dough, so I’m using a ratio of 2:3. So how much dough do you need? To help you readers (and myself in future) to compute how much dough one will require, I came up with a Mooncake Dough Calculator! Do take note of the following:
- This calculator is only for traditional baked mooncake with melon seeds but no salted egg yolks. Please don’t ask me how to adjust the calculator to factor in salted eg yolks.
- I have catered an additional 10% buffer for the dough so you may end up with leftover dough. Leftover dough can still be shaped into mooncakes and baked as per normal – they will taste just like the piggy mooncakes!
Mooncake Dough Calculator
Resting and Storage
Don’t be too eager to dig into the baked mooncake on the day it’s baked. You will most likely be disappointed – it will be dry and the crust will be firm. Store the mooncakes at room temperature for two to three days so that the mooncakes can hui you 回油. The pastry will soften and the mooncake will darken and look glossy – that’s when you know they are ready to be eaten!
As I made a huge batch of mooncakes, I will store whatever I can finish in one week at room temperature in an airtight container. The rest will go into the fridge and I will let them come to room temperature before eating them. This is just to reduce the risks of mould growing on the mooncakes. If you have other storage ideas for baked mooncake, do share in the comments below 🙂
Let’s make some mooncakes, shall we?
Step-by-Step Photos | |
|---|---|
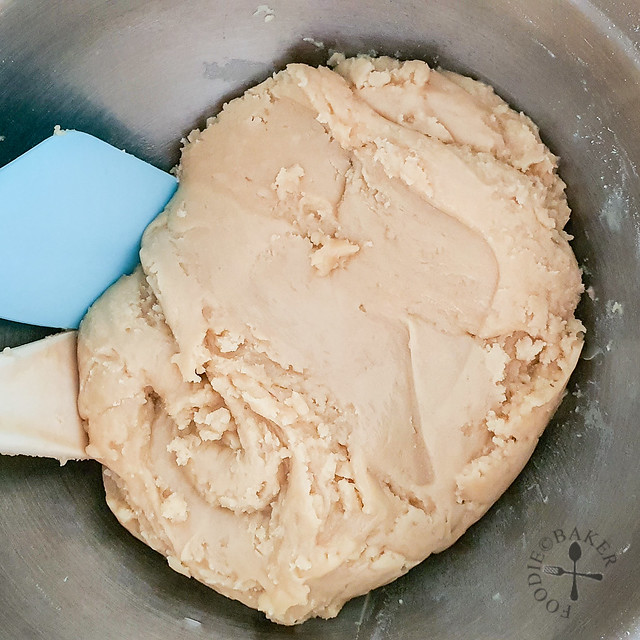
 |  |
| 1) To make the dough, sift the flour into a large mixing bowl. | 2) Whisk the liquid ingredients in a measuring jug until thoroughly combined. |
 |  |
| 3) Pour liquid ingredients into the flour. | 4) Stir to form a dough. Cover and let rest for 30 minutes at room temperature. |
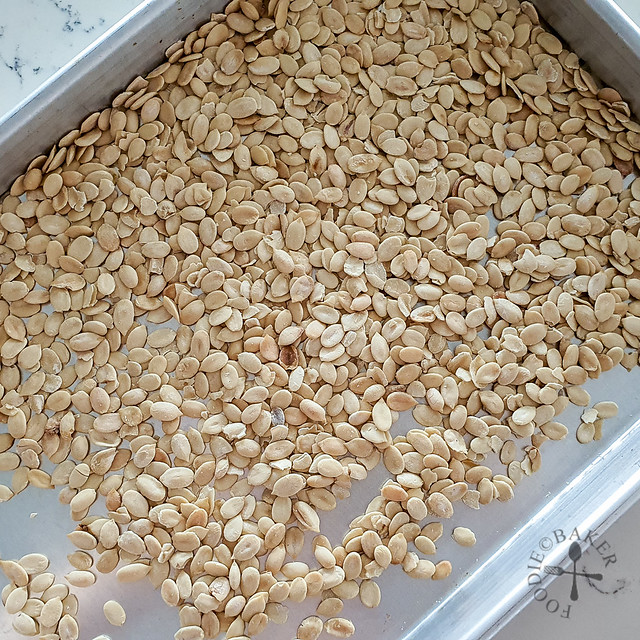 | 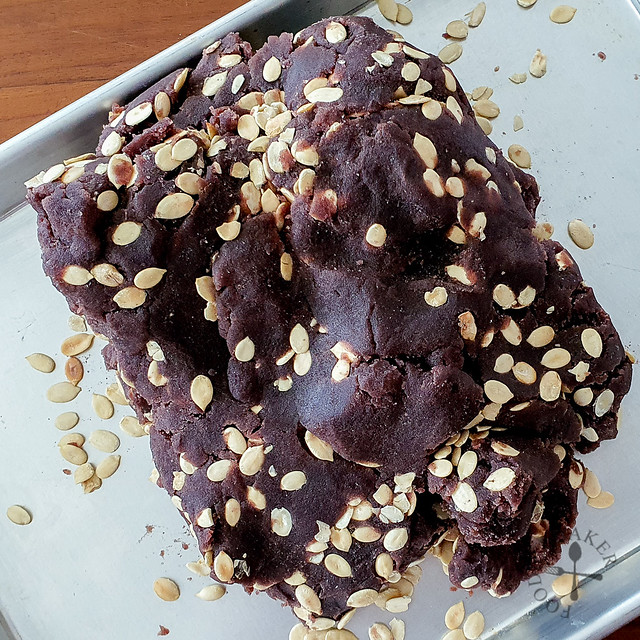 |
| 5) To make the filling, toast the melon seeds until fragrant. | 6) Knead the cooled melon seeds into the mooncake filling (I'm using storebought red bean filling). |
 |  |
| 7) Divide the mooncake filling into 30-gram portions and roll into a ball. Chill the filling while you work on the dough. | 8) Knead the mooncake dough briefly and divide the into 20-gram portions. Roll each portion into a ball. |
 |  |
| 9) Flatten a dough and enclose a filling ball inside. Dust the mould lightly with flour and stamp out the mooncake. | 10) Brush with egg wash and bake for 5 minutes at 180°C (conventional) / 170°C (convectional |
 |  |
| 11) Cool the mooncakes for 10 minutes. | 12) Brush with egg wash again and bake for 10 to 13 minutes at 175°C (conventional) / 165°C (convectional) until the top is golde |
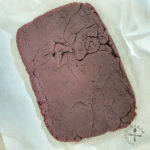
Edit Sep 2022: I finally made my red bean paste from scratch! Here is the recipe – scale it accordingly to how much red bean paste you need. Alternatively, you can weigh your homemade red bean paste, then use the calculator to compute how much mooncake dough you require.
Homemade Red Bean Paste Filling for Mooncakes
EQUIPMENT
- Pressure cooker (I'm using Instant Pot 6-Quart)
- Non-stick pan
INGREDIENTS
Pressure Cook
- 150 grams small red beans, rinsed and soaked in water overnight
- 450 grams water
Cook on the Stove
- 110 grams sugar
- 55 grams peanut oil
- 15 grams glutinous rice flour
- 45 grams water
- 1/4 tsp salt
INSTRUCTIONS
Pressure Cook
- Drain the soaked red beans and combine with water in the pressure cooker. Pressure cook on high pressure for 20 minutes, then allow the pressure to release naturally.
- Using an immersion blender, blend the red beans into a smooth paste. Strain the mixture through a stainless steel sieve into a non-stick pan to ensure a thoroughly smooth paste.
Cook on the Stove
- Add in sugar, peanut oil, glutinous rice flour slurry and salt. Cook over medium heat, stirring constantly, to form a firm paste. This will take about 30 to 45 minutes. Take note that the paste will continue to firm up as it cools.
- Line a baking sheet with parchment paper. Transfer the cooked red bean paste onto the lined baking sheet and spread it out evenly to let cool quickly.
Storage
- If not using the paste immediately, wrap the paste with clingwrap and freeze. Thaw the paste the night before in the refrigerator before using.
NOTES
- Recipe from My Kitchen 101’s Smooth and Silky Red Bean Paste. The YouTube video is extremely useful in gauging when the red bean paste is ready.
Traditional Baked Mooncakes
EQUIPMENT
- 50-gram mooncake mould
INGREDIENTS
Mooncake Dough
- 423 g all-purpose flour
- 254 g golden syrup
- 8 g lye water
- 107 g peanut oil / vegetable oil
Paste
- 50 g melon seeds
- 1 kg mooncake filling, e.g. red bean, lotus seed, mung bean
Egg Wash
- 1 egg yolk
- 1 tsp water
INSTRUCTIONS
Toast Melon Seeds
- Spread melon seeds onto a baking sheet. Place in the cold oven and turn on the oven to 170°C. Toast for 10 to 20 minutes until lightly golden and fragrant, shaking the tray every 5 minutes so that the seeds toast evenly. Remove the baking sheet on a wire rack and let cool completely.
Making the Mooncake Dough
- Sift flour into a large mixing bowl.
- Whisk golden syrup, lye water and oil in a separate measuring jug until thoroughly combined. Pour liquid into the flour and stir with a wooden spoon / spatula until a dough has formed. Make sure to scrape the bottom of the mixing bowl to ensure all the flour has been mixed in.
- Cover with cling wrap or tea towel and let rest at room temperature for 30 minutes.
Dividing the Mooncake Filling
- Fold the melon seeds into your desired mooncake filling by hand gently. I choose not to use a spatula to mix as it will crush the melon seeds.
- Once incorporated, weigh the mooncake filling and divide the total weight by 30 to derive the number of portions you will get. (Based on the quantities stated, you will get approx. 36 portions. However, my store-bought mooncake filling weighs slightly more than 1kg and I actually ended up with 39 portions.)
- Flatten the mooncake filling into an even square / rectangular layer and divide the dough into the number of portions you will get. Weigh each portion to ensure each portion is approx. 30-gram and roll into a ball.
- Chill the rolled balls in the refrigerator while you work on the dough. The filling will be firmer, making it easier to wrap the mooncake later on.
Dividing the Mooncake Dough
- Scrape the dough out onto the counter and knead briefly to ensure dough is smooth, dusting very lightly with flour if needed.
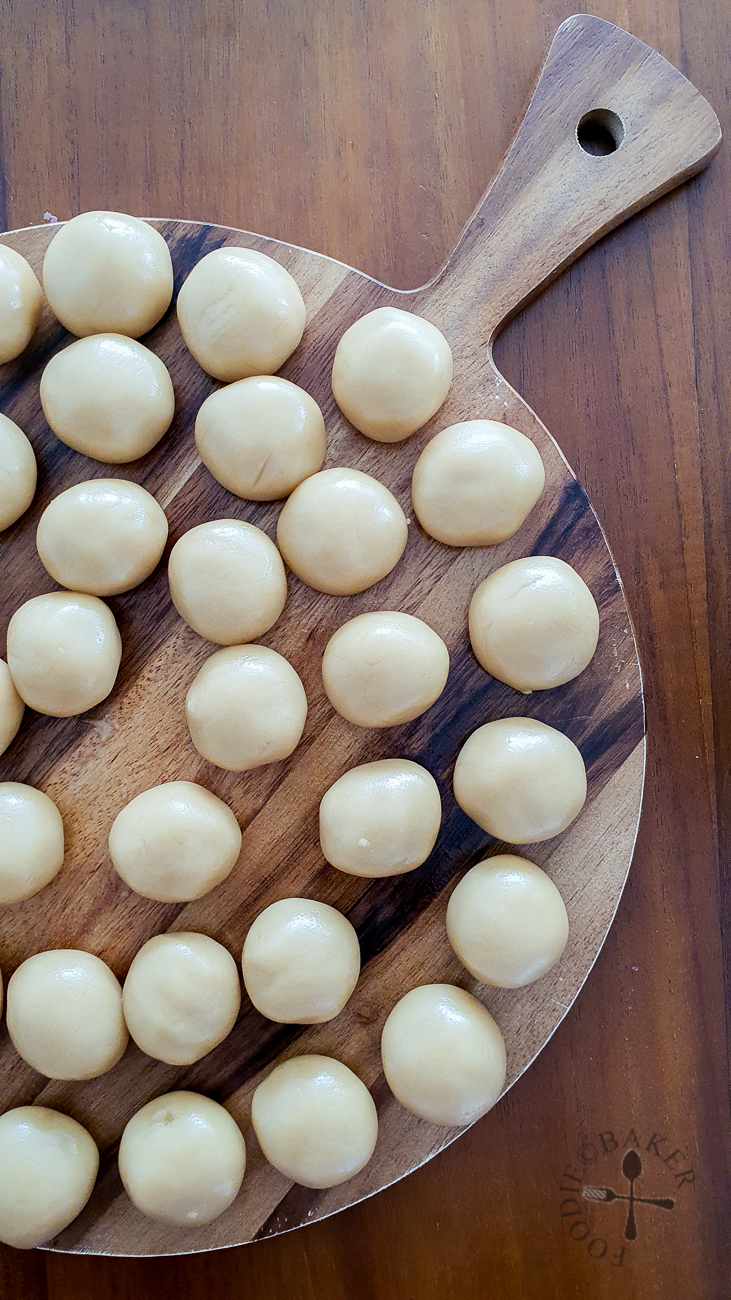
- Flatten the dough into an even square / rectangular layer and divide the dough into 40 portions. Weigh each portion to ensure each portion is approx. 20-gram and roll into a ball. Cover with a clingwrap to prevent the dough from drying out.
Wrapping the Mooncakes
- Line baking sheets with parchment paper / silpat.
- Flatten a piece of dough and enclose a filling ball inside. Let the mooncake come to room temperature for 10 to 15 minutes. If the filling is too cold, it will be hard to shape / stamp out the mooncake.
- Dust the mooncake mould lightly with flour, place the mooncake inside and stamp out directly onto the lined baking sheet. Space the mooncakes 2 inches apart.
Making the Egg Wash
- Whisk egg yolk and water together in a small bowl.
Baking the Mooncakes
- Preheat oven to 180°C (conventional) / 170°C (convectional).
- Spritz the surface of the mooncakes with water. Dip a pastry brush into the egg wash. Remove the excess egg wash and brush the top of the mooncakes gently and lightly. (As the designs are very delicate, if you brush with too much egg wash or used too much strength, the designs may be ruined.)
- Bake for 5 minutes. Remove from the oven and set aside on a rack for 10 minutes. Lower the oven temperature to 175°C (conventional) / 165°C (convectional).
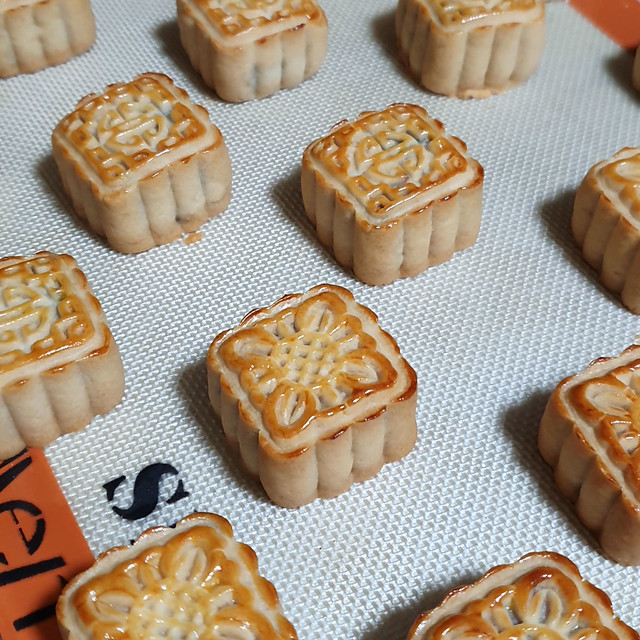
- Brush with a second layer of egg wash and bake for another 10 to 13 minutes until the top is golden brown.
- Set the baking sheets on a rack and let the mooncakes cool completely.
Resting
- Store the cooled mooncakes in an airtight container. Let the mooncakes rest for 2 days to allow the skin to soften before consuming. The skin will also become darker as it rests.
Storage
- Store the mooncakes in an airtight container at room temperature for about 1 week. Store them in the refrigerator to last longer.
Kira says
Thank you for this calculator!~
Raymund says
Wow that mooncake looks so commercial, perfect in many ways! Can you gift me some please