Whenever we go on a holiday, we usually have to wait for quite some time after checking in before we can board the plane. And most of the time I’ll become hungry while waiting and will want to look for some food. Or our flight is a budget flight and no food is served on the plane. That’s why I love Changi Airport – there are so many food options that I will never go hungry! However, the airport here does not have as many shops and food options as Changi Airport, and to be honest, it is a bit pathetic. So I’ve taken up the matters into my own hands by making some snacks to keep the hunger away while waiting, and one that I love to make is Gimbap!
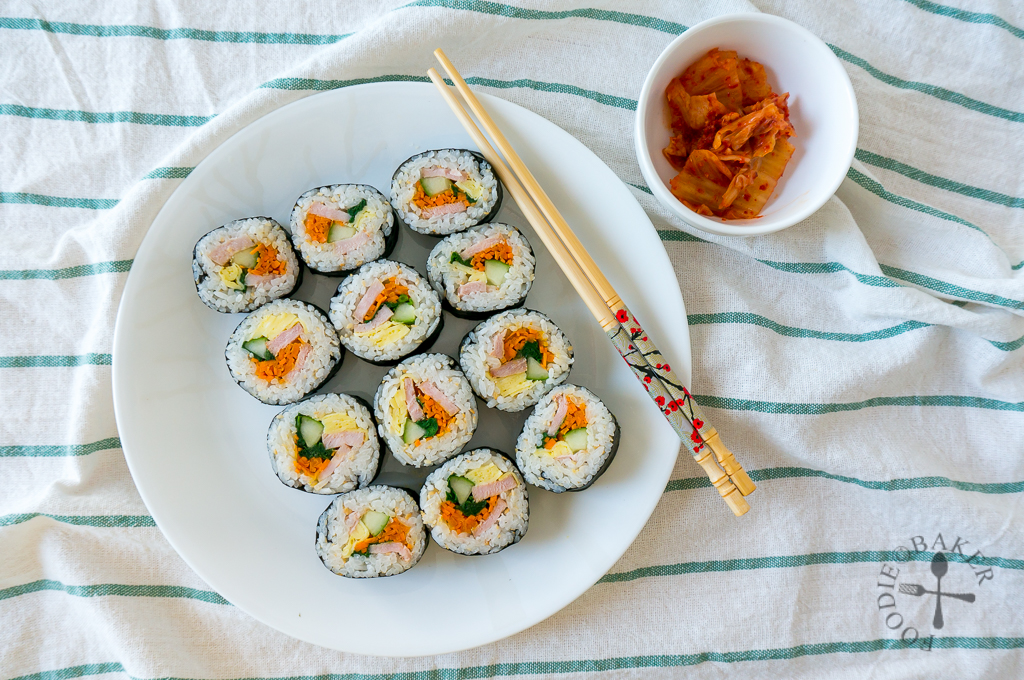
Gimbap is one of my ultimate favourite airport snacks as it’s delicious, filling and can be packed easily. I usually just wrap up the whole roll with aluminum foil (I don’t even bother slicing it), which can then be discarded after I’m done eating it. It is not drying like biscuits or potato chips, so I can finish one whole roll easily. And the best part? I get to use up whatever leftover vegetables in the fridge before I go on a holiday – no worries that I will encounter something mouldy when I come back!
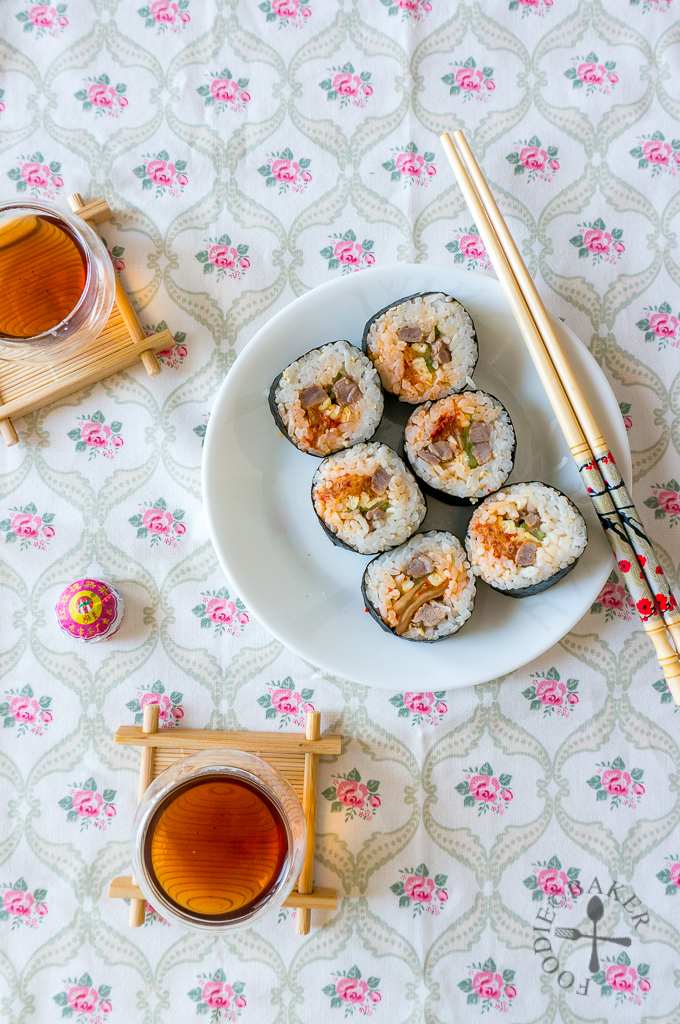
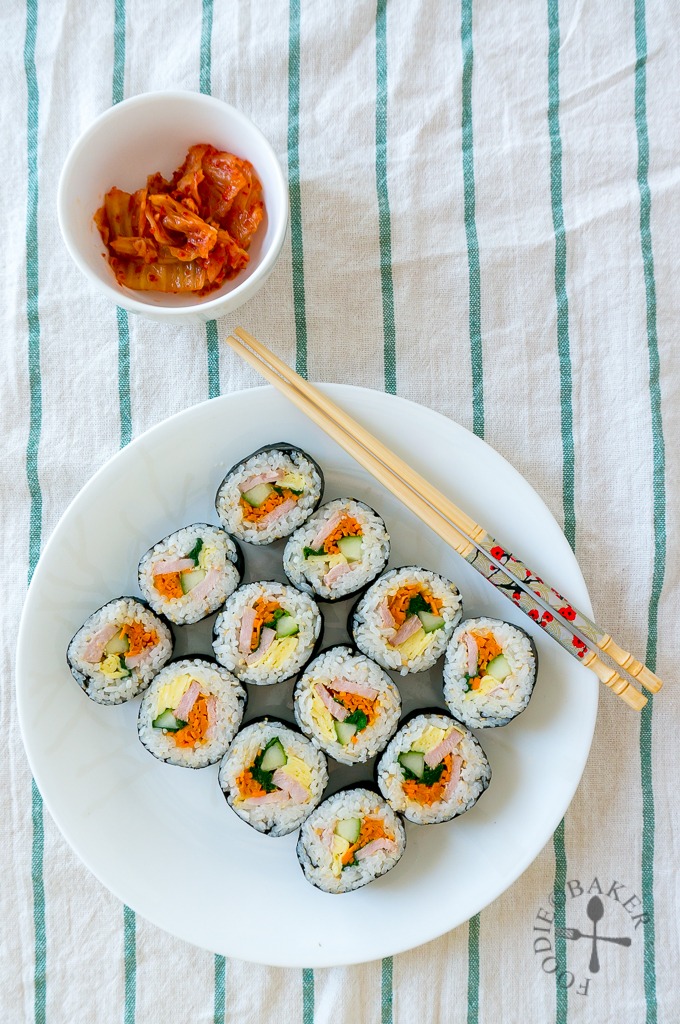
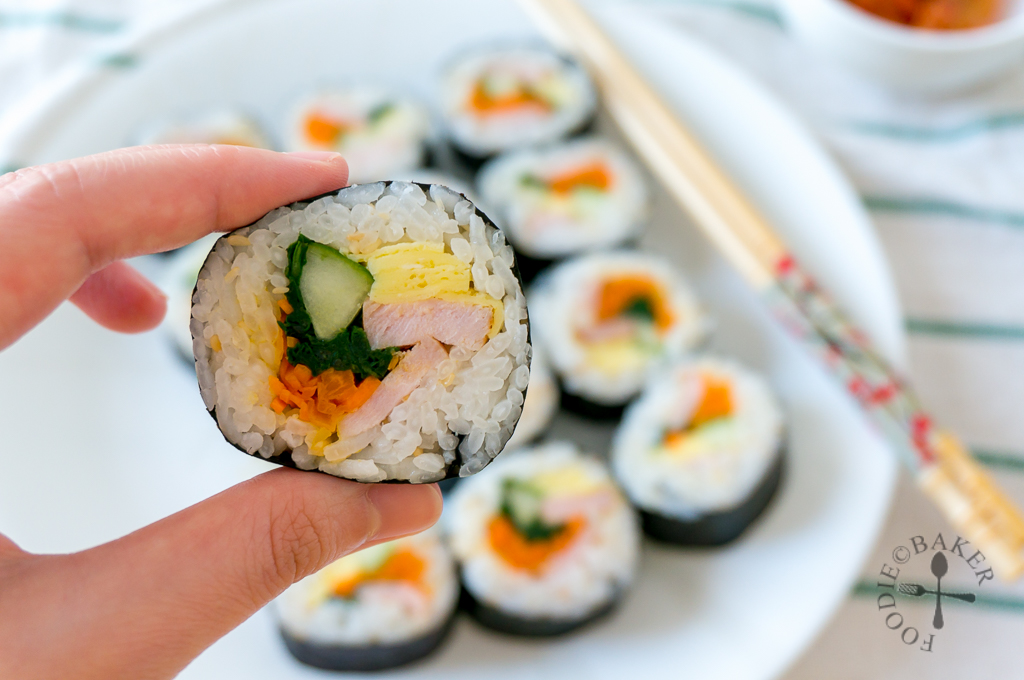
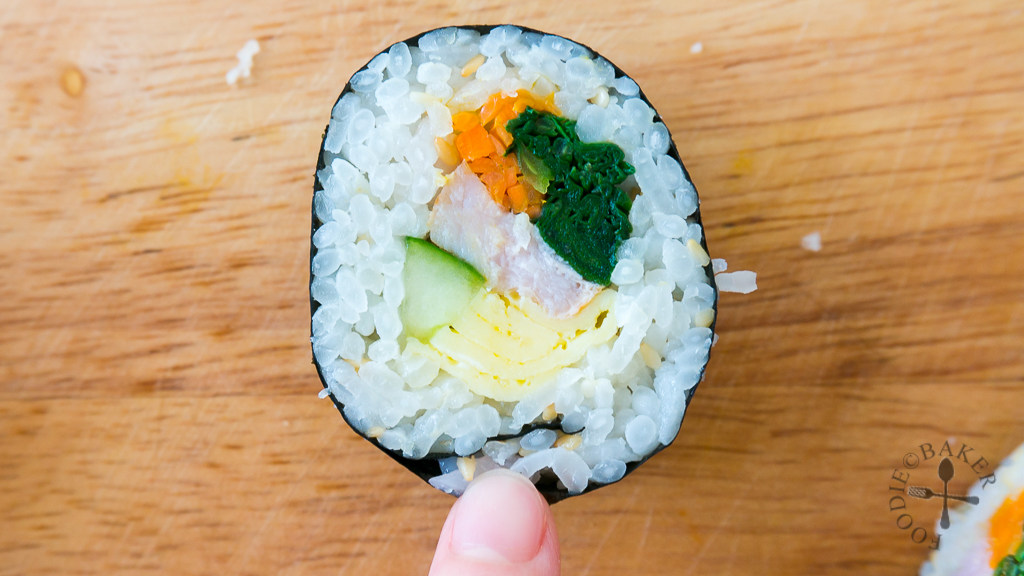
Making gimbap is actually not difficult (you just need a bit of time) and you get to add in whatever you like. Egg and carrot will usually appear in my gimbap, along with some meat. I’ve made it with tuna steak, pork, chicken and even kimchi! It’s not like the traditional gimbap because I couldn’t get hold of some ingredients here. But hey – it’s still delicious and my tummy is absolutely happy about it. I’ve also made it with short-grain rice and long-grain rice and both work beautifully.
Reviving A Day’s Old Gimbap
Gimbap also makes a great picnic snack to share with friends. The only downside about gimbap is that they cannot be made a day in advance, not even overnight, because the rice will usually dry out in the fridge, no matter how you wrap up the gimbap. The only way to revive a day’s old gimbap is to dip the cut gimbap into beaten egg and pan-fry them – a trick I learned from Chef Julie Yoon. The egg acts as a sealant which helped steamed the rice during the pan-frying, making the rice soft again. So if you need to make gimbap a day in advance, use this trick!


Whatever-You-Like Gimbap (김밥)
INGREDIENTS
Rice
- 160 grams short-grain rice, see Note 1
- 185 ml water, plus extra for rinsing
- 2 tablespoons sesame oil
- 1 tablespoon sesame seeds, toasted
Filling
- 1 egg
- 1/2 carrot, peeled and julienned
- 200 grams meat, tuna steak, chicken fillet, or pork shoulder
- 1 handful spinach
- 1/2 Japanese cucumber
Assembly
- 2 pieces of nori, dried laver seaweed
INSTRUCTIONS
Rice
- Place the rice in a sieve and set the sieve in a bowl. Add water, then gently rub the rice between your hands. The water should become milky. Discard the water. Repeat until the water becomes relatively clear. Drain the rice for 30 minutes.
- Transfer the rice to a heatproof bowl (preferably metal as ceramic may crack over time) that can be fitted in a pot. Add the 185ml of water and set aside to let the rice soak for at least 30 minutes.
- Fill the pot with a bit of water, about 1/2 to 3/4-inch tall. Place the bowl of rice inside. Cover the pot with lid and turn on the heat to high. Once the water in the pot (not in the rice) has come to a boil, reduce the heat to low and simmer for 15 to 20 minutes until all the water has been absorbed. Try not to open the pot cover while the rice is simmering.
- After all the water has been absorbed, turn off the heat and let the rice steam in residual heat for 10 minutes.
- Tip the rice out into a bowl and stir in the sesame oil and sesame seeds. Cover with a damp tea towel and set aside.
Filling
- Egg: Beat the egg with a bit of salt, fry into an omelette in a non-stick pan and slice into strips.
- Carrot: Heat 1 teaspoon oil in a frying pan (preferably non-stick). Add in the carrot and a pinch of salt and cook until carrot has softened.
- Meat (tuna steak): Season tuna steak with salt and freshly ground pepper on both sides. Heat a pan with 1 tablespoon oil and pan-fry the tuna steak until cooked, flipping it once.
- Meat (chicken/pork): Cut the meat into slices, and marinate with 1 tablespoon light soy sauce, 1/2 tablespoon sesame oil, 1/2 tablespoon sake and 1/2 tablespoon brown sugar. Heat a pan with 1 tablespoon oil and stir-fry the meat until cooked.
- Spinach: Boil a pot of water and season with a generous pinch of salt. Add in the spinach and blanch until spinach has softened. Drain the spinach and after it has cooled down slightly, squeeze the spinach to remove excess water.
- Cucumber: Cut the cucumber into long strips.
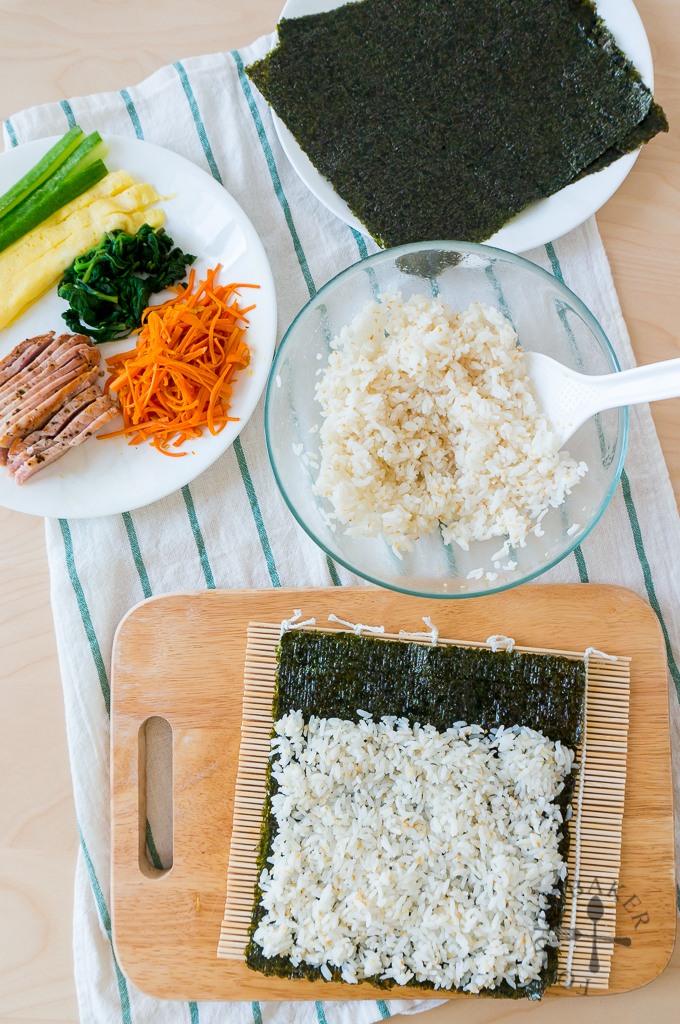
Assembly (See step-by-step photos for illustration.)
- If desired, toast the nori on a non-stick frying pan over medium heat until warmed through.
- Place the nori on a bamboo rolling mat, rough side up.
- Spread half the rice on the nori, leaving some spacing at the top then top with desired Filling.
- With the help of the bamboo mat, roll up the gimbap tightly, making sure the start of the rice meets the end of the rice to make a nicer looking roll.
- Stick a few pieces of rice on to the end of the nori (to help sticking) then roll it up. Use the bamboo mat to help to keep the roll tight – but don’t squash it too hard until it goes out of shape.
- Repeat to make the second roll.
- Cut the rolls into 6 to 8 pieces each, wiping the knife with a damp cloth after before each slice. Serve immediately.
NOTES
- 160 grams rice is approximately 1 rice cooker cup of rice (180ml; 3/4 cup)
- It may not be easy to roll the gimbap tightly at the start, just keep practicing!
- If you cannot finish all the gimbap, store them in an airtight container in the fridge. The next day, beat an egg, dip the cut sides of gimbap in the egg and pan-fry until the egg is cooked. This way, your gimbap will not taste dry and hard!
ChgoJohn says
This is a tasty sounding recipe, sure enough, but your idea of bringing gimbap as a snack when traveling is genius, Jasline. So much better — and healthier — than anything one can buy at an airport.
Juliana says
I have never had gimbap…but love everything about it…especially if there is kimchi…indeed perfect for traveling.
Thanks for the recipe Jasline…have a great week 🙂
Gem says
I love Gimbap! I like the bulgogi and tuna mayo ones. Soooo nice. When you come back to Singapore, you should visit those new Gimbap Kiosks in Plaza Sing and Raffles City Shopping Centre. They sell all sorts of wonderful Gimbaps flavours!