
I can’t believe time past so fast! It seems like just only yesterday I’d made these piggy and bunny mooncakes and I’m already making them again! Mid-Autumn Festival is a very popular festival celebrated by Chinese worldwide and is held on the 15th day of the 8th month in the Chinese calendar, when the moon is at its roundest. Somehow I’ve always heard people saying that the moon is always the largest and roundest during Mid-Autumn festival… I wonder how true is that!
This year, besides my baked mooncakes, I’ve also attempted making snowskin mooncakes. Snowskin mooncakes became popular several years back due to the wide variety of flavours that can be made. I’ve seen flavours like durian, sesame, green tea, mocha, tiramisu, chocolate etc. Though they sound really interesting, I still prefer my traditional baked mooncakes with red bean paste / lotus paste filling… but I’m still making them this year for my friends and colleagues to try. 😉
I got the snowskin recipe from Mei Shi China (Chinese website), which uses raw glutinous rice flour and rice flour steamed together in milk. This recipe is different from other recipes I’ve found online which uses cooked glutinous rice flour mixed with water.
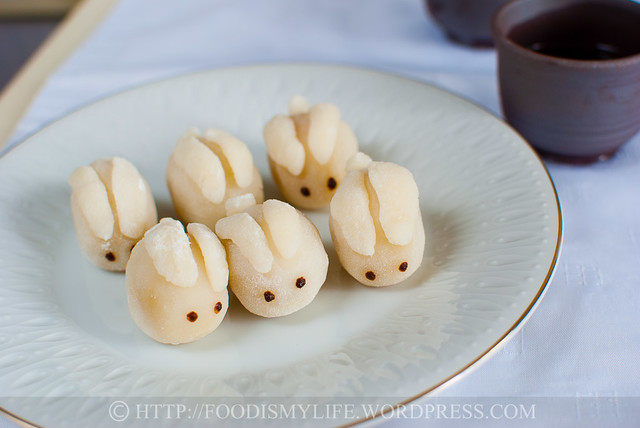
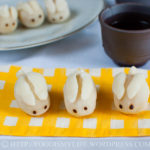
The skin was very soft, tender and elastic – it was pretty easy to manage (as long as your hands are dusted with cooked glutinous rice flour). I made them really mini in size so that it’s a one-mouth-one-bunny – easier to give out to friends too! However I must admit it’s quite time consuming trying to shape all the bunnies…
I ate one immediately after wrapping and it’s very chewy and elastic – like muah chee / mochi. After a night’s rest in the fridge, it’s less elastic but still soft – and I think that’s how snowskin generally tastes like. However, the downside is that the skin will gradually harden, so they have to be consumed within 2 days (I ate one on the 3rd day and the skin’s really hard!)
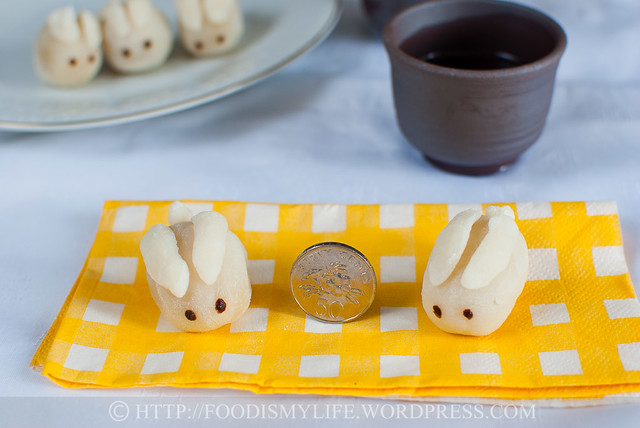
The bunnies are only slightly taller than a 50 cents coin!
On to the step-by-step photos!
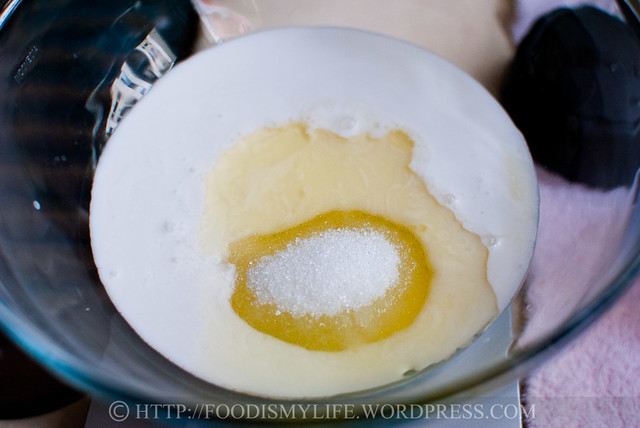
Measure milk, coconut milk, sugar and oil in a mixing bowl. Whisk together with a pair of chopsticks.
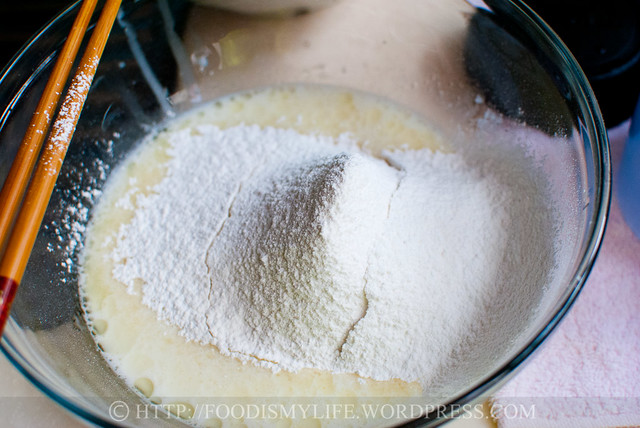
Sift glutinous rice flour, rice flour and corn flour in.
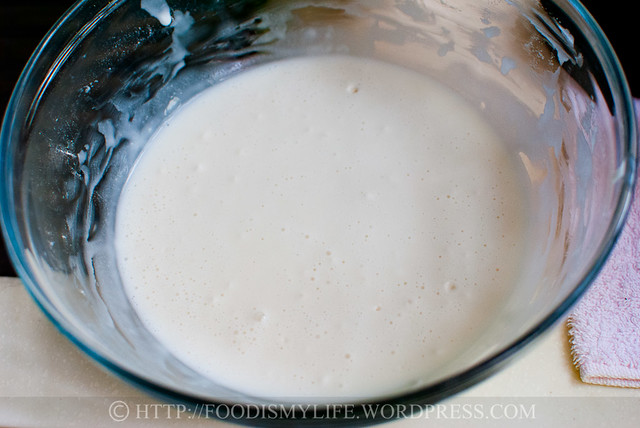
Whisk to get a smooth consistency. Cover and let rest for 30 minutes.
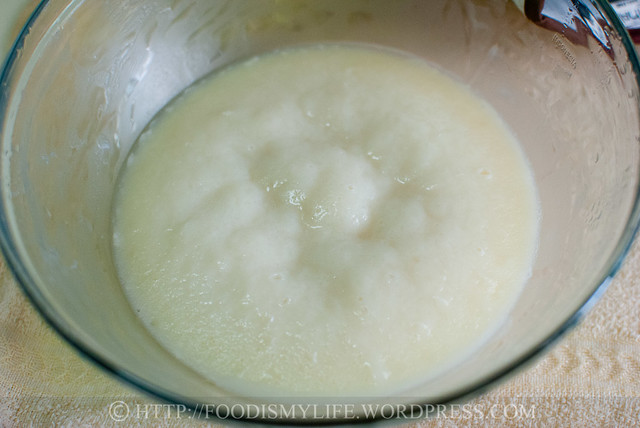
Steam over high heat for 15 minutes until the dough has set.
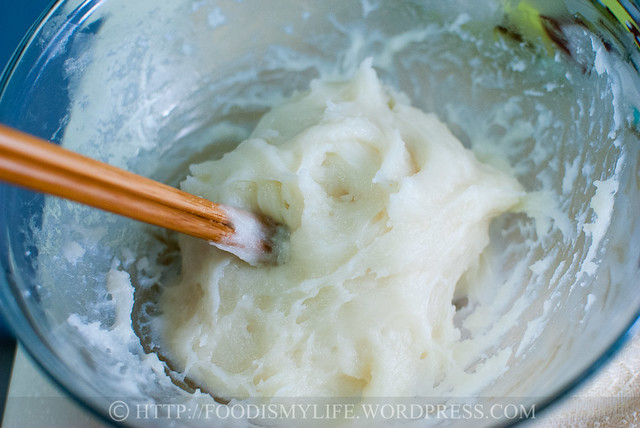
Stir with a pair of chopsticks until the dough forms a ball. Let cool completely before using!
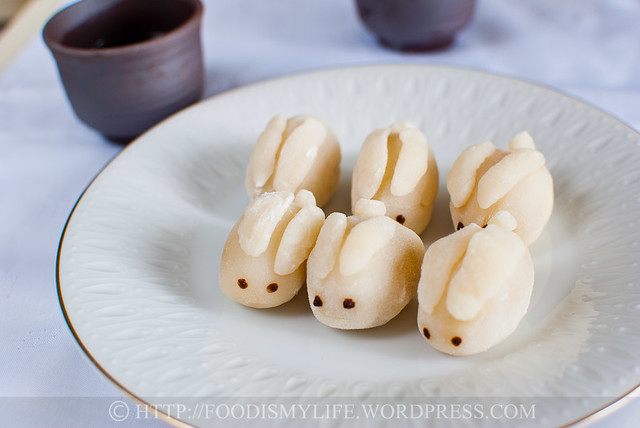
Bunnies waiting to be eaten up!
I’m submitting this to Bizzy Bakes’ Recipe Box #15. Do hop over to see all the lovely treats foodies have submitted!
Mini Bunny Snowskin Mooncakes
INGREDIENTS
- 45 grams glutinous rice flour, 糯米粉
- 35 grams rice flour, 粘米粉
- 20 grams corn flour, 蜀粉
- 50 grams caster sugar, 白糖
- 90 grams coconut milk, 椰浆
- 100 grams milk, 牛奶
- 20 grams vegetable oil, 植物油
- 250 grams lotus paste filling, 莲蓉陷
- 30 - 50 grams melon seeds, toasted and cooled completely
- Cooked glutinous rice flour for dusting, 熟糕粉
- Melted chocolate
INSTRUCTIONS
- Measure glutinous rice flour, rice flour and corn flour in a small bowl. Stir to mix them thoroughly.
- In a large heatproof mixing bowl, measure the caster sugar, coconut milk, full-fat milk and vegetable oil. Stir with a pair of chopsticks / whisk to mix them together, dissolving the sugar in the process.
- Sift the flour mixture into the milk mixture and whisk till incorporated. Cover the mixing bowl with plastic wrap (cling film) and set aside for 30 minutes.
- Prepare a steamer. Remove the plastic wrap and steam over high heat for 15 minutes till the dough has set. Remove the mixing bowl from the steamer and immediately use a pair of chopsticks to stir the dough vigorously - it will be very elastic and hard to mix - until the dough comes together into a ball. (Wear a pair of oven gloves when stirring to prevent yourself from getting burned.)
- Cover the dough with a plastic wrap (cling film) - making sure the plastic wrap is touching the surface of the dough. This is to prevent the surface of the dough from hardening. Let the dough cool completely to room-temperature before using. If urgent, place it in a room-temperature water bath to cool it faster - you want the dough to be at room temperature, not cold.
- While the dough is cooling, divide the filling into 25 pieces(10 grams each) and roll desired amount of toasted melon seeds in them. Set aside.
- Once the dough has cooled completely, dust your hands with cooked glutinous rice flour and divide the dough into 25 pieces - with each piece weighing 8 to 10 grams. The extra dough will be used to make the ears and tails.
- Dust your hands and wrap a filling inside the dough. Shape into an oval shape. This will be the bunny body.
- Dust your hands and pinch 3 small doughs from the extra dough. Shape 2 into ears and 1 into tail. Dab the ears and tail in a little water (or brush with a little water) and stick onto the bunny body. Pipe a little melted chocolate for the eyes.
- Repeat until all bunnies have been formed.
- Store the mooncakes in an air-tight container and refrigerate overnight. Consume the mooncakes within the next 2 days. (The longer the mooncakes sit, the skin will harden and it will not taste good, so eat as soon as possible for best taste and texture.)
NOTES
Super Naggy:
[1] Cornflour can be substituted with wheat starch (澄粉).
[2] Coconut milk can be substituted with either milk or evaporated milk (炼乳), but it will not be as fragrant.
[3] Vegetable oil can be substituted with olive oil (橄榄油).
[4] Use any of your favourite filling – red bean, tiramisu, etc.
[5] To toast melon seeds: spread an even layer of melon seeds on a baking tray. Bake in a preheated oven of 175 degrees Celsius for 5 – 10 minutes until the seeds are fragrant and lightly golden brown. Let the seeds cool completely to room temperature before using.
[6] To prepare cooked glutinous rice flour: spread an even layer of glutinous rice flour on a baking tray. Microwave for 2 minutes on high till the flour is heated through. Alternatively, fry the flour in a non-stick frying pan until heated through. When tasted, the flour should not have any flour taste. Let cool completely before using. The flour helps to prevent the dough from sticking onto your hands.
[7] To make a normal size mooncakes (~45 grams) – grab 25 grams of filling and mix in some melon seeds. Wrap in 20 grams of dough and use the mooncake mould to make a mooncake shape/design.
lena says
this is very different from the usual snowskin recipes using koh fun and the coconut milk i believe it’s a good addition. Yeah, i remember the moon was very bright and round last year, shall see it this year!
ChgoJohn says
These are incredible, Jasline! I’m glad you included a coin for perspective and I bet they disappear once served. Who could possibly resist them?
Eating Monster says
this is an awesome recipe. I think I’m gonna try making snowskin mooncakes this year too, so I might give this recipe a try. Plus, bunnies are so cute!
Bam's Kitchen says
I have put a link on my mooncake page linking up to yours as many people have been having question on how to steam the glutinous rice. My snowy mooncake powder (mooncake glutinous flour) was already steamed and prepared for use that was purchased from the Chinese bakery. Take Care, BAM
Jasline says
Haha thanks Hannah! My friends enjoyed eating them 😉 Have a great day ahead!
Jasline says
Thank you Raymund! I think it’ll be a really fun to make these with kids! 🙂
Jasline says
Thank you! I’m glad you like the recipe, hope you have fun making yours! 🙂
Jasline says
Thank you so much Bobbi! I think the coconut milk makes the skin much more fragrant! 中秋节快乐!Have fun eating mooncakes 😉
Jasline says
Thank you Karen, yes everyone like the mooncakes 🙂
Jasline says
Thank you Mich!
Jasline says
Thank you Jo 🙂 Glad the photos and guide are helpful! Hope you make some mooncakes soon 😉
Jasline says
Thank you Joyce, yes all my friends thought they were really cute too 🙂
Jasline says
Thank you 😀
Jasline says
Thank you! It’s a very sweet treat that goes well with Chinese tea 🙂
Jasline says
When I first ate them immediately after wrapping, they taste really like mochi, very chewy! Glad you like these mooncakes!
Jasline says
Thank you so much!
Jasline says
Thank you!
Jasline says
Thank you Uru for the compliments! 🙂
Jasline says
Awww thanks! 🙂
Jasline says
Thank you Sibella! 😀
Baked Mini Piggy and Bunny Mooncakes « Food Is My Life says
[…] Mini Bunny Snowskin Mooncakes (foodismylife.wordpress.com) […]
Jasline says
Thank you! 🙂
Chocolate Shavings says
These are adorable!
Over the Moon for Homemade Snowy Moon Cakes « Bam's Kitchen says
[…] then you will have to cook it first before using. Please see my dear foodie friend, Jasline from http://foodismylife.wordpress.com/2012/09/21/mini-bunny-snowskin-mooncakes/ to learn how to perform this step by step process. Take care, BAM Reply […]
Hannah (BitterSweet) says
These are almost unbearably cute! It seems a shame to eat such art… But they do sound delicious, too.
rsmacaalay says
That is so cute, I am going to show this to my daughter. She started experimenting in the kitchen
rabbitcancook says
Oh my..they are so cute and adorable. With everyone posting about the moon cake making, I am so encouraged. Will try to squeeze time and steal your recipe on this cute mini bunny (I am a sucker for everything related with bunny) 🙂
Thanks for sharing 🙂
Bam's Kitchen says
I have a big smile on my face! So adorable and I am sure they taste so yummy as well. So you added coconut milk to the mooncake skin instead of water, that sounds like a great idea. I also made some for the first time this year. Great minds think alike. 中秋节快乐! Take care, BAM
Karen says
They are so tiny and cute. Everyone must enjoy them.
Mich - Piece of Cake says
So cute, Jasline! All the kids would love it!
jothetartqueen says
These rabbit mooncakes are so adorable! I haven’t tried making my own mooncakes so it’s great to read about your attempt and your step-by-step photos and detailed guide.
kitchen flavours says
Oooh….so cute! Great job, Jasline! These would certainly bring smiles!
petit4chocolatier says
These are the cutest little things; love them!
A_Boleyn says
The bunnies look very cute though I have never tasted moon cakes but I’m guessing sweet and chewy. Time to visit the International grocery store. 🙂
girlinafoodfrenzy says
Amazing! I’ve never made my own moon cakes before. These gorgeous bunnies look so tasty and certainly remind me of those lovely chewy mochi. I happen to have a little niece who would give anything to get her little mitts on a cake as cute as these 🙂
yummychunklet says
Ooh, how creative! Love it!
apuginthekitchen says
Adorably delicious!
Choc Chip Uru says
These are just adorable (and deliciously sweet!)
Cheers
Choc Chip Uru
the second serving says
How cute are those!!
Sibella at bakingwithsibella.com says
So very cute Jasline! 🙂
saffronandhoney says
How perfectly sweet!