Hello! Here is my 2nd installment of the cheesecake making process and I’m back with an Oreo crust recipe! Oreo crust is one of my favourite crusts for cheesecakes because really… who doesn’t like Oreos?
Here is a simple tutorial on making the Oreo crust – the primary reason for doing up this post is so that I don’t have to take step-by-step photos of the crust-making process in the future (yes, lazy me oops!) and the second reason is to compile whatever I’ve learned from making the cookie crusts here so it will be easier to refer here in the future! The crust can be used for cheesecakes as well as pies, so it’s very versatile! (I will write up a digestive cookies crust version in the future.)
And here we go!
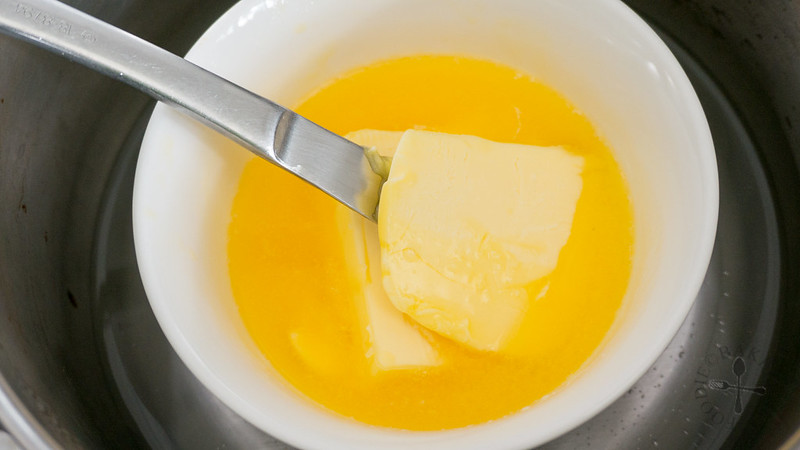
1) Melt some unsalted butter.
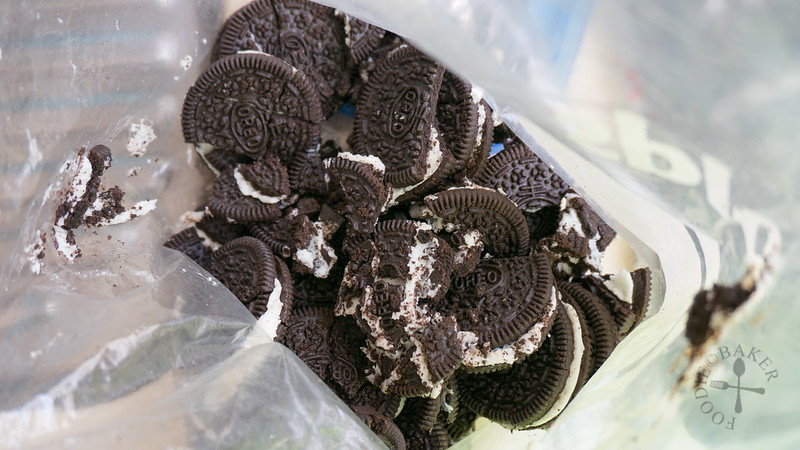
2) Break some Oreos and dump them into a ziploc bag.
How much Oreos you want to crush depends on how big is your cheesecake / pie.
For an 8-inch standard cheesecake with a crust of regular thickness – I find that about 250 grams of Oreo cookies (with cream) will suffice.
If you want the crust to come up to the sides of the cheesecakes, increase the amount of Oreo cookies by 50% or even 100%.
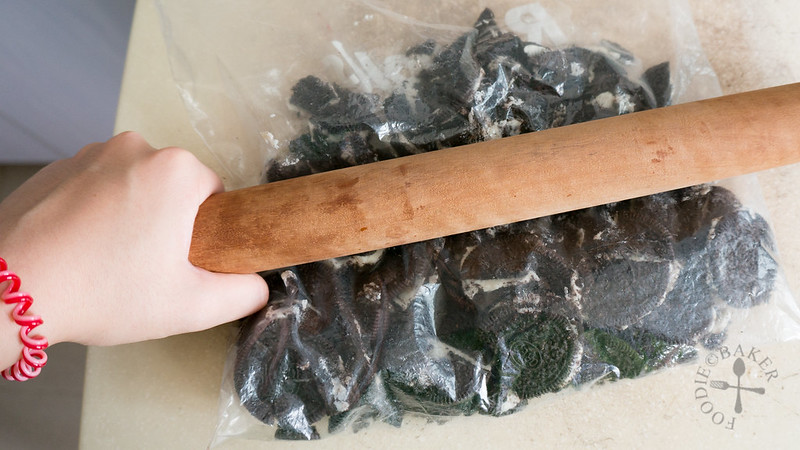
3) Crush the Oreo cookies with a rolling pin.
If you have a food processor, by all means use it to do the job! I don’t have a food processor (you don’t know how much I wanted one!), so I can only crush them manually. I tend to make the crust the night before so that I don’t have so many things on hand to do the next day – but that’s just me!
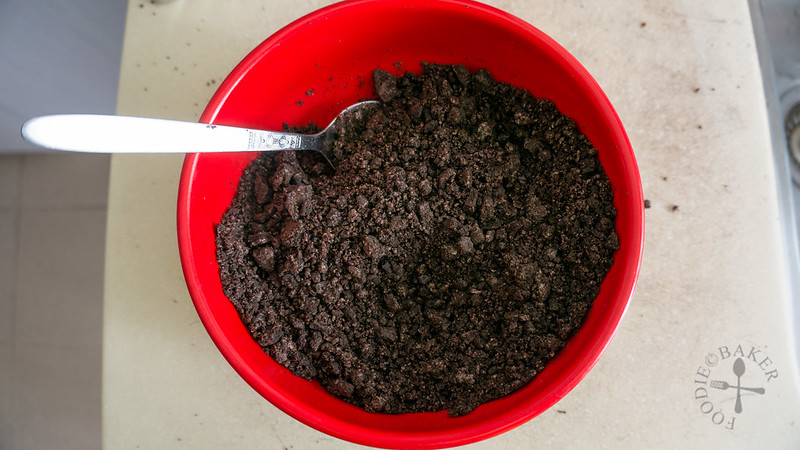
4) Beautiful, crushed Oreos.
I like to crush extra Oreos so that I can reserve some of them to sprinkle onto ice creams – yummy!
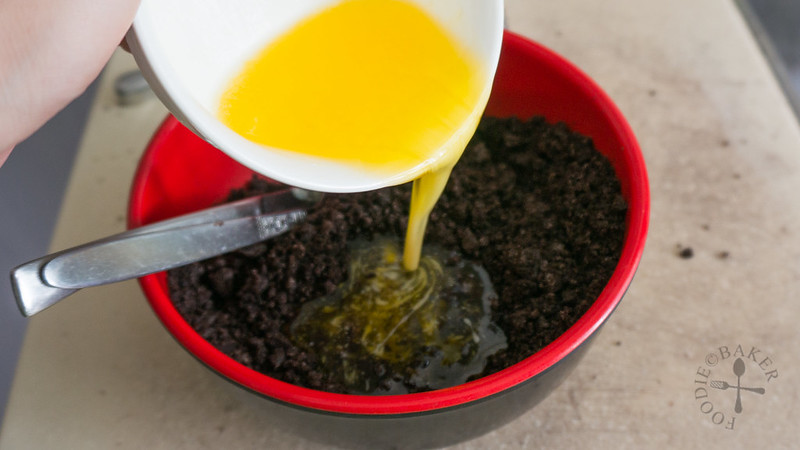
5) Pour in the melted, golden and luscious butter.
How much butter is needed for the Oreo cookies crust? As the cream in the Oreo cookies acts as a binder for the cookies, I usually go by this ratio when making the Oreo pie crust: 10 parts cookie, 3 to 4 parts of butter.
Example: For every 100 grams of Oreo cookies used, I will melt 30 to 40 grams of butter to mix into the crushed Oreo cookies.
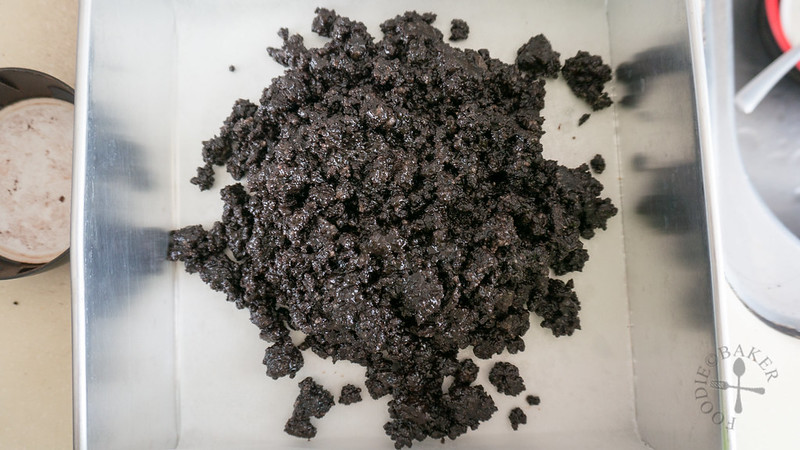
6) Mix the crushed Oreos and butter well and tip them into the baking tin / cheesecake tin.
(Read more about what baking tins to use for making cheesecake here!)
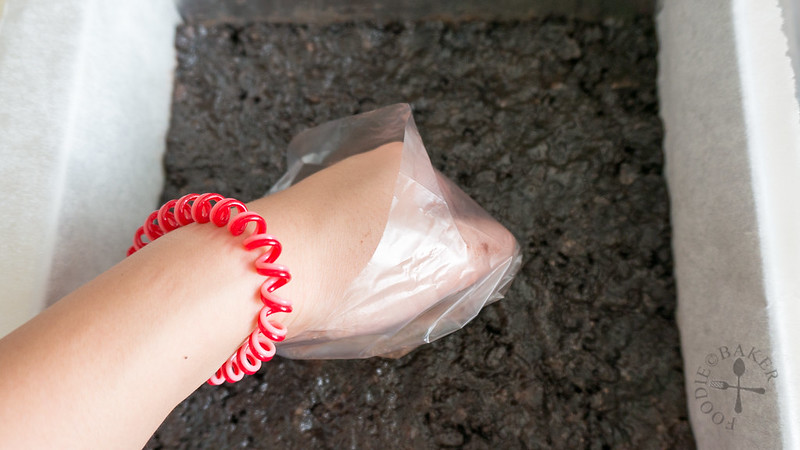
7) Press down the buttered and crushed Oreo cookies evenly on the bottom of the tin. Chill the pie crust until firm.
Chilling the pie crust will help to set and firm up the crust. There is no specific amount of time to chill, but I usually chill for about 15 to 30 minutes.
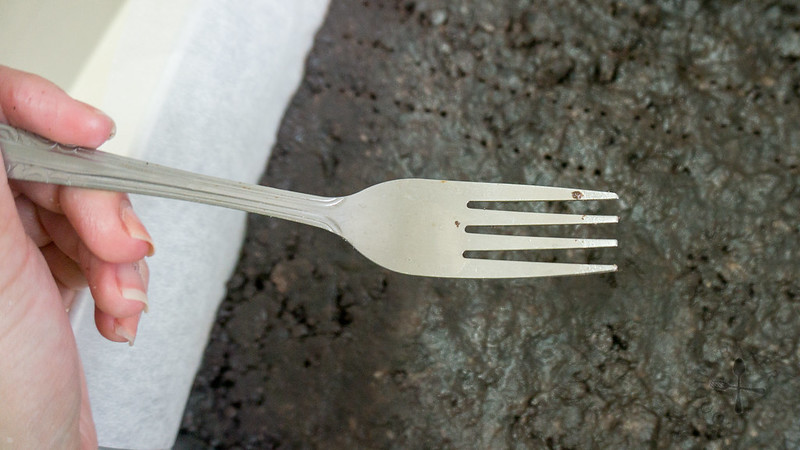
8) Grab a fork!
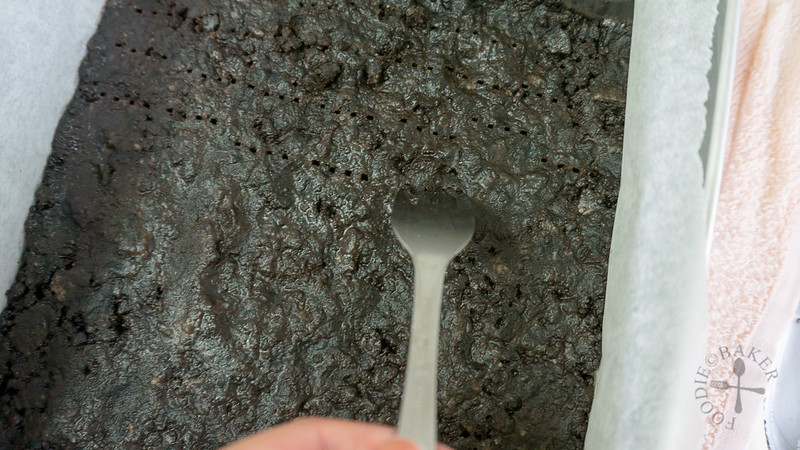
9) Poke holes all over the bottom of the chilled cheesecake.
Poking holes will allow a teeny weeny bit of cheesecake batter to seep into the holes, helping to hold the crust and the cheesecake together.
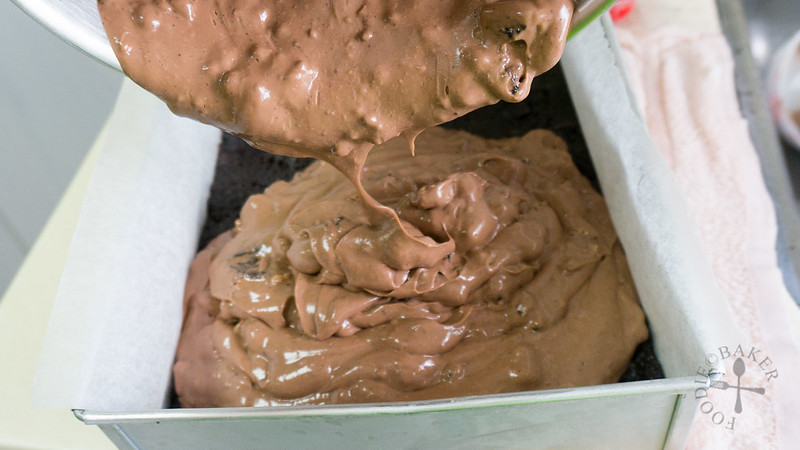
10) And now you are ready to pour your cheesecake batter in and bake away!
So here’s a rough summary (may be tweaked in the future as I bake more cheesecakes):
| Size | Type | Amount of Oreos (with cream) | Amount of unsalted butter |
| 7-inch round / 7-inch square | Regular | 200 grams | 60 grams – 80 grams |
| 8-inch round / 8-inch square | Regular | 250 grams | 75 grams – 100 grams |
| 9-inch round / 9-inch square | Regular | 300 grams | 90 grams – 120 grams |
Hope you all find the above information useful!
Happy cheese-caking!
Robyn says
Oh my gosh – oreo crust? You’ve got me hooked already, Jasline! I’m not much of a sweets person but I have been addicted to oreo cookies since I was a kid, lol. I only treat myself on rare occasions and it looks like the holidays will be a good time to make this. Thanks! Merry Christmas 🙂
Jasline N. says
Thanks Robyn! I try to avoid snacking too much but when it comes to cheesecakes… Oreo cookies are the way to go for me! Hope you get to try this out soon. Have a merry and blessed Christmas, take care!
ChgoJohn says
I LOVE a cheesecake atop an oreo cookie crust. Nothing better!
Jasline N. says
Thanks John! Yes, oreo cookie crust is my favourite too!
Choc Chip Uru says
My favourite crust for sure, this looks so good 😀
Cheers
Choc Chip Uru
Jasline N. says
Thanks Uru! Seems like Oreo is very popular!
Raymund says
Thanks for sharing this, very useful to have. No need to guess 🙂
Jasline N. says
Thanks Raymund!