So many things to blog about, so little time! I reckon I have about 7 or 8 recipes waiting to be processed (photos) and blogged about, not to mention all the super-long-ago travel posts! I’ve been mixing up the order of the recipes posted because of the blogging events, but eventually I’m sure I’ll get there. 😉 Do follow me on Instagram (@foodiebaker) to know the recent happenings in the kitchen and in my life!
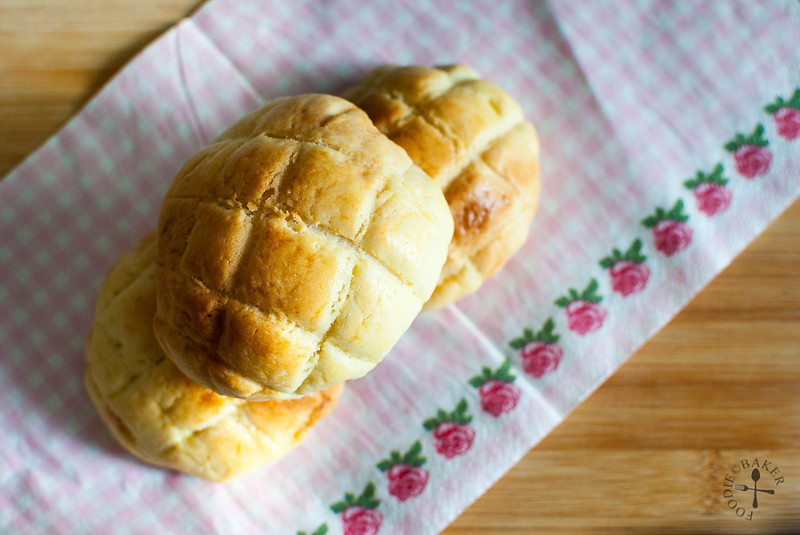
Back to this recipe… it’s another bread recipe! Polo bun is a type of sweet bread, very popular in Hong Kong, Macau and Japan. In Japan, the bread is popularly known as melon pan. The word polo actually means pineapple in Chinese, however, the bread does not contain pineapple or melon at all. It is named that way because of its appearance! (Well, though to be perfectly honest, I don’t think it look very much like a pineapple/melon…)
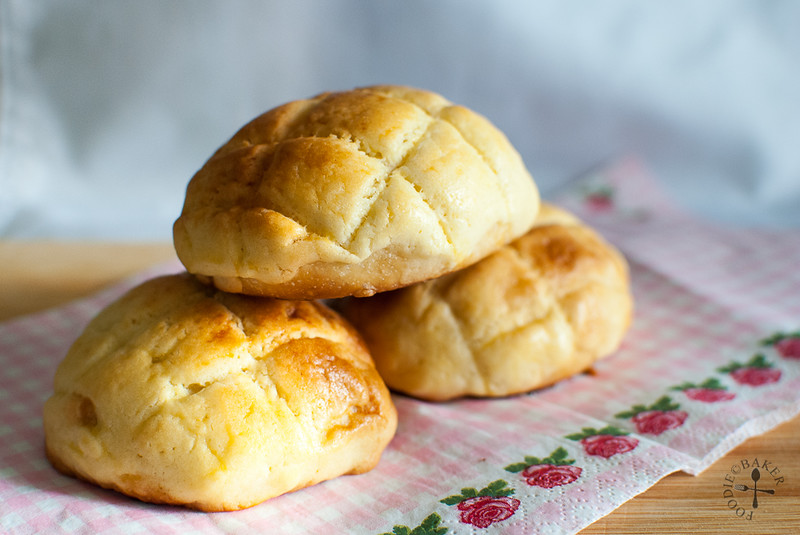
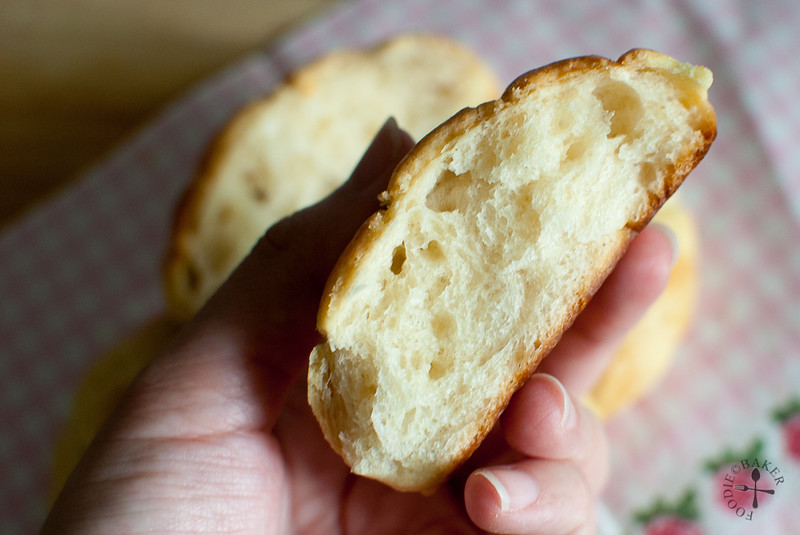
There are 2 components in this bread – the normal sweet bread dough and the pastry crust. The pastry crust is made by creaming butter, flour and sugar together then divided on top of the bread dough. Upon baking, the pastry crust will become crispy and it creates a very nice and tasty contrast against the soft and fluffy bread. So you get crispy and soft textures in one bite, what’s not ot love about this bread?
I’ve adapted the recipe from Kitchen Corner, substituting the milk powder + water combination with milk and made 8 mini buns instead of 4 regular ones. I’ve also used the dough hook attachment on my handheld mixer to knead the bread this time – because I’m lazy I want to try out how good the dough hook is. I stopped the mixer and rested it every 5 minutes as I was worried that the mixer would overheat and breakdown, but luckily that didn’t happen. With the mixer doing most of the work, making this bread became really easy (really yearning for a good stand mixer…)
The freshly baked bread was so soft and fluffy, but I found the pastry crust a little too thin, hence not crunchy enough at the top – so I’d probably double the pastry crust the next time. The bun became a little tougher the next day because no preservatives was used, but that’s to be expected from a homemade bread. So to solve the problem, I’ve frozen the rest of the buns (see note number 6 at the end), so whenever I want to enjoy a “freshly baked” polo bun, I just need to warm it up in the oven – and amazingly it retains the softly and pillowy texture!
And here’s how to make them:
Step-by-step Photos | |
|---|---|
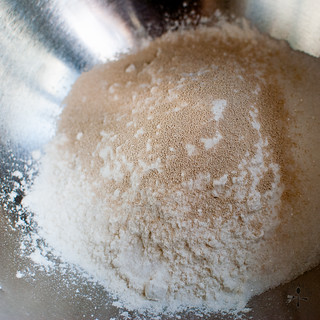 | 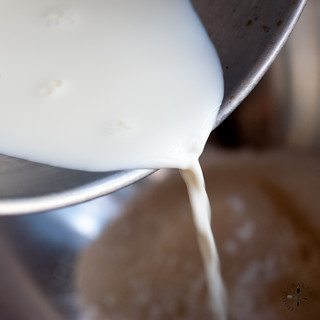 |
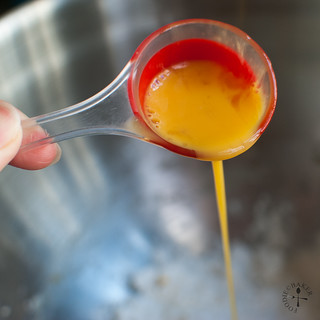
| 1) Combine flour, sugar, yeast and salt together. | 2) Pour in warm milk. |
 |  |
| 3) And a little beaten egg. | 4) Stir with a wooden spoon to form a rough dough. |
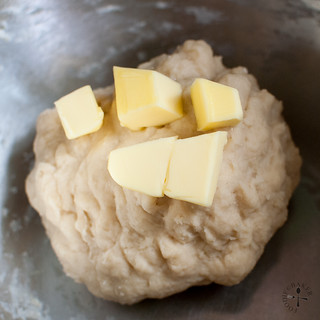 | 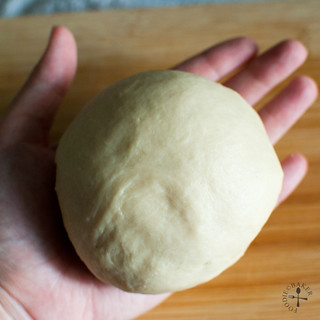 |
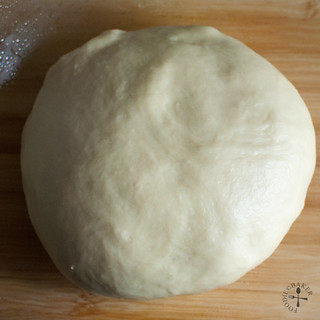
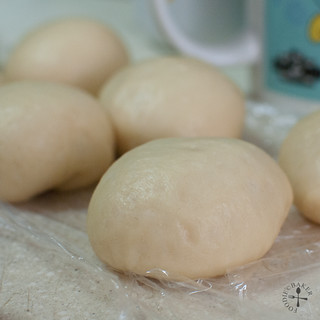
| 5) Knead in the butter. | 6) Knead until you get a smooth dough. |
 | 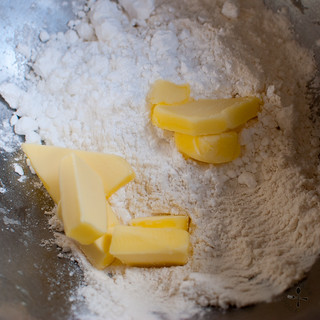 |
| 7) Let the dough proof in a warm place. | 8) Make the pastry crust by combining flour, sugar, butter and salt. |
 | 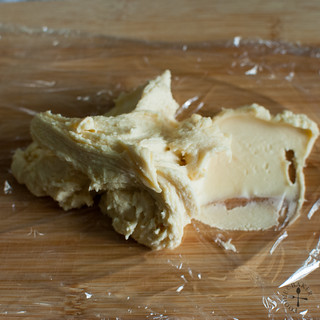 |
| 9) Add in egg and beat until the mixture is pale and fluffy. | 10) Transfer the mixture onto a plastic wrap. |
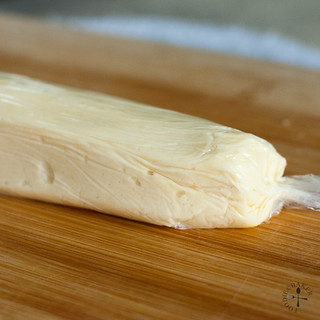 |  |
| 11) Shape into a log and refrigerate till firm. | 12) Punch down the risen dough to knock out excess air. |
 | 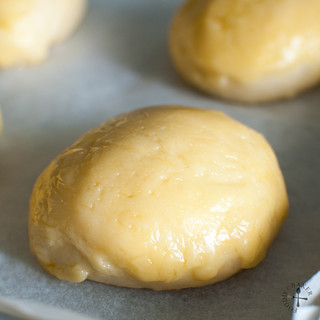 |
| 13) Divide the dough into 4 or 8 equal pieces and set aside for 15 minutes. | 14) Wrap the pastry crust over the dough and let it rise for another 45 minutes. |
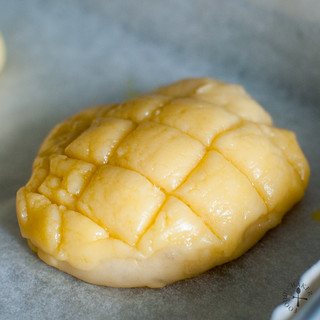 | 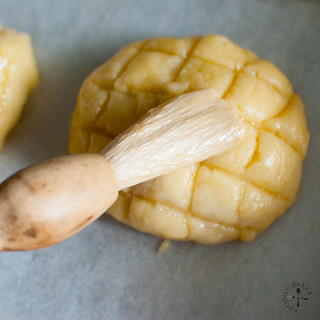 |
| 15) Score the bread. | 16) Brush with more beaten egg and bake away! |
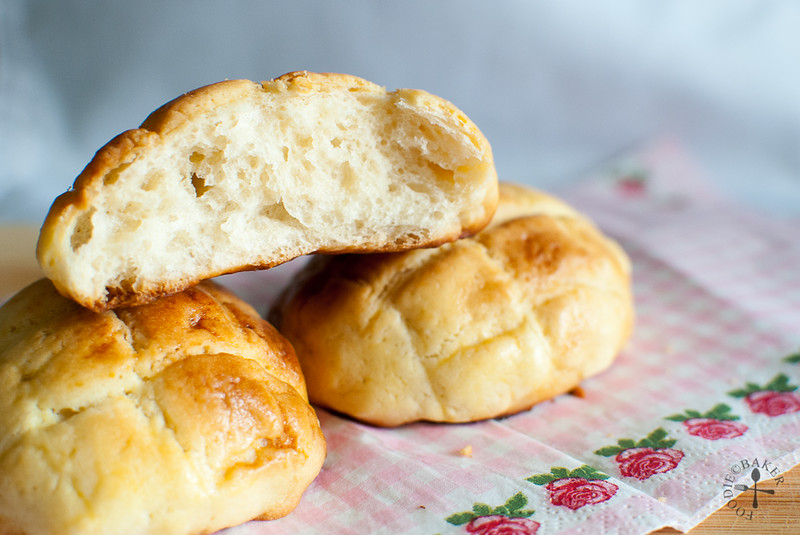
Soft and fluffy bread – best served fresh from the oven!
I’m submitting this to:

Aspiring Bakers #31 – Bao Ho-Chiak (May 2013) hosted by Miss B of Everybody Eats Well in Flanders
Polo Buns
INGREDIENTS
Bread
- 150 grams bread flour
- 30 grams sugar
- 1 teaspoon instant yeast
- 1/4 teaspoon salt
- 70 grams warm milk
- 1 tablespoon beaten egg
- 15 grams unsalted butter, cubed
Pastry Crust
- 50 grams all-purpose flour
- 30 grams unsalted butter
- 25 grams icing sugar, sifted
- Pinch of salt
- 1 tablespoon beaten egg
INSTRUCTIONS
- Bread: Combine bread flour, sugar, instant yeast and salt in a mixing bowl. Stir in warm milk and beaten egg and form a rough dough. Knead in the butter and continue to knead until a smooth and elastic dough forms. Place the dough in a lightly greased bowl, cover and let it proof for 1 hour, or until double in size.
- Pastry Crust: Combine all ingredients together and beat until pale and fluffy. Shape into a log, wrap with clingfilm / plastic wrap and refrigerate until firm. Divide the pastry crust into 8 pieces. Keep the remaining pastry crust refrigerated while working on one portion of pastry crust.
- Shaping the bread: Punch the bread down to knock out excess air. Divide the dough into 8 equal buns and roll into a ball. Set aside, cover and let it rest for 15 minutes. Flatten a portion of the pastry crust on your hand and wrap it around one bun. Place the bun on a lined baking sheet and let it proof for another 45 minutes.
- Baking the bread: Preheat the oven to 180 degrees Celsius. Score the bun with a knife gently and brush with beaten egg. Bake for 15 minutes until golden on top.
NOTES
Super Naggy:
- I personally found that the pastry crust was not thick enough, so I would double the recipe the next time I made this. The bread dough can be substituted with any of your favourite sweet bread dough recipe, as long as the recipe is able to yield about 8 dinner rolls – it will be enough to make 8 mini buns.
- I use instant yeast in all my bread recipes. Instant yeast can be added directly into the flour mixture while active dried yeast needs to be, well, as its name suggests, activated before it can be added into the flour mixture. Read more about the different types of yeast here.
- I used the dough hook attachment on my handheld mixer to knead the dough this time. It took about 20 minutes of kneading for the dough to be elastic.
- When proofing the dough, I first preheat the oven to the lowest setting then turn it off 15 minutes before I put in the bowl/tray of dough. I also put in 2 cups of recently boiled hot water into the oven, next to the dough. (The oven door is closed during the whole proofing process.)
- The pastry crust softens very easily, so work with only 1 or 2 portions at a time, keeping the remaining pastry crust refrigerated.
- To wrap the pastry crust around the polo bun, you can refer to the photos here. I didn’t take photos of the step because both of my hands are occupied.
- To freeze leftover buns: place the buns in a tray and stick the tray into the freezer until the buns are frozen, 2 hours. Wrap the buns individually with aluminum foil and keep it in the freezer. Just before serving, stick the buns (still wrapped) into a preheated oven for 15 minutes at 150 degrees Celsius. Open the aluminum foil, let the bread cool slightly and serve warm.
leony says
thank you Jasline for sharing your polo bread recipe ,,i try this recipe and its soo yummyy kids loves it
Jasline N. says
You are very welcome Leony! I’m glad this recipe works for you! I think it’s time I make some for myself too… too long never eat this!
Irina @ wandercrush says
Yaayyyyyy, pineapple bread makes me so happy! Asian breads have their own category of baking, and I’m always a bit too intimidated to try my hand at it. Must be worth it, though.
Aya in the Kitchen says
I miss “Melon Pan” ^^ I definitely have to try baking it!
joyce says
ohh ok thanks!! 🙂 yes i will double the crust haha d: hope they turn out well 🙂
Jasline says
Hello hello! The proofing took about 1 hour for 1st rise and 45 minutes for the 2nd rise.
You can make the pastry crust while the dough is proofing, it will take only about 15 minutes to make and need only about 30 minutes to be firm if you roll it into a thin log. I will suggest doubling the pastry crust though as I found 1 batch is not enough!
I usually start in the morning so I’ll be able to have them for tea! Have fun baking! 🙂
joyce says
hi jasline, joyce ong from sn here 🙂 im going to try this recipe!! haha. will the proofing take one hour with your oven technique? and approx how long will the pastry crust take before it gets firm in the refrigerator? kinda want an estimation of the time needed so that i know when i can bake 🙂 thanks!
lena says
hey, your pastry crust is so neat sitting on top on the buns..i’ve been wanting to make polo buns too..from alex goh’s recipe..see when i get to try that first. I tried to go in to the link you provided on wrapping the crust but it’s taking very slow..i shall come back and refer when i do that. anyway, going to follow you on instagram !
CateyLou says
I’ve never heard of polo buns – they look delicious! The crusty outside and soft fluffy inside is a perfect combo! Also, I’m with you – I prefer the dough hook to hand-kneading 🙂
yummychunklet says
What fun looking buns!
Zoe says
Hi Jasline,
Your Polo buns looks great! I have been eating too much store-bought buns these days and love to be back for my home baked food.
Like you, I love baking and blogging but didn’t have enough time to bake, write and blog. Wish that I can have 4 hands too :p
Zoe
kitchen flavours says
Hi Jasline,
Lovely buns! Polo buns used to be very popular a couple of years back, have not eaten one in ages! Yours look good with very soft texture! I love eating this with a cup of hot black coffee!
Choc Chip Uru says
These buns look soft, fluffy and delicious, thanks for the recipe 🙂
Cheers
Choc Chip Uru
Jasline says
Thanks Suzanne! I know right, how I wish I have 48 hours a day and probably 4 arms so I can bake and blog at the same time! haha!
apuginthekitchen says
Wow, what an incredible recipe. Bread with a pastry dough crust. It’s just beautiful and looks delicious. I have to try these. I also have a queue of recipes that I need to finish posting, photo’s, testing etc.. there is just not enough time in a day.