
If you bake lots of Chinese New Year goodies, you will most likely end up with lots of leftover egg whites. They are perfect in my Egg White Chocolate Brownies, but after I discovered these browned butter financiers, I can’t stop making them! The browned butter financiers are less rich than the brownies, so they make better daily snacking cakes.
Financiers are small French cakes made with almond meal, egg whites and beurre noisette. Beurre noisette literally means “hazelnut butter”, but it does not contain any hazelnut at all! It is actually browned butter, made by cooking butter until the milk solids are browned.
Making these financiers is pretty straightforward, easily scalable to use up whatever egg whites you have left, and flavours can be easily incorporated to make different variations. The only ingredient that is a little complicated is the browned butter. But I have tried to detail as much as possible on how to make it.

Four Stages of Making Browned Butter
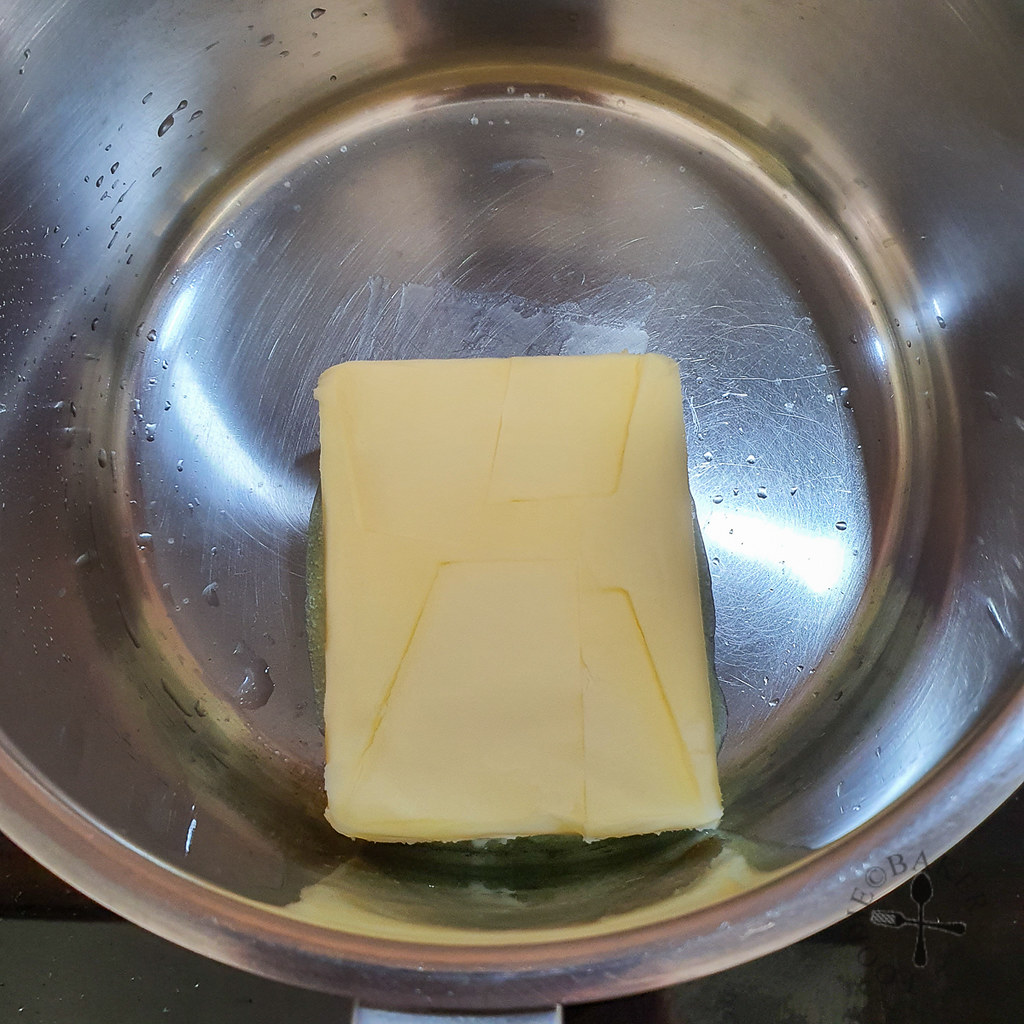
Stage 1 – Melt the Butter. Place butter in an unheated, heavy-bottomed stainless steel pan / pot over low heat. Swirl gently (no need to stir) until all the butter has melted.
- It’s easier to monitor the browning with light-coloured pans.
- Some prefer a wide pan but I personally prefer to use a slightly deeper pot so that the butter does not sputter everywhere. The IKEA 2-litre saucepan works well for me.
- Use low heat instead of high heat. If you use high heat right away, butter will melt unevenly, with some coming to a simmer while some are still un-melted. This may cause the butter to burn unnecessarily.
- I use cold, unsalted butter straight away from the fridge without cutting into small cubes / pieces. Hence it is important to start with low heat to let the butter melt slowly. You can let the butter come to room temperature / cut into small pieces if you want to, but why waste time or make yourself having to wash more things?
- I’ve never tried making browned butter using salted butter but I’ve read online that most advise against it.

Stage 2- Evaporate the Water. After all the butter has melted, let the butter come to a simmer. Stir gently with a heatproof spatula constantly, scrapping the bottom and sides so that the milk solids do not burn.
- Butter consists of fat, water and milk solids. As butter heats up, it will reach a temperature where water turns into steam (100°C). After the liquid water has fully escaped, the butter temperature will then continue to climb for the milk solids to brown.
- As the water turns into steam, it will bubble and sizzle, and make a lot of hissing noises. The butter will also sputter – hence my preference for a deeper pot. To minimise sputtering and to aid the water to escape from the butter, stirring with a heatproof spatula (or even a spoon) helps. I don’t use a whisk as it will incorporate air into the butter. In addition, I use the spatula to scrape the milk solids later on, one less equipment to wash!
- It is important to stir and scrape the bottom and sides of the pot to prevent the milk solids from burning.
- Once you have made browned butter a few times and are more confident and experience, you can turn up the heat during this stage to speed up the process.
- When the hissing sounds start to die down and the bubbling becomes less vigorous, it is a sign that most of the water has turned into steam and you are now reaching the next stage.

Stage 3 – Foaming and Let it Brown. As the sizzling and bubbling subside, the butter will start to foam. Pay close attention and stir constantly until you get a whiff of nuttiness. Remove from heat and stir constantly until you see brown specks dotting throughout the foam / forming at the bottom of the pot. Return the pot to low heat as needed if the butter has cooled down too much or you do not see the brown specks even after the foam subsides.
- It is fine to be distracted during Stages 1 and 2, but you must pay 200% attention during Stage 3. It is a fine line between browned butter and burnt butter.
- Some butter generates more foam than others. For butter with lesser foam, you will be able to see the bottom of the pot and the milk solids turning brown. I’m using Lurpark in the photos and mine turned out have more foam. This made it a little difficult to see if the milk solids have browned. Hence, I removed the pot from heat immediately once I smell the nuttiness. This allows me to better control the browning of the butter.
- The milk solids should be brown and not black. Once black, it is burnt butter and you will have to start over. Butter is not cheap here in Singapore so I’d rather err on the side of caution and brown my butter slowly.
- Practice makes perfect! Don’t give up if you burnt your butter (it still happens to me from time to time), keep trying!
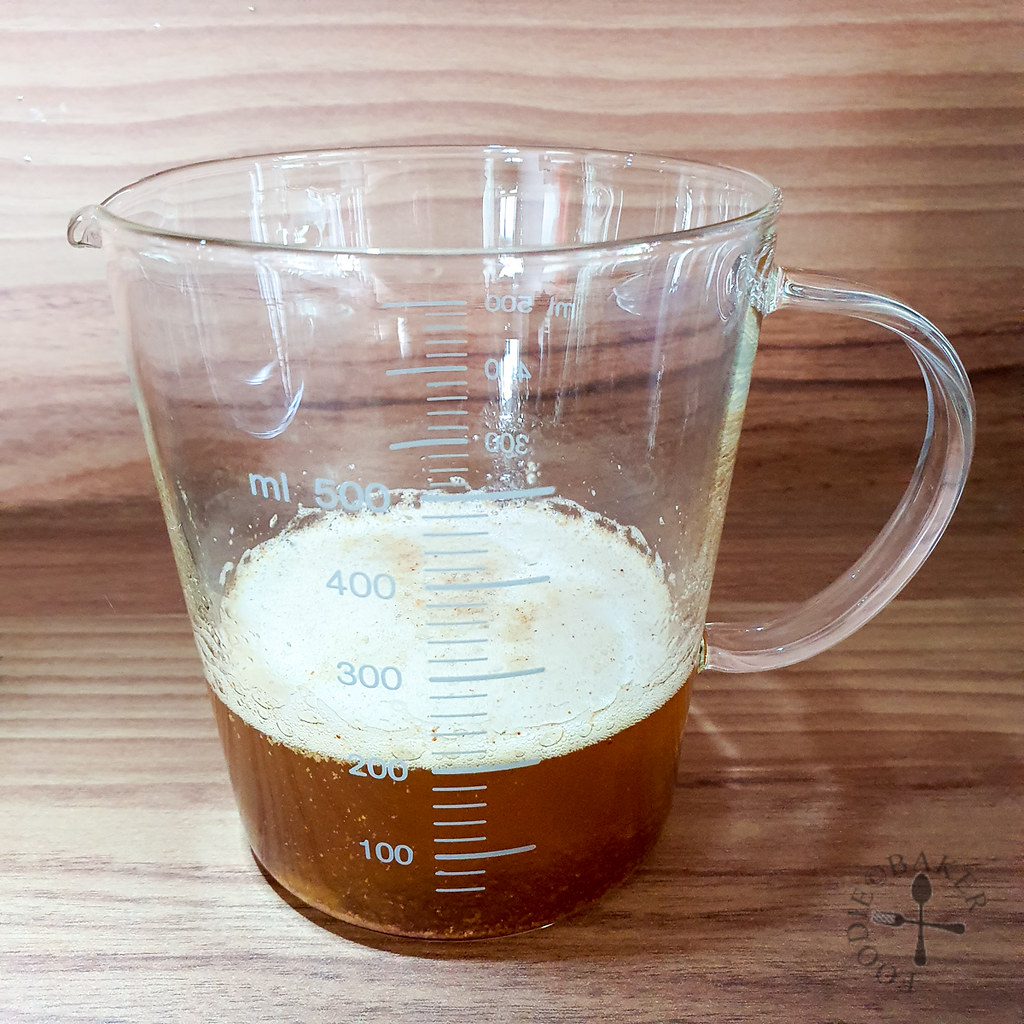
Stage 4 – Cool the Butter Immediately. Once the butter has browned, plunge the bottom of the pot into a bowl of ice water. Alternatively, pour the butter out into a heatproof jug/bowl.
- It is important to stop the cooking once the butter has browned to prevent the milk solids from burning. The way to do so is to bring down the temperature of the butter.
- The fastest way is to place the bottom of the pot into a bowl of ice water. However I personally prefer to pour the butter into a heatproof jug/bowl instead and stir occasionally to cool the butter. There is something satisfying seeing the beautiful liquid gold in a pretty jug. (Yes I’m weird I know!)
- It is optional whether to incorporate the browned milk solids into the recipe that you are using. If you don’t want it, you can strain the butter through a sieve. I personally like seeing them dotting through my financiers, so I always make sure to scrape every single bit out.
Financiers: Easy-Peasy!
Once you have made and cooled the browned butter, making the financiers is a breeze. There’s no need to use a mixer – I’ve made them plenty of times using just a whisk. But if you are making a big batch, it is more convenient to make it in a stand mixer.
Financiers are small cakes, so you will need silicone moulds to bake the batter in. I highly recommend using silicone moulds as no greasing is needed and unmoulding is incredibly easy. You can also muffin tins as alternatives. If they are metal, grease and flour them to prevent sticking.
Step-by-Step Photos | |
|---|---|
 |  |
| 1) Place butter in an unheated stainless steel pot. | 2) Place over low heat and swirl occasionally (not stirring), until butter has melted. |
 |  |
| 3) Let butter come to a simmer. It will start to sizzle and sputter as the water comes to a boil. Stir constantly and gently with a silicone spatula to allow water to evaporate from the butter | 4) Once the sizzling sound becomes softer, it is an indication that almost all the water has evaporated. The butter will now start to foam. |
 |  |
| 5) Once it starts foaming and you detect a whiff of nuttiness, remove from heat. Stir constantly and gently to allow the residual heat toast the milk solids. | 6) Stir until you see brown specks dotting throughout the foam. |
 |  |
| 7) Once the brown specks are dotting throughout the foam, place the pot in the bowl of ice water to stop the cooking. Alternatively, pour the butter into a heatproof bowl / measuring jug, scrapping all the browned bits out. | 8) Whisk cocoa powder and hot water into a paste if you are making chocolate financiers. |
 |  |
| 9) Whisk matcha powder and hot water into a paste if you are making matcha financiers. | 10) Whisk icing sugar, almond meal, flour and cornstarch together in a mixing bowl. |
 |  |
| 11) Pour in egg whites and whisk until incorporated. | 12) Keep the mixer running on low speed and drizzle in the browned butter. |
 |  |
| 13) The batter will be quite liquidy. | 14) Mix with the desired flavours and transfer the batter into a piping bag. (You can also just scoop the batter into the moulds if you don't want to use piping bags). |
 |  |
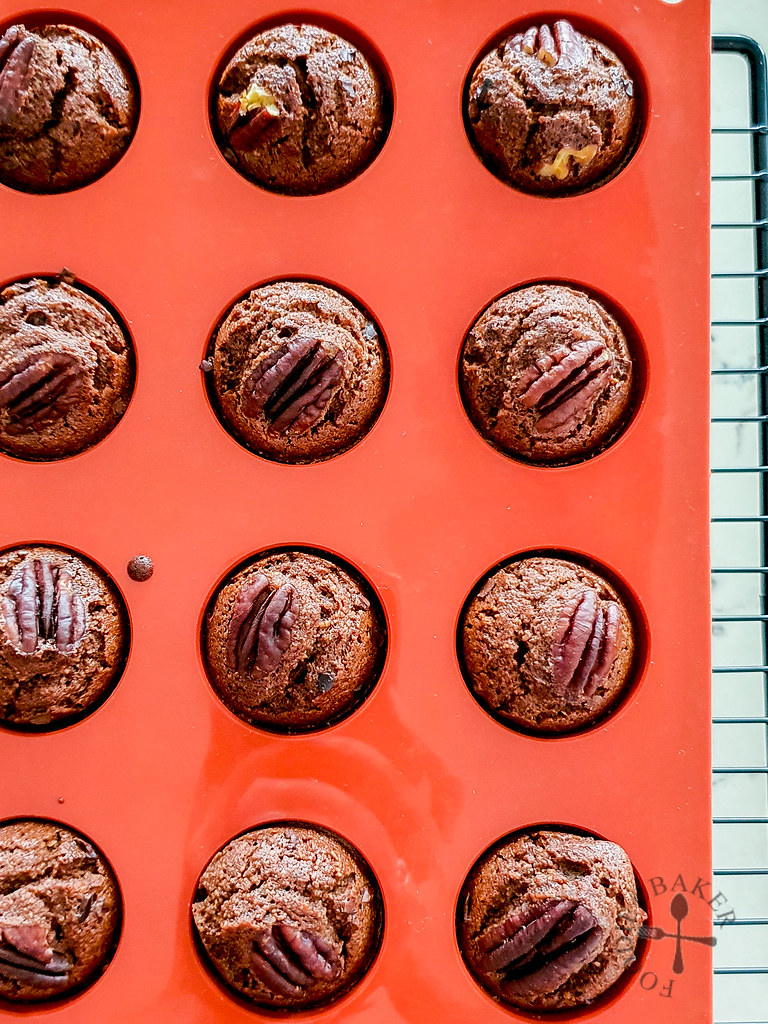
| 15) Fill the moulds to 80% full. | 16) Top with desired toppings and bake away! |
Browned Butter Financiers
INGREDIENTS
Browned Butter
- 100 grams unsalted butter
Financiers
- 80 grams icing sugar, sifted to remove lumps
- 70 grams almond meal
- 22 grams all-purpose flour
- 3 grams cornstarch
- 90 grams egg white
Variation – Chocolate Pecan
- 1 tablespoon cocoa powder
- 2 teaspoon hot water
Variation – Matcha Adzuki
- 1 tablespoon matcha powder
- 1 tablespoon hot water
INSTRUCTIONS
Browned Butter
- MELT: Place butter in an unheated stainless steel pot. Place over low heat and swirl occasionally (not stirring), until butter has melted.100 grams unsalted butter
- EVAPORATE: Let butter come to a simmer. It will start to sizzle and sputter as the water comes to a boil. Stir constantly and gently with a silicone spatula to allow water to evaporate from the butter.
- BROWN: Once the sizzling sound becomes softer, it is an indication that almost all the water has evaporated. The butter will now start to foam and you will detect a whiff of nuttiness. Remove from heat at this point. Stir constantly and gently to allow the residual heat toast the milk solids. Stir until you see brown specks dotting throughout the foam. Return to heat as needed if the butter has cooled down too much or you are unable to see the brown specks forming.
- COOL: Once the brown specks are dotting throughout the foam, place the pot in the bowl of ice water to stop the cooking. Alternatively, pour the butter into a heatproof bowl / measuring jug, scrapping all the browned bits out.
- Let browned butter cool completely before using.
Financiers
- Preheat oven to 190°C (conventional) / 180°C (convection). If using silicone moulds, no greasing/flouring is needed. If using metal/muffin tins, butter then dust the tins with flour. Invert the metal tins to dust out excess flour.
- Whisk icing sugar, almond meal, flour and cornstarch together in a mixing bowl. For stand mixer, just use a paddle and mix on low speed until incorporated.80 grams icing sugar, 70 grams almond meal, 22 grams all-purpose flour, 3 grams cornstarch
- Pour in egg whites and whisk until incorporated. For stand mixer, mix on medium-low speed until incorporated.90 grams egg white
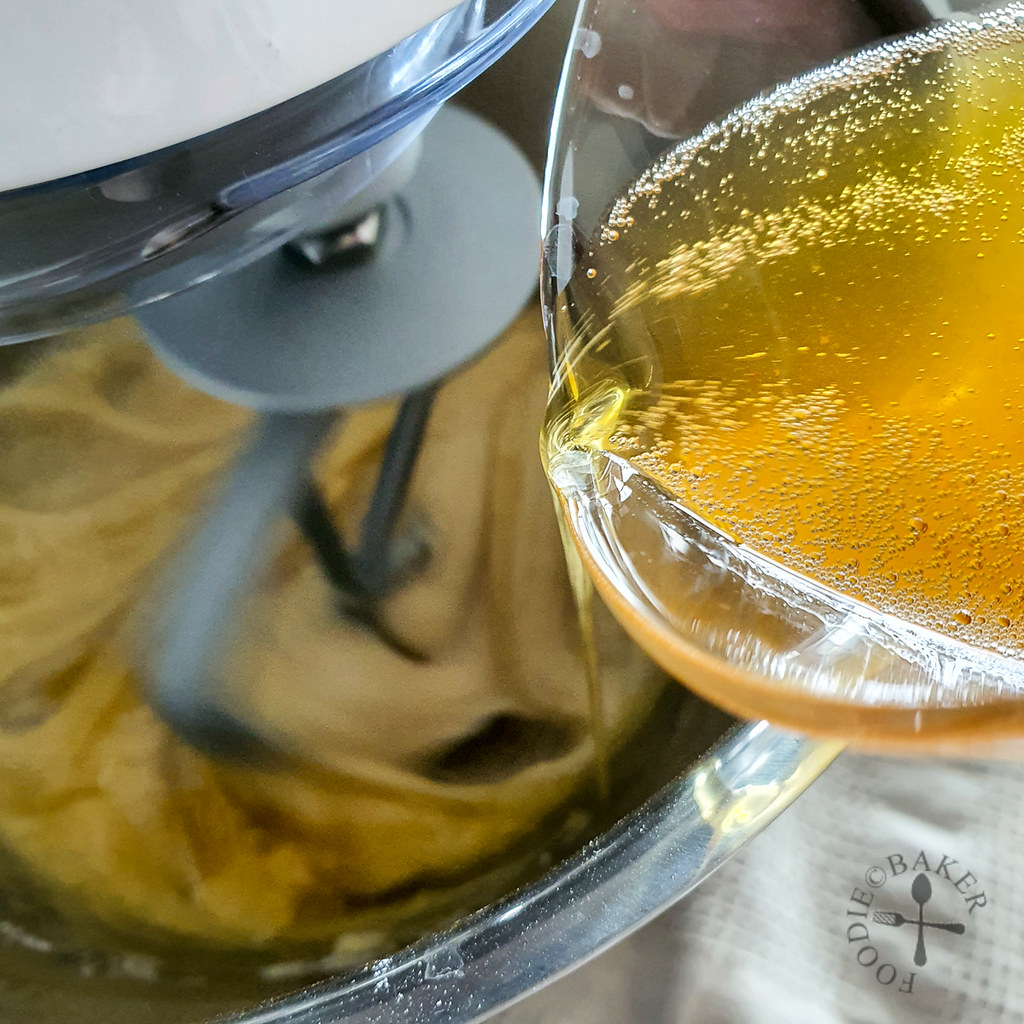
- Slowly drizzle in the cooled browned butter and whisk to incorporate into the batter. If you don't have someone to help you pour in the browned butter while you whisk, you can pour in a bit browned butter, whisk, pour, whisk, and repeat. For stand mixer, keep the mixer running on low speed and drizzle in the browned butter. The resulting batter is quite liquidy.
- Fill the moulds up to 80% full. You can use spoons or measuring cups to scoop the batter into the moulds. Alternatively and for faster filling of the moulds, transfer the batter into a piping bag. Twist and seal the large end. Holding the piping bag upside down (to prevent the batter from just flowing out), snip off a little of the tip. Pipe the batter into the moulds. As you get more confident, you can snip off a bit more of the tip to fill the moulds faster.
- Bake for 20 to 25 minutes until a skewer inserted into the cake comes out clean.
- Let the financiers cool in the mould/tin for 10 minutes. Carefully unmould the financiers using a palette knife and let the cool completely on a wire rack.
Serving and Storage
- The financiers are best on the day they are made. They can be stored in an air-tight container at room temperature for 1 to 2 days. Longer than that, they should be stored in an air-tight container in the refrigerator where they should last for about 5 to 7 days. Let the financiers come to room temperature or warm them up briefly in the oven/microwave before serving.
- Let the financiers come to room temperature or warm them up briefly in the oven/microwave before serving.
Variations
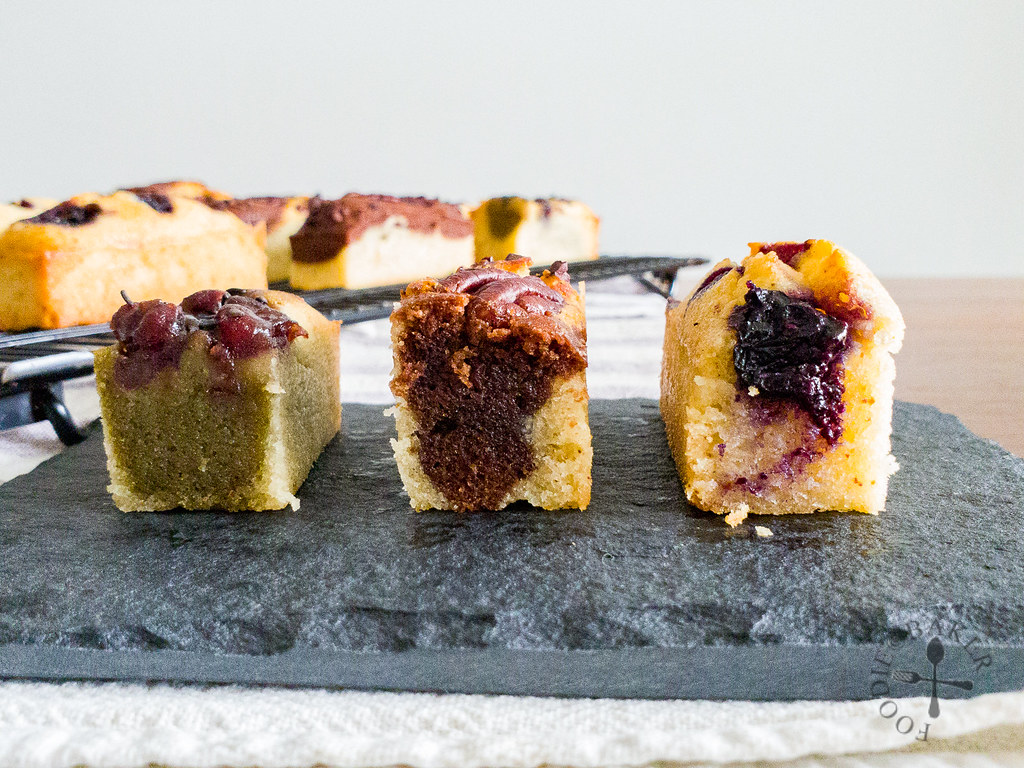
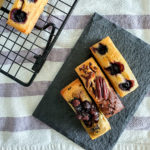
- Classic Blueberry: Fill the moulds with financier batter. Add in fresh or frozen blueberries, pressing them halfway down into the batter. Bake as per instructions.
- Chocolate Pecan: Whisk cocoa powder and hot water together. Let cool. Mix in half of the financier batter. Fill the moulds with half original batter and half chocolate batter. Top with pecan and sprinkle with cocoa nibs. Pecan can be substituted with other nuts. Bake as per instructions1 tablespoon cocoa powder, 2 teaspoon hot water
- Matcha Adzuki: Whisk matcha and hot water together. Let cool. Mix in half of the financier batter. Fill the moulds with half original batter and half matcha batter. Scoop sweetened adzuki (those from a can) into the centre of the batter. Bake as per instructions.1 tablespoon matcha powder, 1 tablespoon hot water
NOTES
- The recipe makes enough to fill my round silicon mould – there are 15 mini rounds and each is 4cm in diameter and 2cm tall. Each mould holds approximately 30ml of batter (i.e total 450 ml)
- For my rectangular silicon mould – there are 12 rectangles, each is 8cm x 3cm x 3cm. It holds about 70ml of batter (total 840ml). Double the recipe to make enough to fill the moulds.
Fel says
Hello! May i ask how much fresh pandan extract can i add if i were to make them pandan flavoured?
Foodie Baker says
Hi Fel – fresh pandan extract is usually not very strong and since this recipe does not contain a lot of liquid, you can’t add a lot of the extract. I would try simmering pandan in the butter and combine with extract to get a stronger pandan flavour. Hope this works and let me know how it goes!
Rotem says
I would like to know if it is possible to replace the flour with almond powder?
Foodie Baker says
Hi Rotem – I’ve not tried this recipe with 100% almond flour so I’m not sure. But it may be possible as the amount of flour required in this recipe is very little. If you managed to try it out, do let us know the results. 🙂
Holly M Smith says
I think the recipe is missing salt. I didn’t realize until I had poured that it calls for unsalted butter, but there’s no salt added anywhere else either.
Jasline (FoodieBaker) says
Hi Holly – I don’t add salt to my financiers and they still turned out delicious. But I’m sure a few pinches of salt will enhance some of the flavours. Will have to experiment on this!