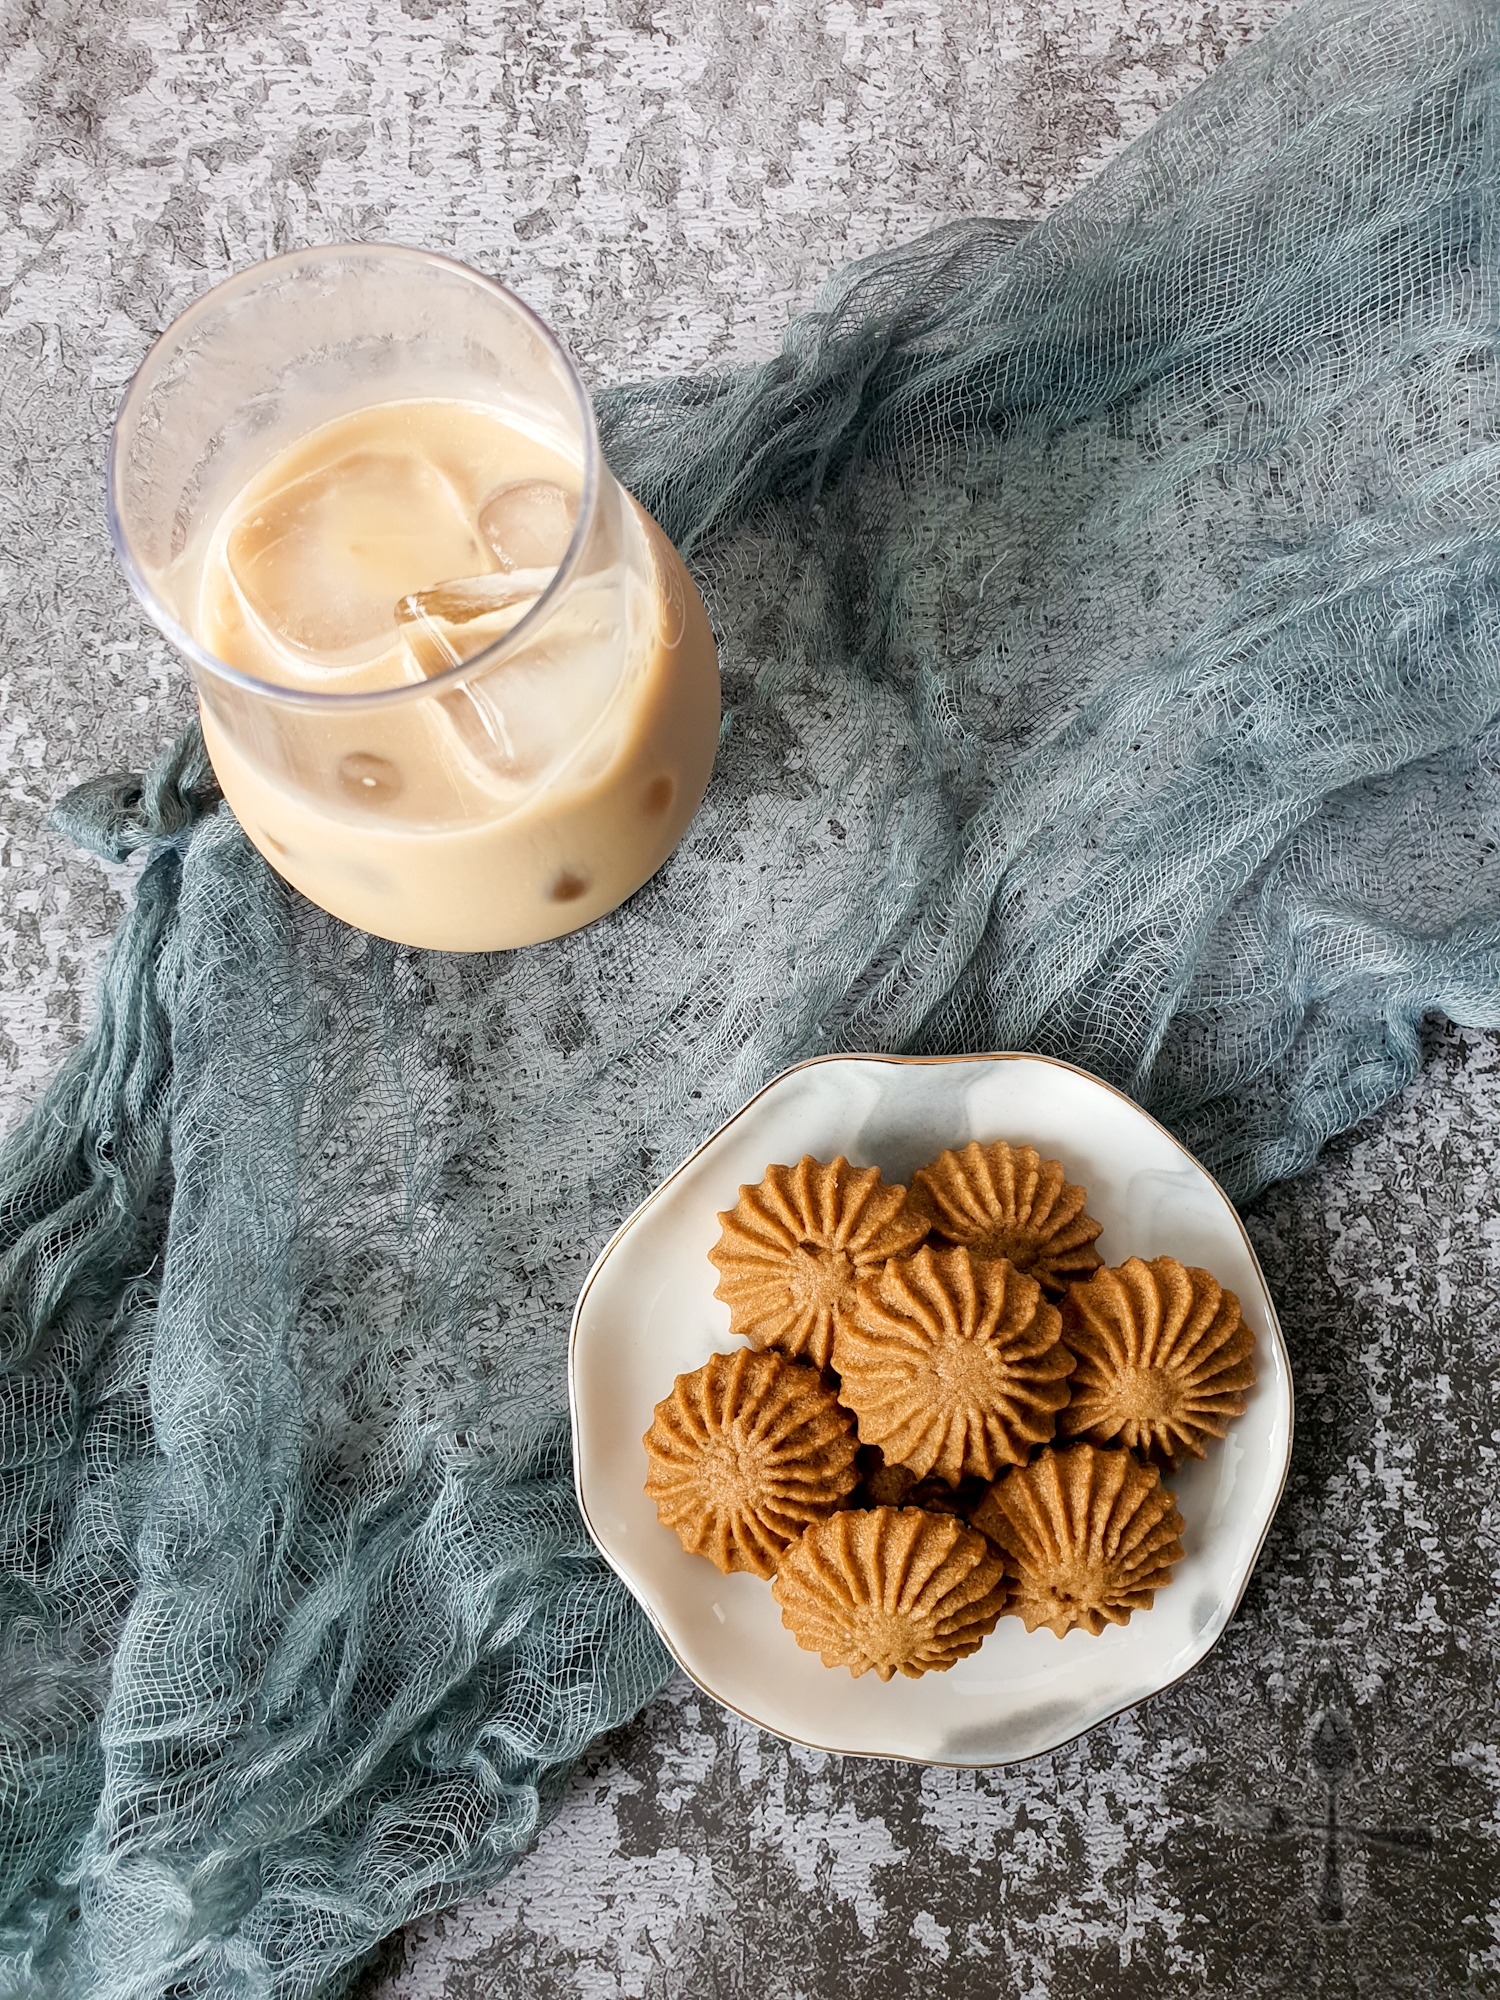
Kopi Gao Siew Dai. This literally means coffee rich less sweet, and is the perfect name for these Coffee Butter Cookies. These cookies are crisp yet tender, packs a strong coffee punch and incredibly addictive.

The Chinese New Year fairs are hopping back in full force after two years of restricted activities due to COVID-19. As it is my yearly resolution to experiment one or two new Chinese New Year recipes, I went to sample the many cookies offered by the various vendors at the shopping malls for inspiration. I must say the vendors are incredibly creative with their offerings! But I’m boring, so I decided to make coffee butter cookies instead. 😂
Characteristics of these Coffee Butter Cookies
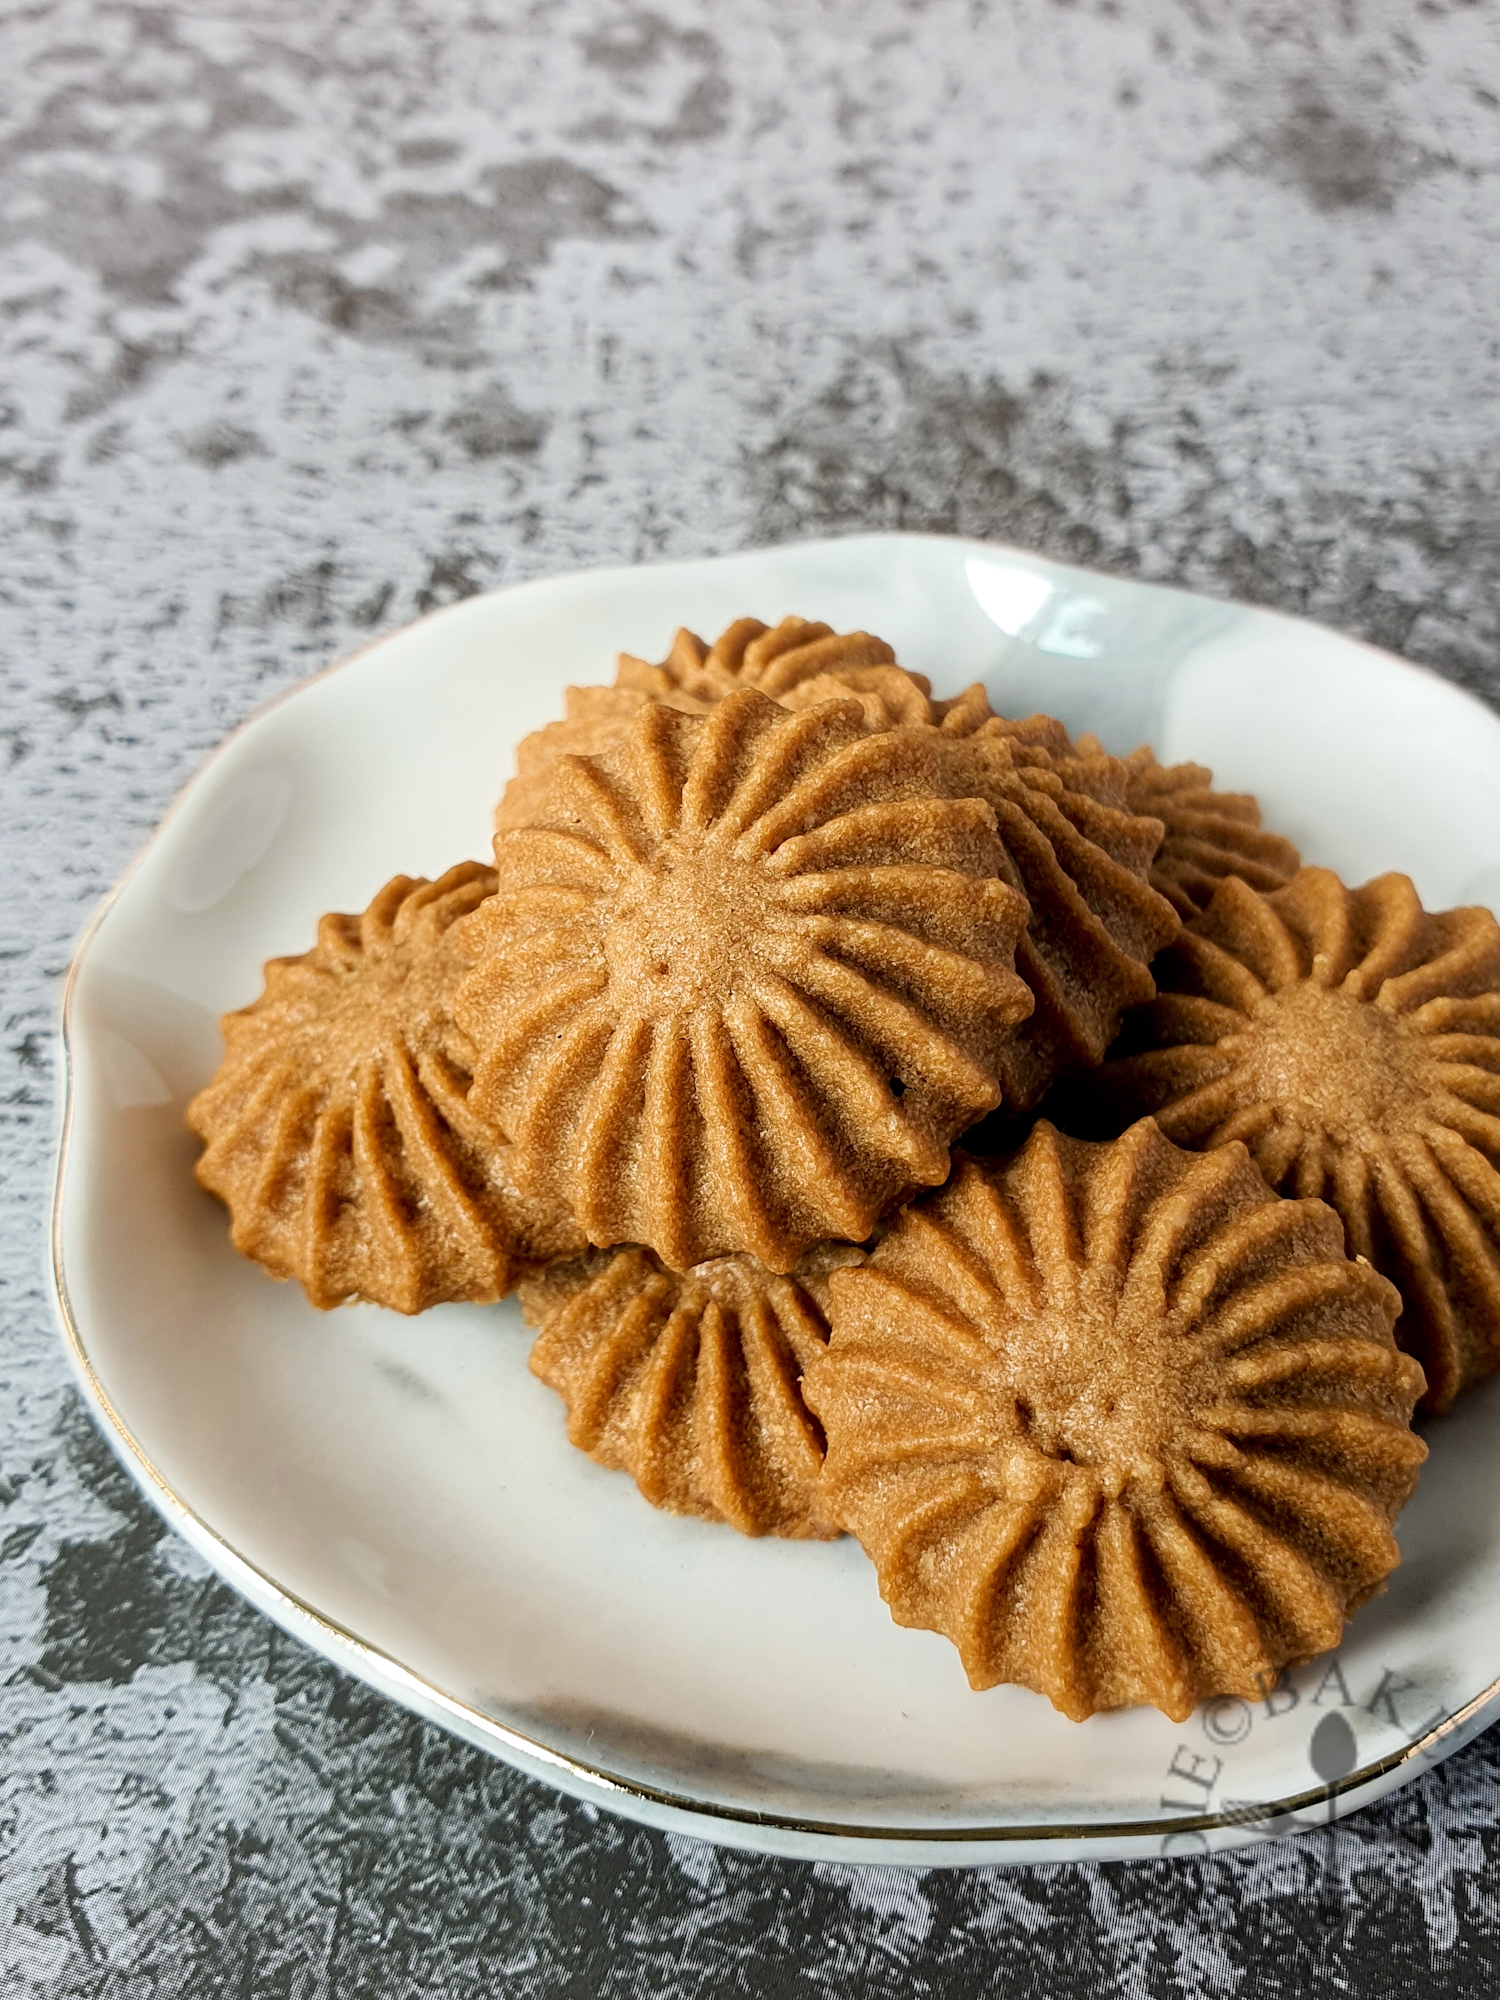
The cookie is tender but holds together without crumbling. The first bite is crisp, followed by a fall-apart, sandy texture. The ingredients used for these cookies are butter, caster sugar, cake flour, ground almond, milk, salt and coffee. It is largely similar to other coffee butter cookie recipe out there. But the choice of caster sugar and cake flour, together with the techniques used yield a cookie of this texture.
Little spread with well-preserved piped details. Some recipes call for freezing the cookie batter before baking to minimise spread. But I didn’t find significant differences in terms of looks, taste or texture with or without freezing. This cookie batter does not spread much and even with the lower baking temperature and longer baking time, the cookies’ piped details are still obvious after baking.
Small and intense, and incredibly addictive. I purposely piped the cookies smaller at 2.5-cm in diameter – keeping in mind that the cookies will still spread a little during baking. After baking, the cookies are about 3-cm big. Each cookie packs a strong coffee punch, and X calls them kopi gao siew dai (literally means coffee strong less sweet). I like them so much that I can’t stop popping one into my mouth every now and then.

The Ingredients
Coffee: Use the strongest instant coffee you can find and afford. I don’t use coffee paste / emulco because it usually comes in a big tub / bottle (will take ages to finish it up). I personally like to use G7 instant coffee from Vietnam. It is strong and full of coffee punch. I use the no-creamer, and no-sugar 2-gram sachets. It is more convenient for me and will not spoil as fast as those stored in bottles.
Butter: Use the best-quality butter that you can find and afford. It is preferred that the butter has a minimum 82% fat content. If you like milky taste in cookies, use a milky butter like SCS. For the supposedly “traditional” flavour, use canned butter like Golden Churn. It is really up to individual preference – do a test, and see what kind of butter you like! I personally like Lurpark, mainly because this is the brand I stock up at home. (I buy them in bulk from wholesalers and freeze them.)
Note: Canned Golden Churn is salted, so do take note to reduce the amount of salt).
Sugar and Salt: Caster sugar is used instead of icing sugar in this recipe. This results in the cookies having a more crisp and snap texture than a crumbly, melt-in-the-mouth texture. Salt is there for balance, I dissolved the salt in the milk for convenience.
Milk: Milk is used to dissolve the coffee and the sugar/salt. As the sugar used is caster sugar, dissolving it in first instance will allow it to emulsify into the butter better (no big sugar granules). Because of the addition of liquid, the cookie batter is softer and easier to pipe.
Cake Flour: Cake flour is used to give the cookies a tender texture. I have leftover cake flour to finish and I found out that it has a protein content of only 6.2%, much lower than other brands of cake flour: Prima 7.5%; Red Man 9.8%. (Red Man’s one shouldn’t count as cake flour, as most cake flour’s protein content ranges 5% – 8%.) I will update the recipe once I tested with other brands of cake flour.
Almond Meal: Almond meal is used for a slight nutty flavour. You can substitute it with cake flour if you don’t have it on hand.
The Techniques
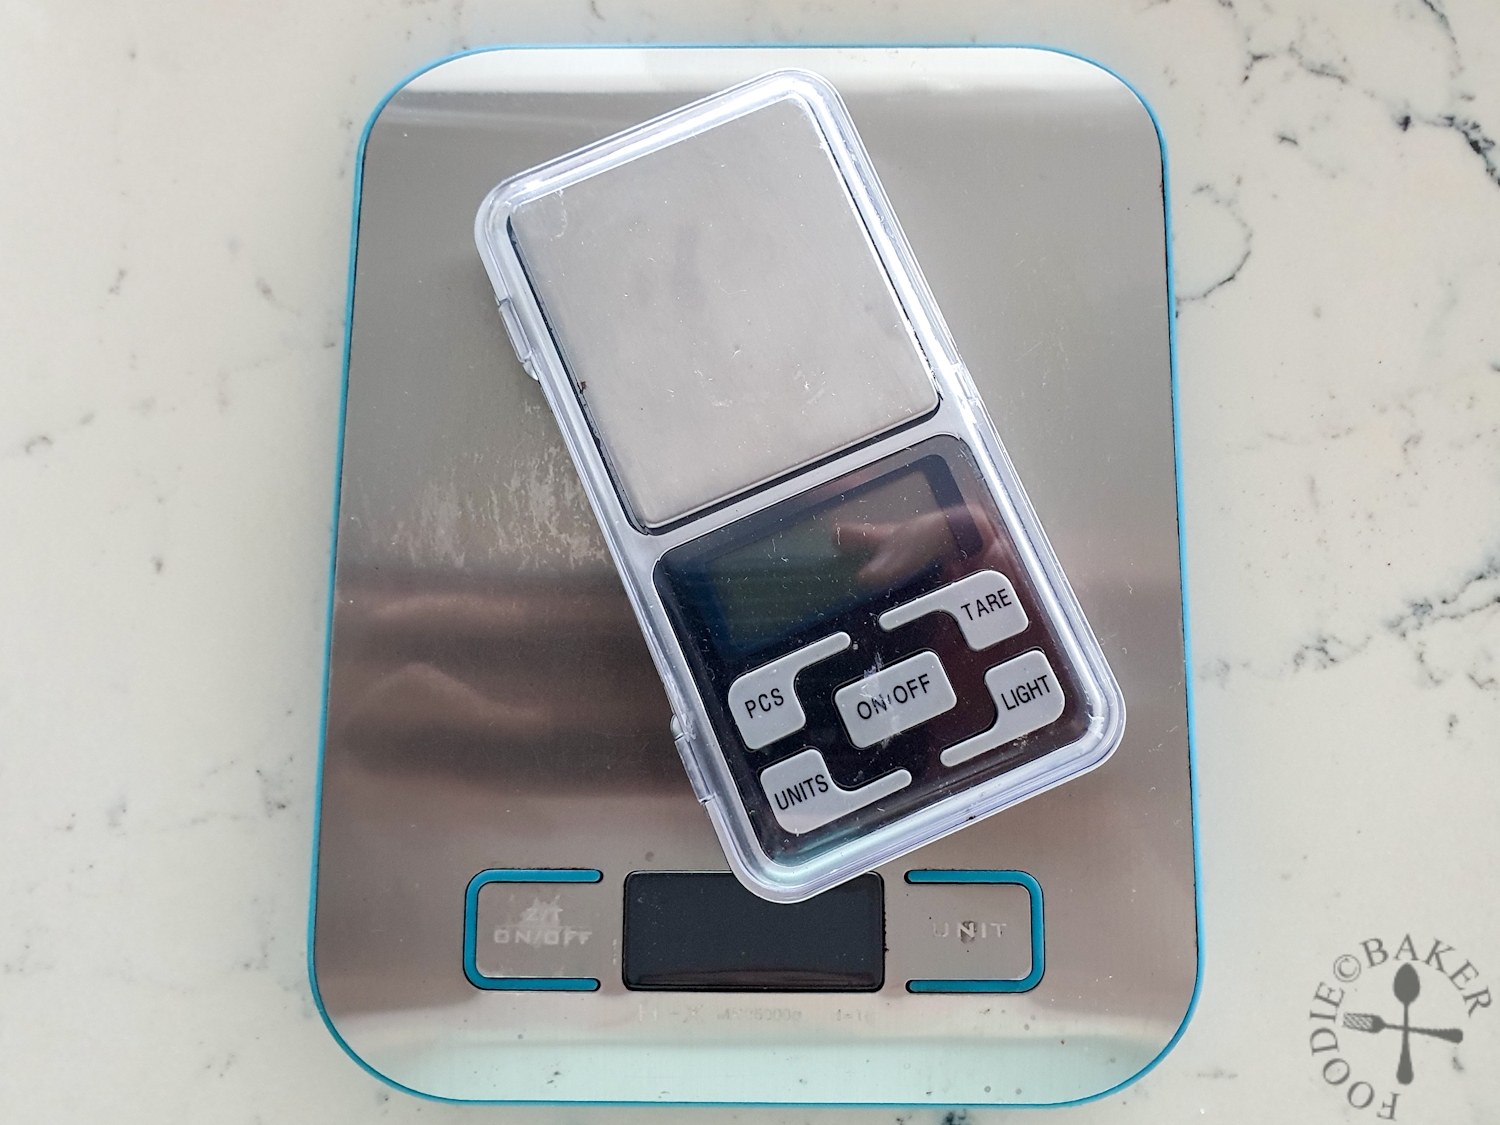
Use a scale: All measurements in this recipe are listed in grams. For quantities less than 30 grams, I like to use a more precise digital scale for the job, like a jewelry scale. This jewelry scale is relatively inexpensive and doesn’t take much space to store. If you only want one scale, do get one that displays to at least 1 decimal place. I don’t use cups or teaspoons as it’s just not as accurate.
Temperature: Butter must be softened before using. To save time, I use a microwave to soften the butter (usually Medium power at 15 seconds is sufficient for me). The butter is ready to be used at 20 to 22°C. This allows the other ingredients to better emulsify into the butter, and also more ease when piping the batter. If the butter is too soft, the cookies may spread more during baking, and losing the piped details.
No vigorous creaming: Many recipes call for butter and sugar to be whisked / creamed until very pale, light, and fluffy. This affects the cookies two ways: 1) it gives a more tender and melt-in-the-mouth texture; but 2) potential more spread during baking, which may result in the loss of the delicate piped details. For this recipe, the butter is still whisked (by hand) to give the cookies a light and airy texture, but not overly so, and in addition to the use of caster sugar instead of icing sugar, the texture of these cookies is more on the crisp side.
Light strokes: The flour is folded in with a spatula just until mixed in. You don’t want gluten to be created, so use light strokes to mix in the flour.
Piping: It is best to use a thicker piping bag as the batter, while still soft, is stiffer than frostings. I find Phoon Huat’s piping bags way too filmsy (maybe they have thicker ones now) but I bought mine in bulk from TaoBao. I use a close star tip which I bought online and of no brand, but I’ve provided the measurements in the step-by-step photos below. If you find the cookie batter very stiff and hard to pipe, try filling the piping bag with lesser batter, so that the heat from your hand can help soften the batter.
Baking: The cookies should be baked through completely (so no raw flour taste in the center). They should also only be lightly browned so that they remain buttery in flavour. But it is hard to tell if these coffee butter cookies are lightly browned as the cookie batter is already brown in colour to begin with. Every oven is different, so I would suggest baking a small batch of 5 cookies first to test. Take note that the cookies continue cooking a little as they rest on the hot baking sheet, so you should sample them only when they are cooling on the wire rack. If baking the cookies in batches, make sure you do not pipe the cookies directly on hot baking sheet. Let the baking sheet cool completely before piping a new batch.
Storage: Given Singapore’s humid weather, these cookies must be stored in an air-tight container once they are cooled completely so that they stay crisp. Do not leave them out for hours before storing them.
Final Thoughts
I’m really pleased with how these cookies turned out – crisp, tender and with a strong coffee punch. Even X likes these cookies’ taste and texture. But I think I like them more because I have already finished almost 1/3 of them on the day that they are baked… 😱
Leaving more more Chinese New Year cookies before the step-by-step photos and recipe – Happy Baking!
Step-by-Step Photos | |
|---|---|
 | 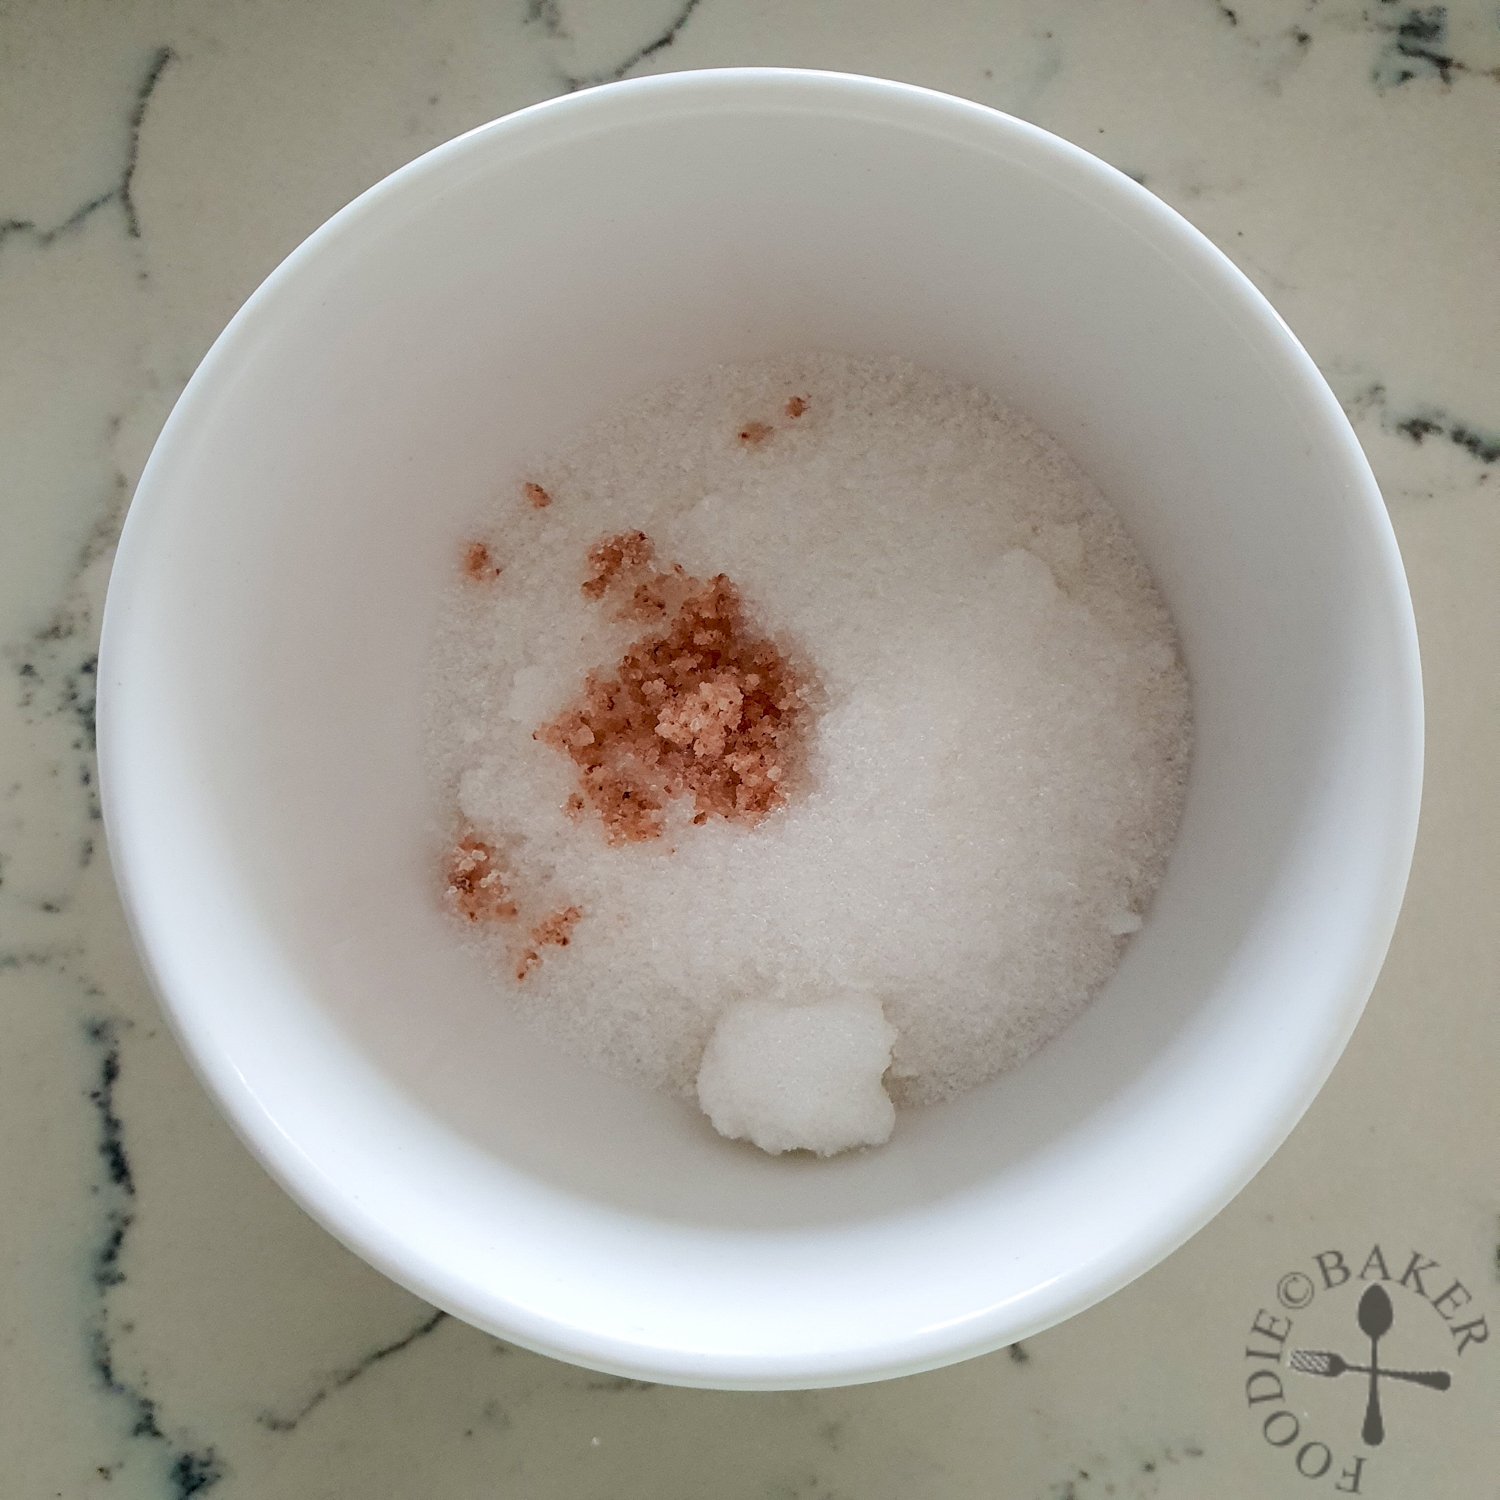 |
| 1) Place espresso in a small bowl. | 2) Place sugar and salt in another separate small bowl. |
 |  |
| 3) Pour 1/5 of the hot milk into the espresso. Dissolve the espresso. | 4) Pour the rest into the sugar-salt mixture. Dissolve the sugar and salt. |
 | 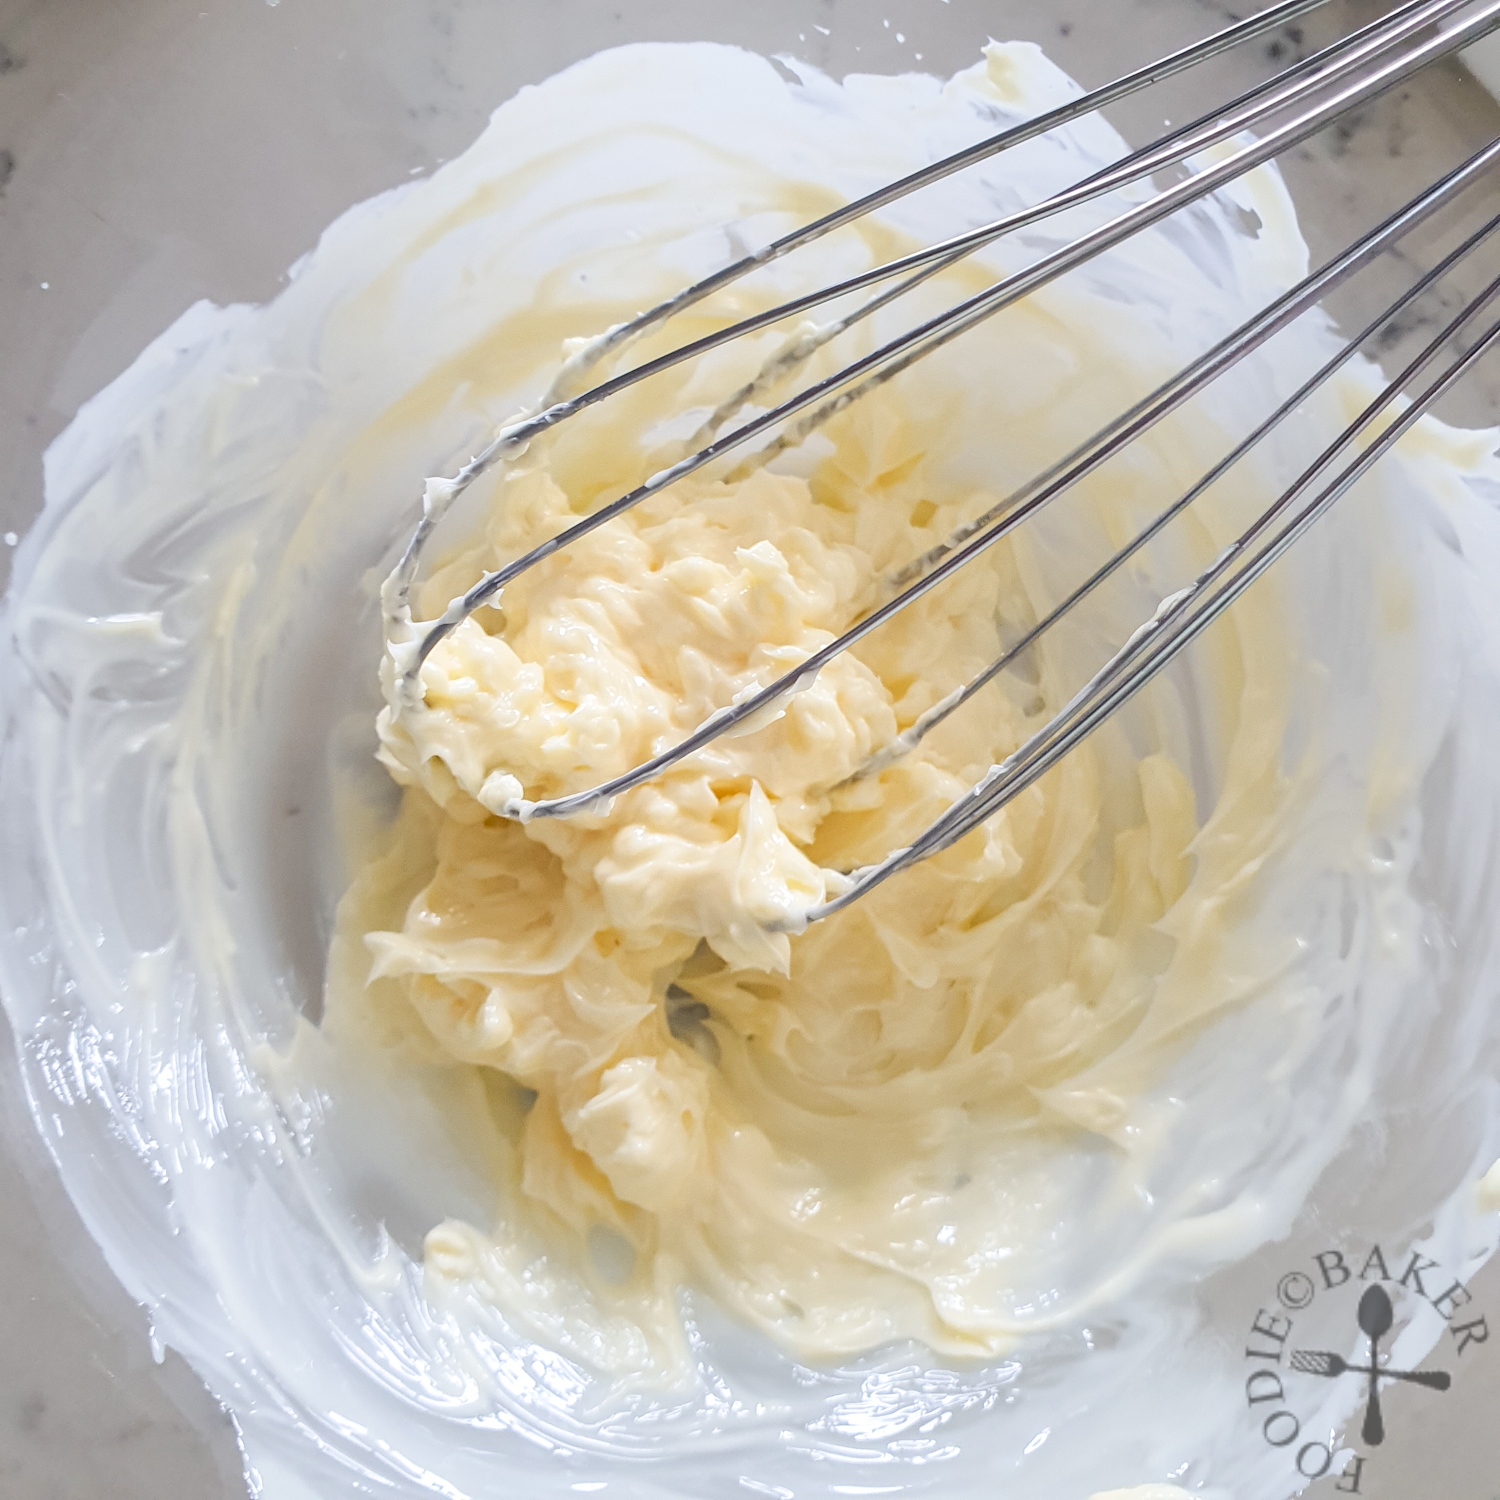 |
| 5) Place butter in a mixing bowl. Let it soften until it comes to 20-22°C. (I microwaved mine at Medium power for 15 seconds.) | 6) Use a wire whisk and whisk butter until it is of a smooth toothpaste-like consistency. |
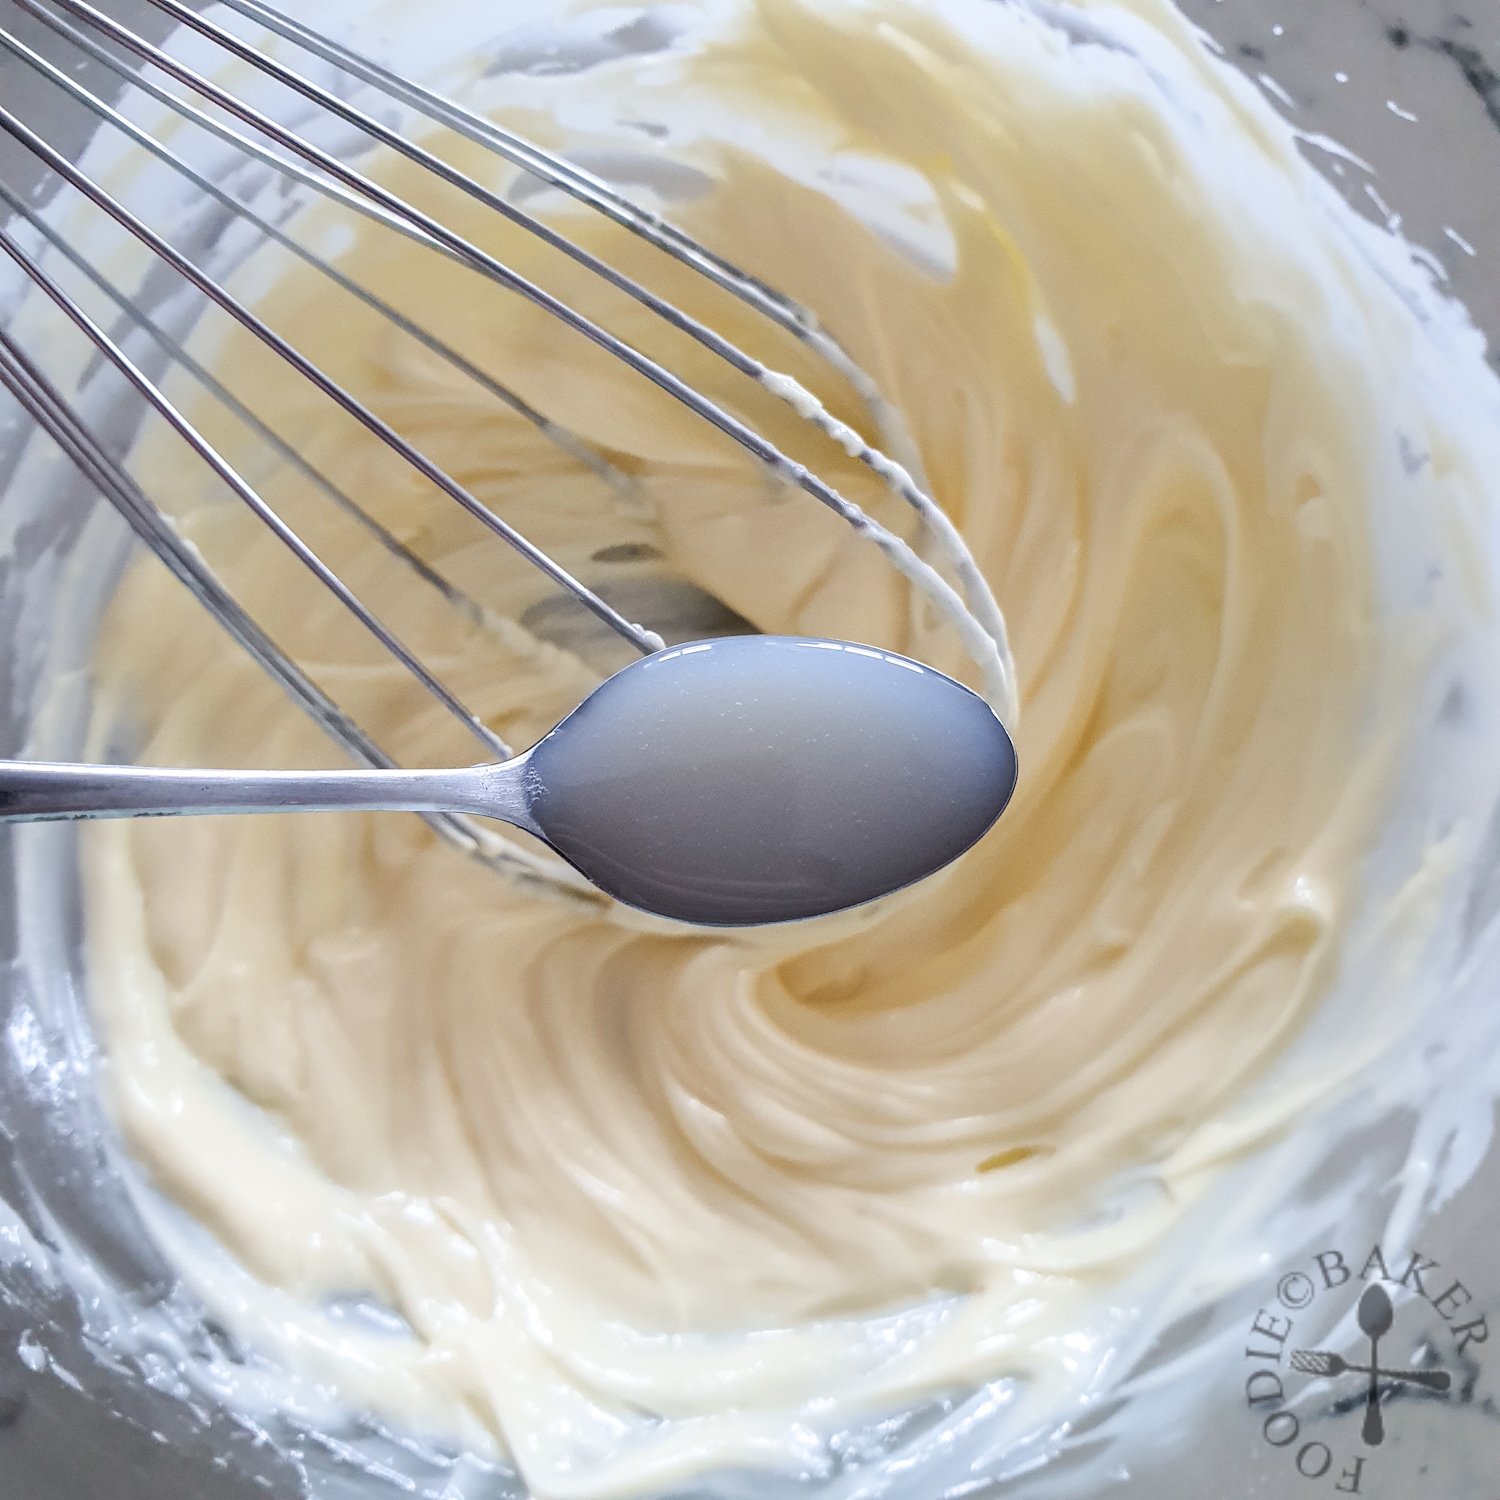 | 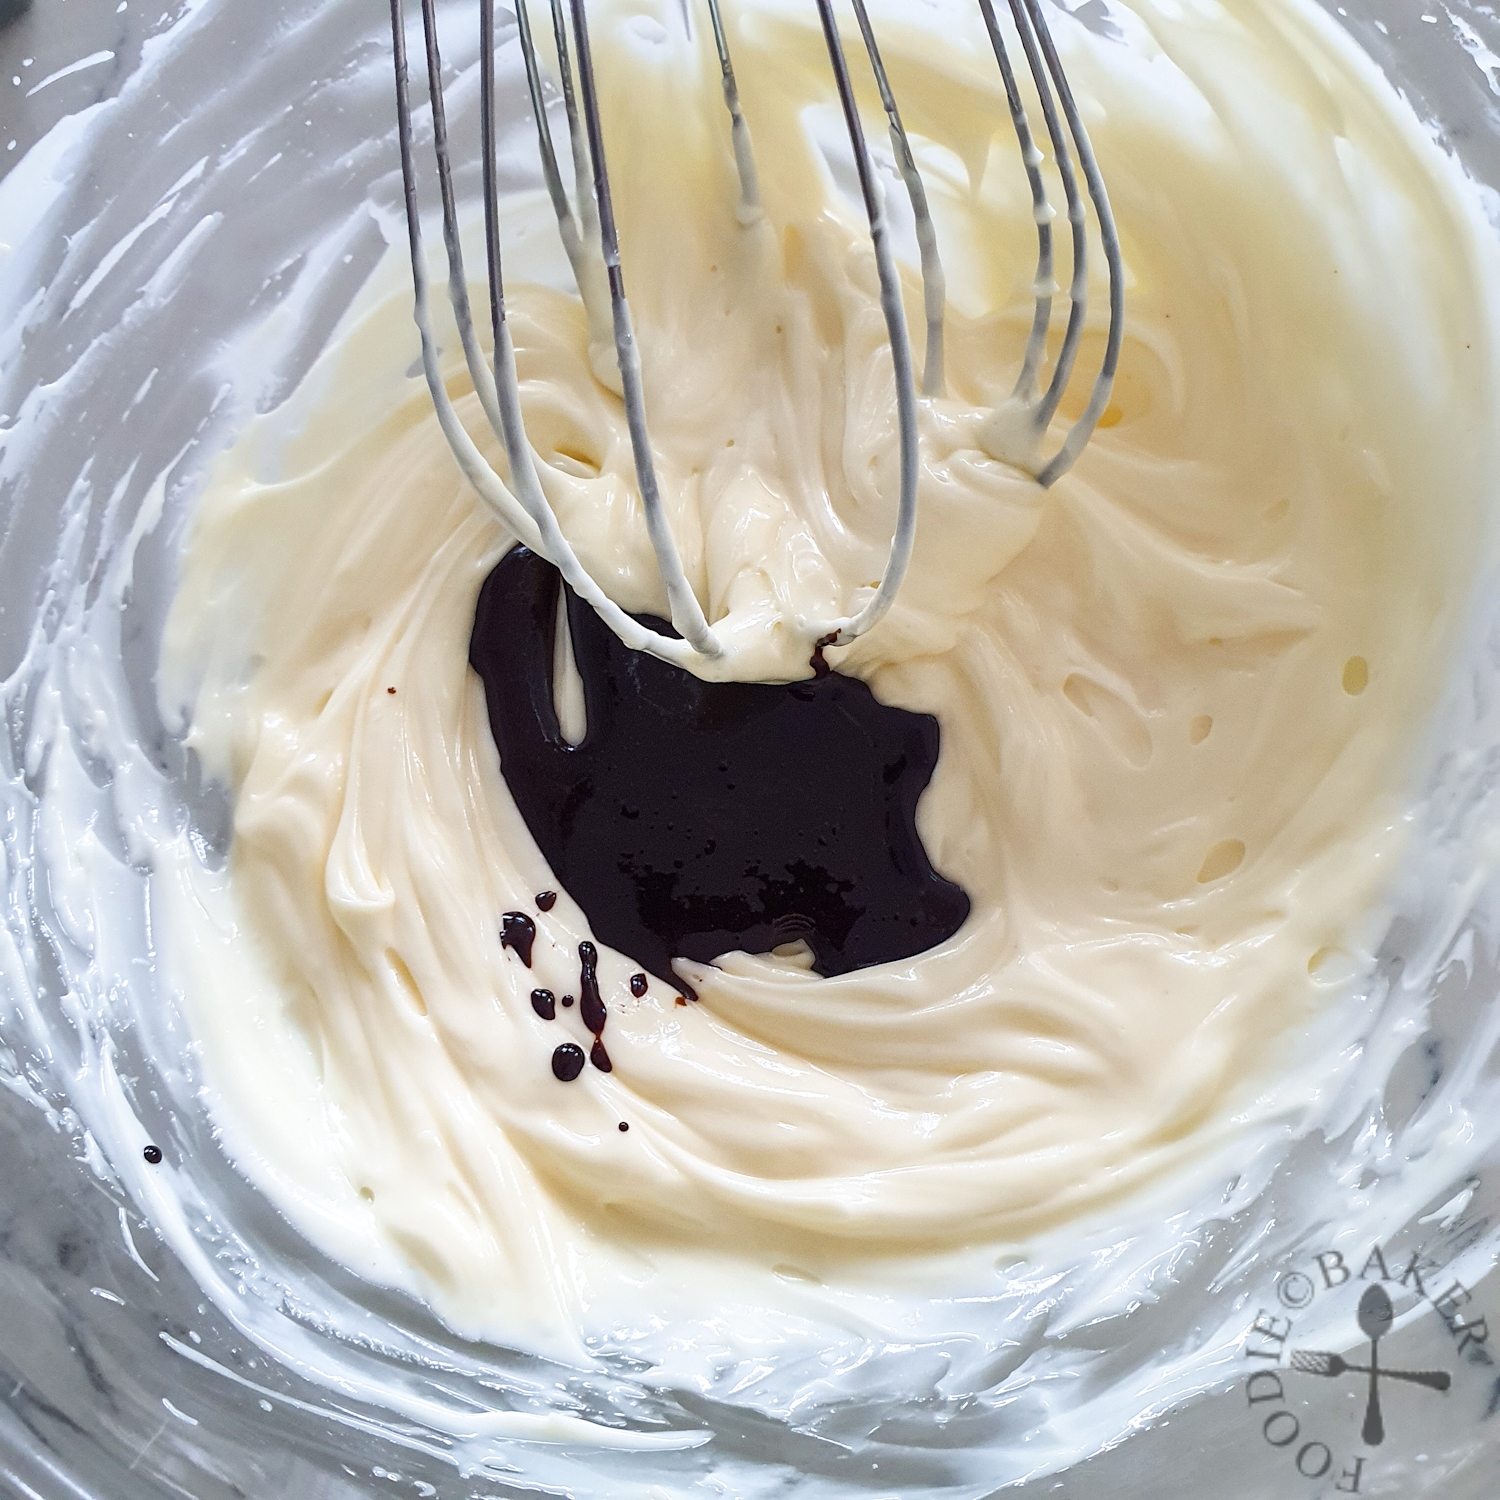 |
| 7) Add in sugar-salt-milk mixture by tablespoonfuls, whisking well after each addition until it is fully incorporated. | 8) Whisk in the coffee. |
 | 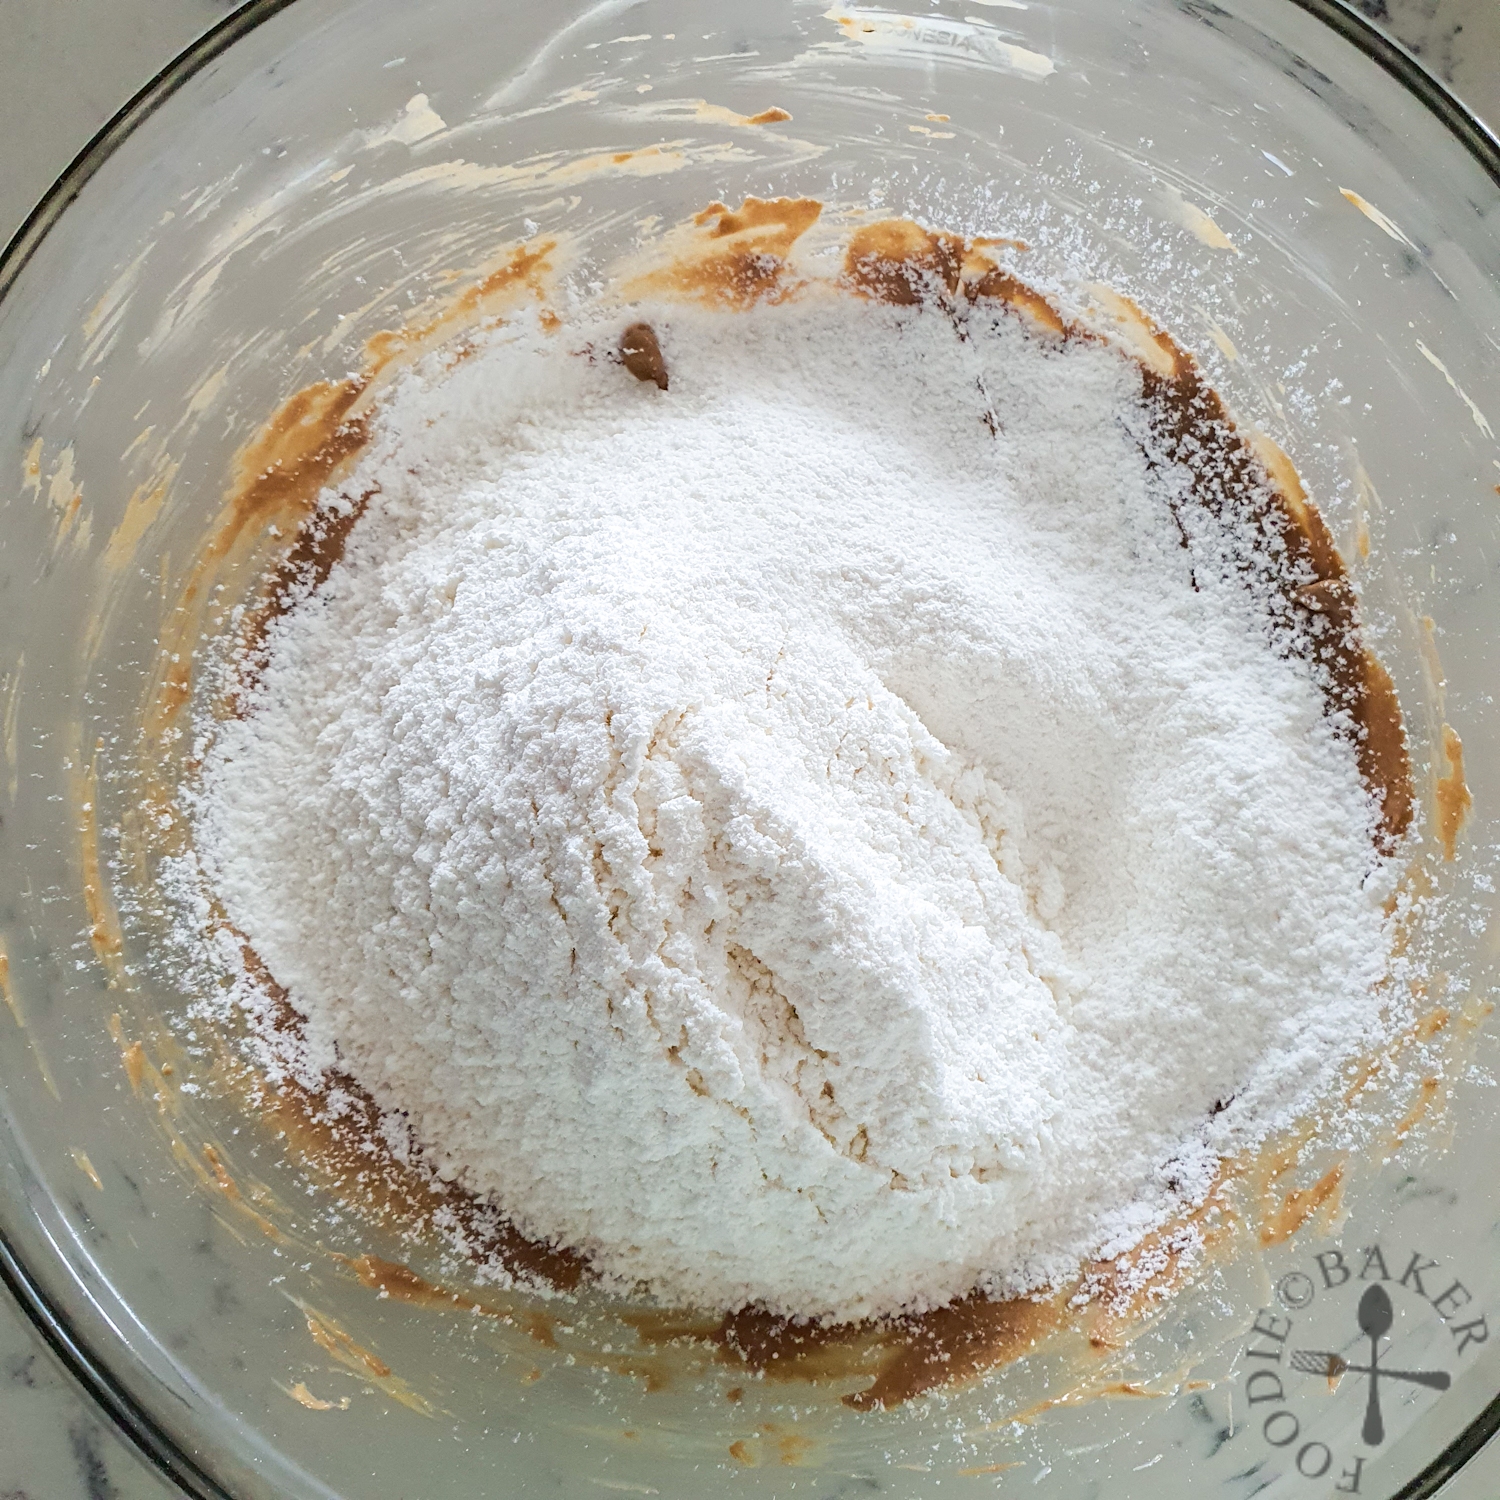 |
| 9) Break up the lumps, if any, in the ground almond and whisk into the batter. | 10) Sift in cake flour. |
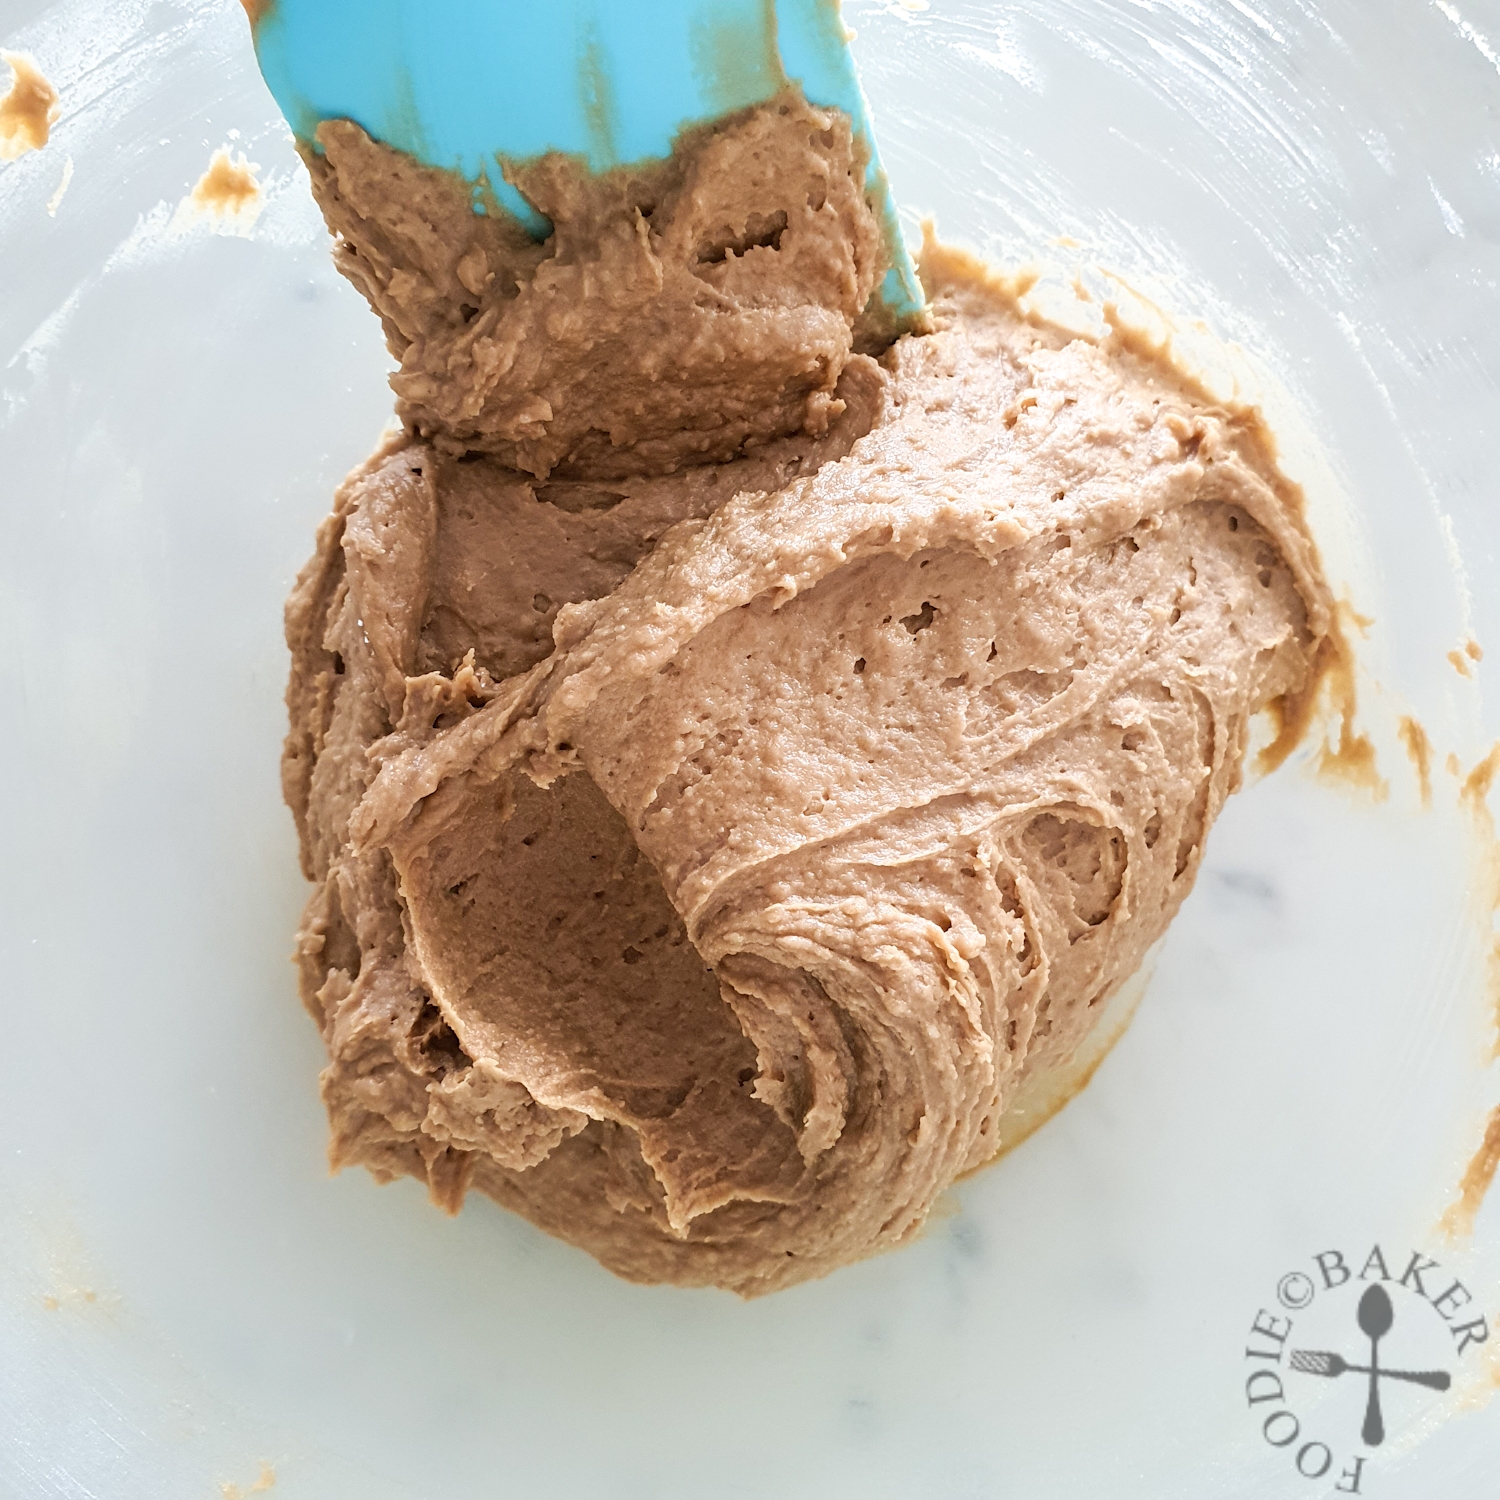 |  |
| 11) Fold with a spatula just until no specks of flour remain. Do not overmix. | 12) Fit a close star tip in a thick piping bag (or whatever tip you like). |
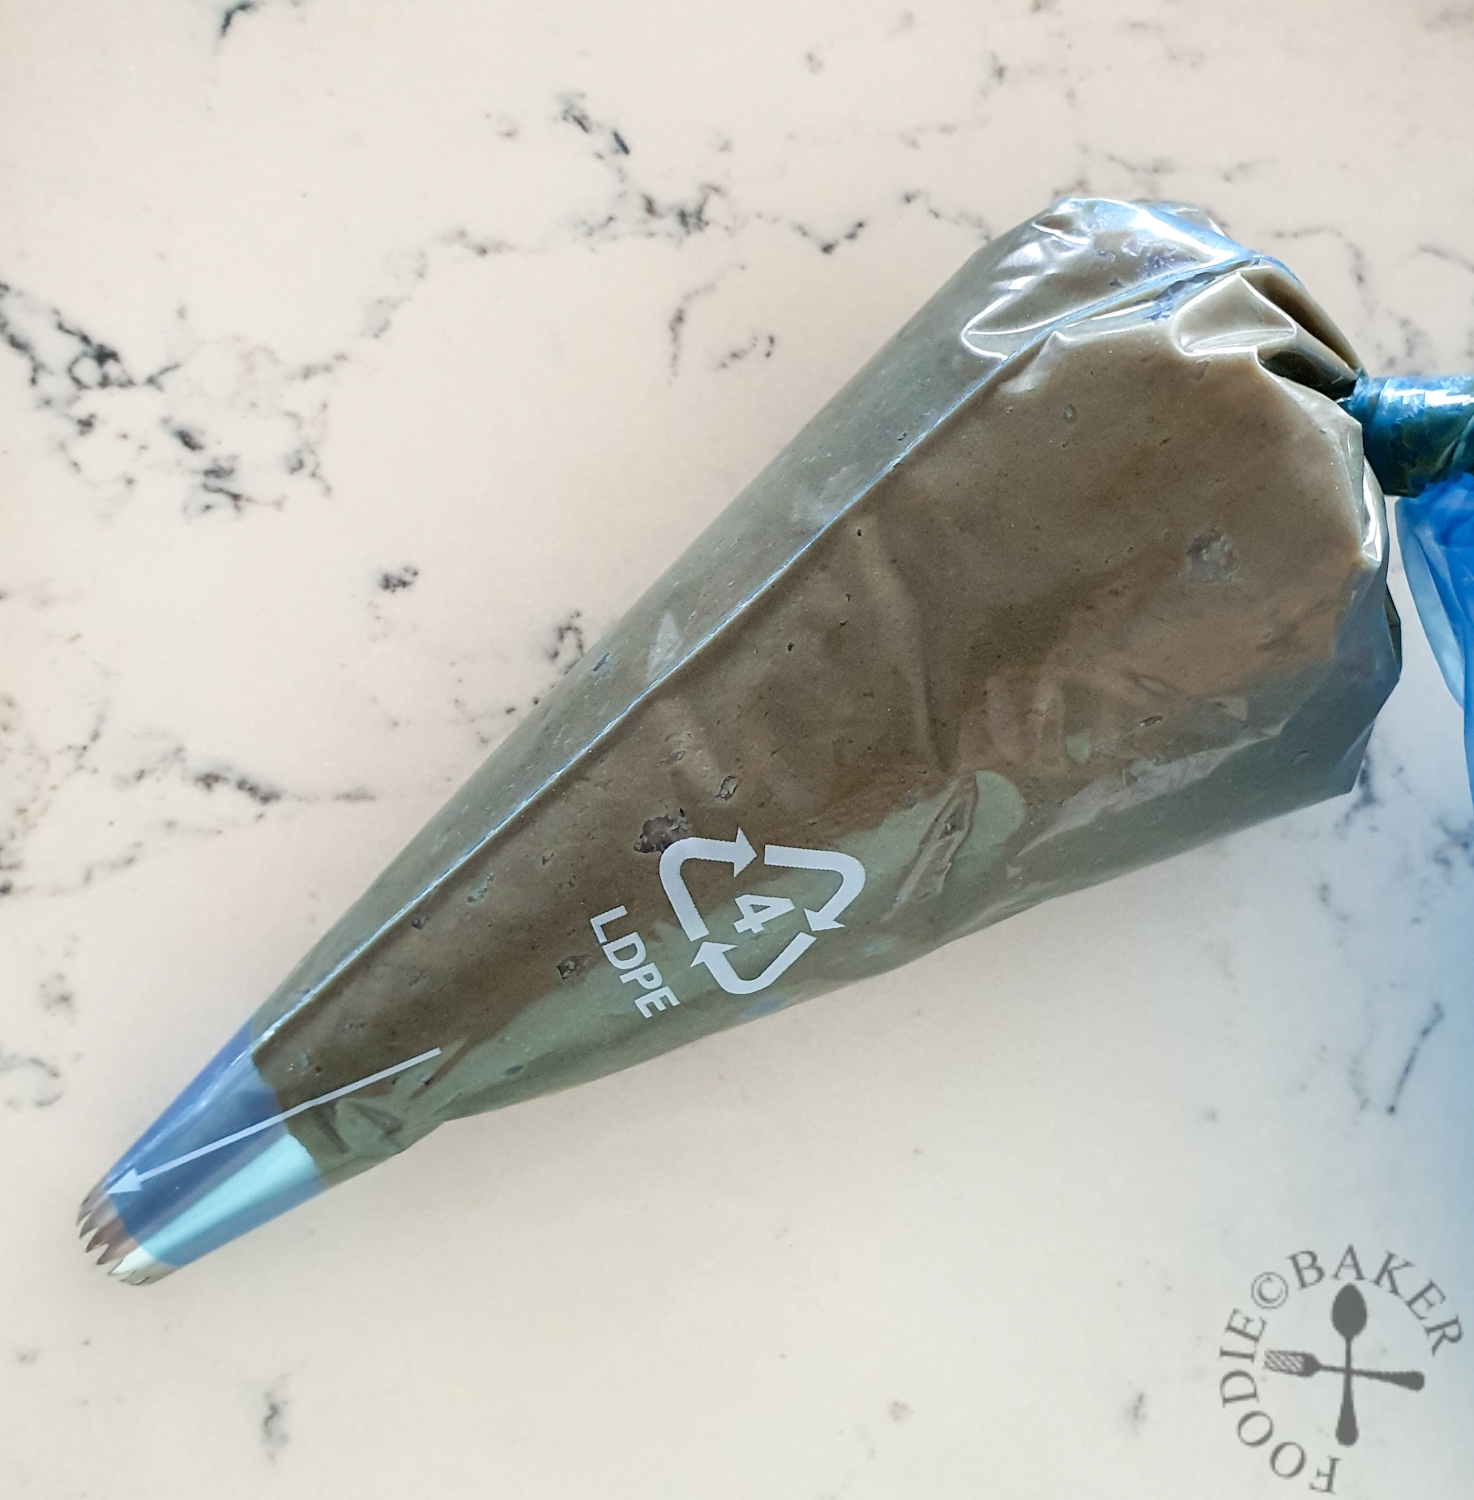 |  |
| 13) Scoop batter into the piping bag. | 14) Pipe small mounds of cookies onto the baking sheet, about 2.5-cm wide. |
 | 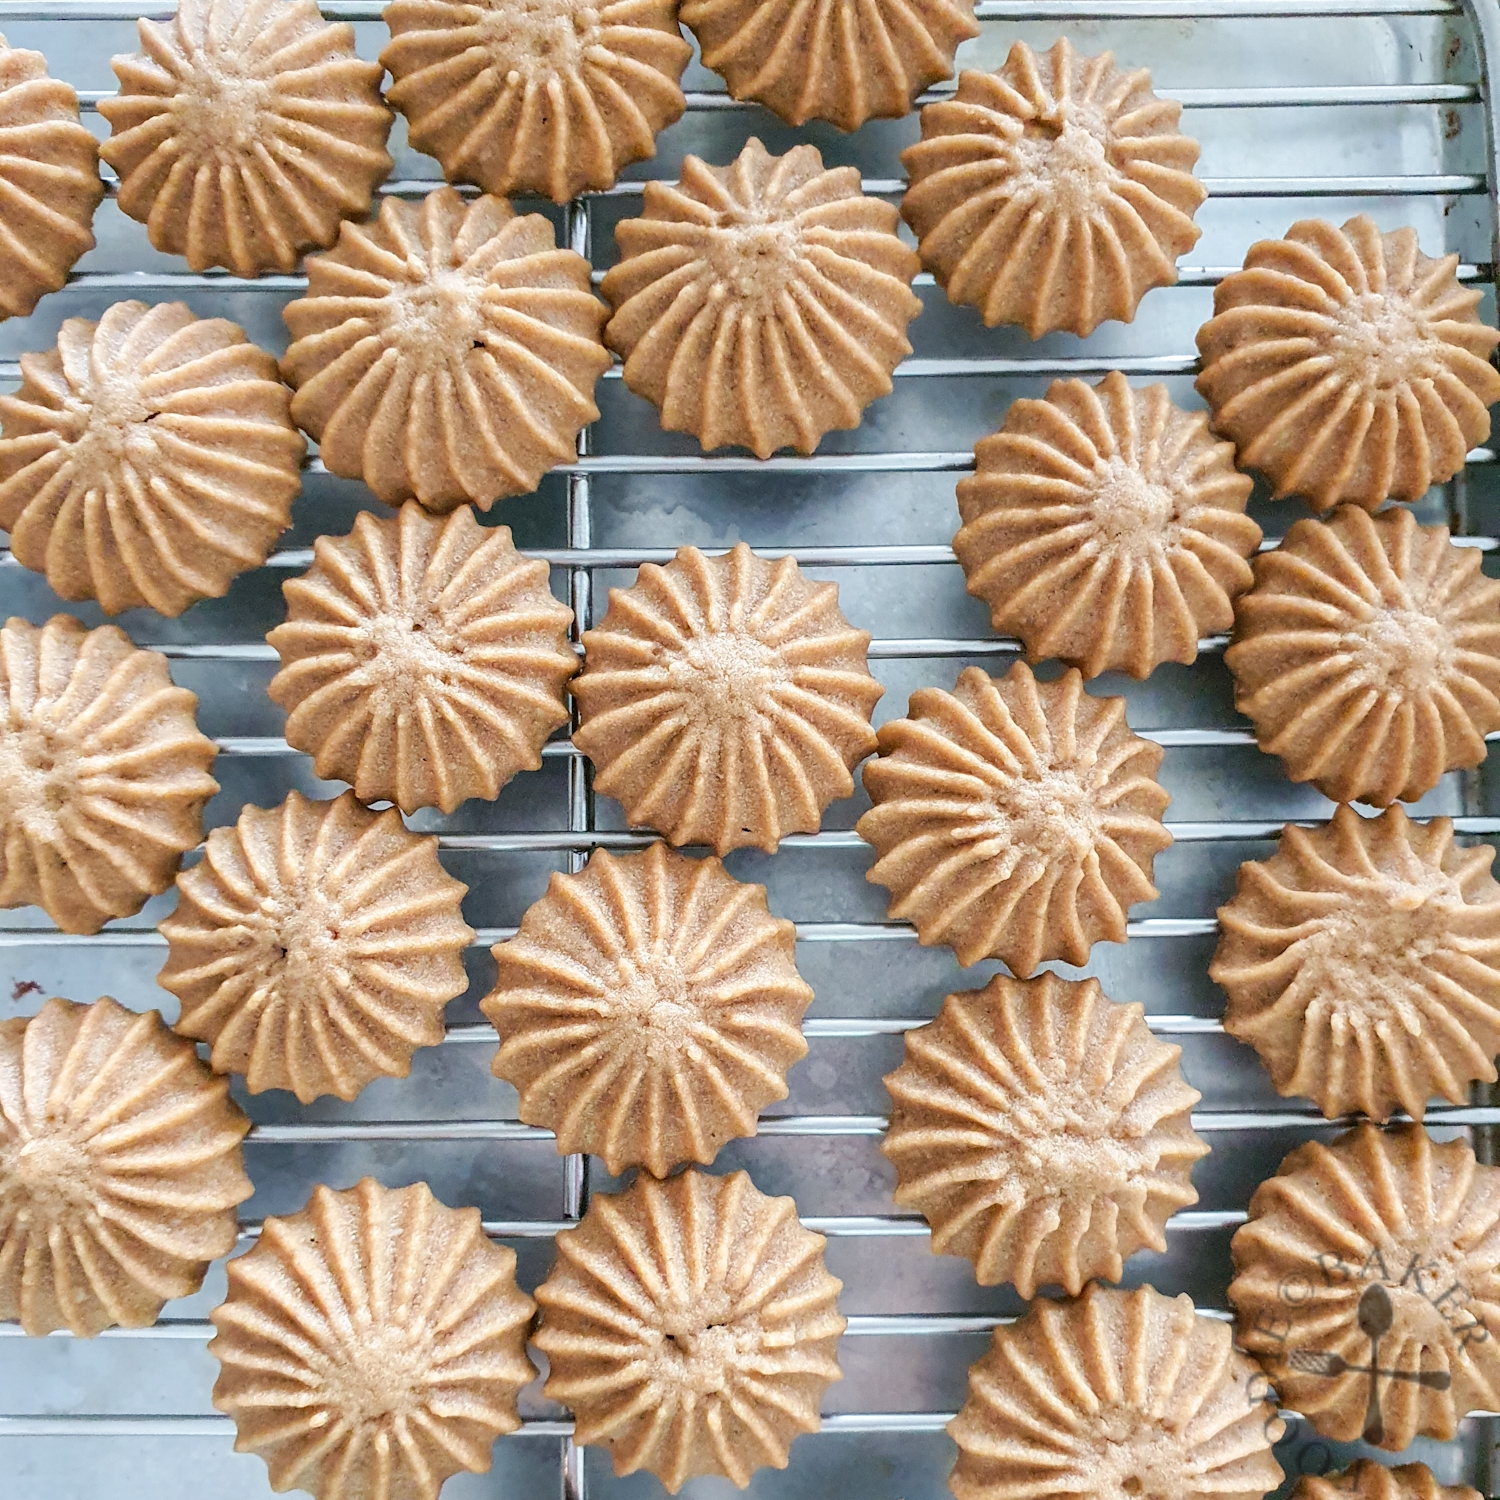 |
| 15) Bake for 20 minutes. | 16) Let the cookies cool on the baking sheet for 5 minutes before transferring them onto a wire rack to cool completely. |
Coffee Butter Cookies
INGREDIENTS
- 6 grams instant espresso
- 35 grams caster sugar
- 1.2 grams fine salt, sea salt or Himalayan salt
- 32 grams milk
- 100 grams unsalted butter
- 25 grams ground almond
- 125 grams cake flour, 6.2% protein content
INSTRUCTIONS
- Preheat oven to 140°C (convectional: fan-forced). Line light-coloured baking sheet with Silpat / parchment paper.
- (Optional) Using a 2.5-cm cookie cutter, dip it into flour, then mark out rounds on the baking sheet. This is to guide the piping of the cookies later on.
- Place espresso in a small bowl. Place sugar and salt in another separate small bowl.6 grams instant espresso, 35 grams caster sugar, 1.2 grams fine salt
- Using a microwave or the stove, heat milk until hot but not boiling. Pour about 1/5 of the milk into the espresso and the rest into the sugar-salt mixture. Stir to completely dissolve the espresso and sugar/salt. Let them cool completely.32 grams milk
- Place butter in a mixing bowl. Let it soften until it comes to 22°C. (I microwaved mine at Medium power for 15 seconds.)100 grams unsalted butter
- Use a wire whisk and whisk butter until it is of a smooth toothpaste-like consistency. Add in sugar-salt-milk mixture by tablespoonfuls, whisking well after each addition until it is fully incorporated. Whisk in the coffee.
- Break up the lumps, if any, in the ground almond and whisk into the batter.25 grams ground almond
- Sift in cake flour and fold with a spatula just until no specks of flour remain. Do not overmix.125 grams cake flour
- Fit a close star tip in a thick piping bag (or whatever tip you like). Scoop batter into the piping bag. Note: If you are making a bigger batch, it is easier to pipe with smaller quantities of batter, hence you may not want to fill the piping bag too full.
- Short Version: Pipe small mounds of cookies onto the baking sheet, about 2.5-cm wide. Space the cookies about 2 fingers apart. Dab the top gently to flatten it.
- Detailed Version: Hold the piping bag straight up, perpendicular to the baking sheet. Position the piping bag about 1.5 to 2-cm above the baking sheet and pipe out the cookie batter until it fills the 2.5-cm rounds that you have marked on the baking sheet. (I count "one-thousand-two" then stop piping.) Stop piping and lift the piping bag straight up. Dab the top gently to flatten it. Repeat.
- Bake the cookies one sheet at a time. Bake for 18 to 22 minutes in the middle rack, rotating the baking sheet 180° halfway during baking. My cookies took 20 minutes. If your cookie is bigger or smaller, the baking time will have to be adjusted.
- Let the cookies cool on the baking sheet for 5 minutes before transferring them onto a wire rack to cool completely. Store in an airtight container.
NOTES
- If using canned butter, do take note if it’s already salted. The amount of salt should be 1.2% per 100-grams of butter. Adjust the amount accordingly.
- If using your own homemade cake flour, sift in the cornstarch first and whisk it in. Cornstarch will not result in the formation of gluten so you can safely whisk it in first. Sift in the flour next then fold it in.
Ness says
Hi, made these today. Cookies were just abit crispy(not snappy) and texture isnt light and tender. Felt heavy. Where do u think I went wrong? I followed your recipe to the T
Foodie Baker says
Hi Ness, it’s a bit hard for me to troubleshoot if you had follow recipe to the T. What are the ingredients that you are using? Maybe have to bake the cookies for a little longer for better results?