Are you a fan of Oreo? I’m not a super huge fan of them, but there will be times when I have occasional cravings for them. The small packages of 3 cookies make a great snack whenever my mouth is itching for a bite. And the weirdest thing is I like them without the cream, are you like me too?
Jump to: Step-by-Step Photos · Recipe
Besides digestive biscuits, Oreo is also my favourite cookie to use for cheesecake bases. I also like adding them into frostings to make a somewhat cookies and cream frosting.
It had never occurred to me to make Oreos from scratch – it’s so easy to just grab them from the supermarket! But I guess with too much time on hand, I ended up Googling recipes on homemade Oreos, and somehow I ended up at Smitten Kitchen’s recipe and somehow I decided to try it out.
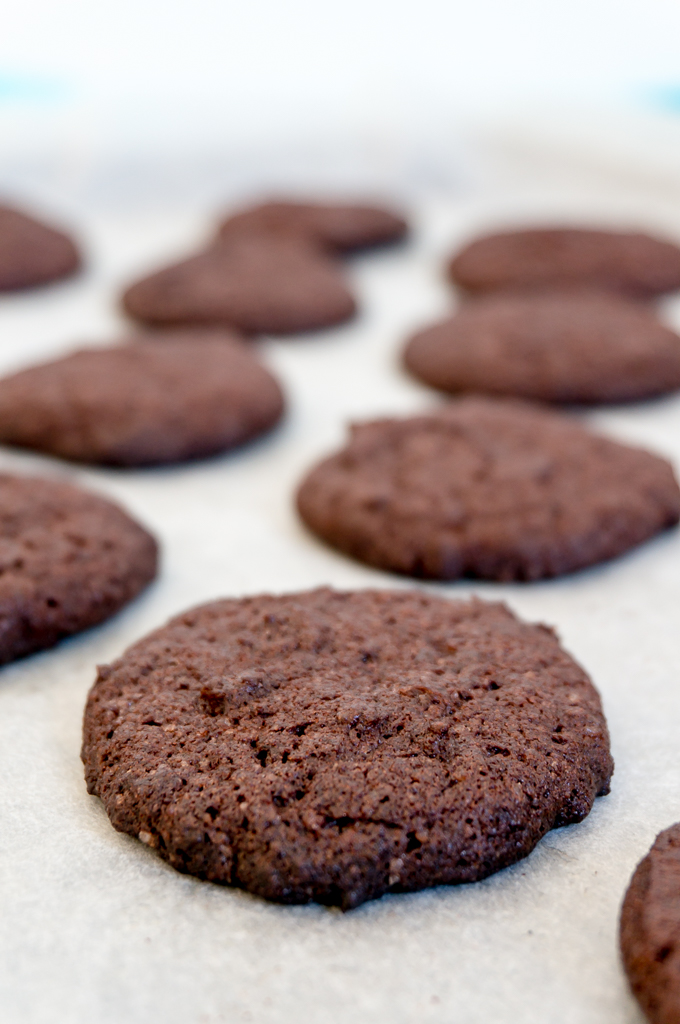
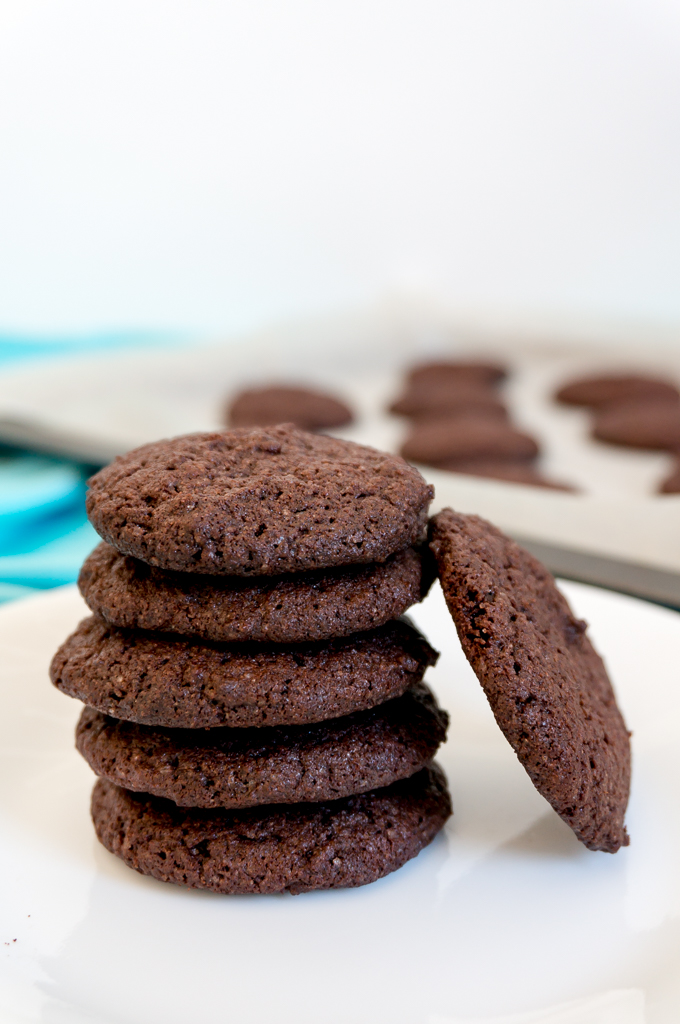
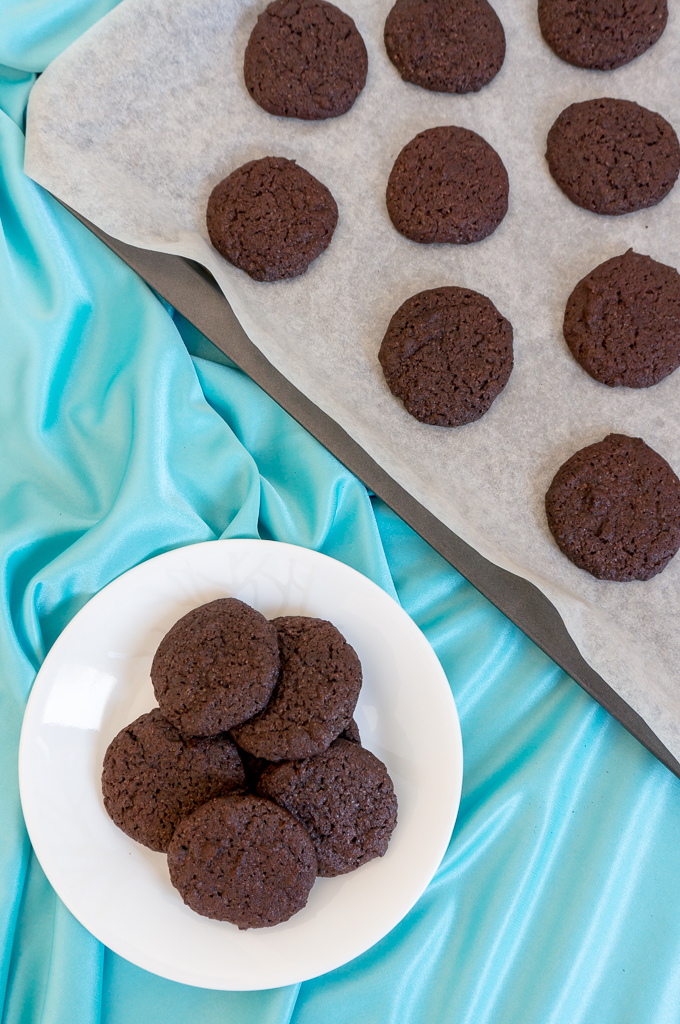
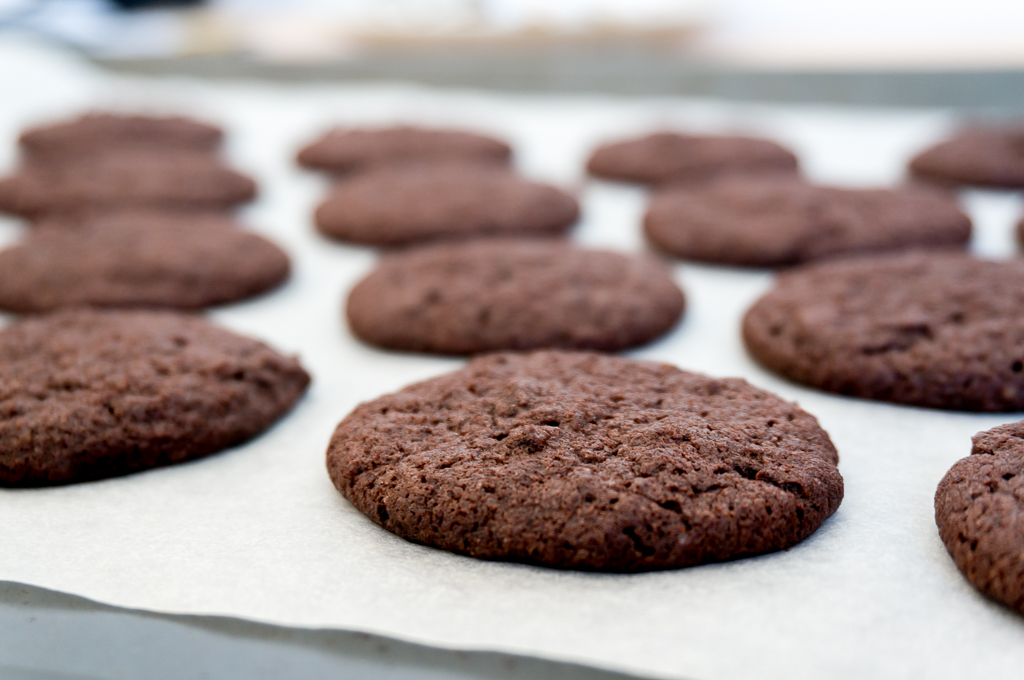
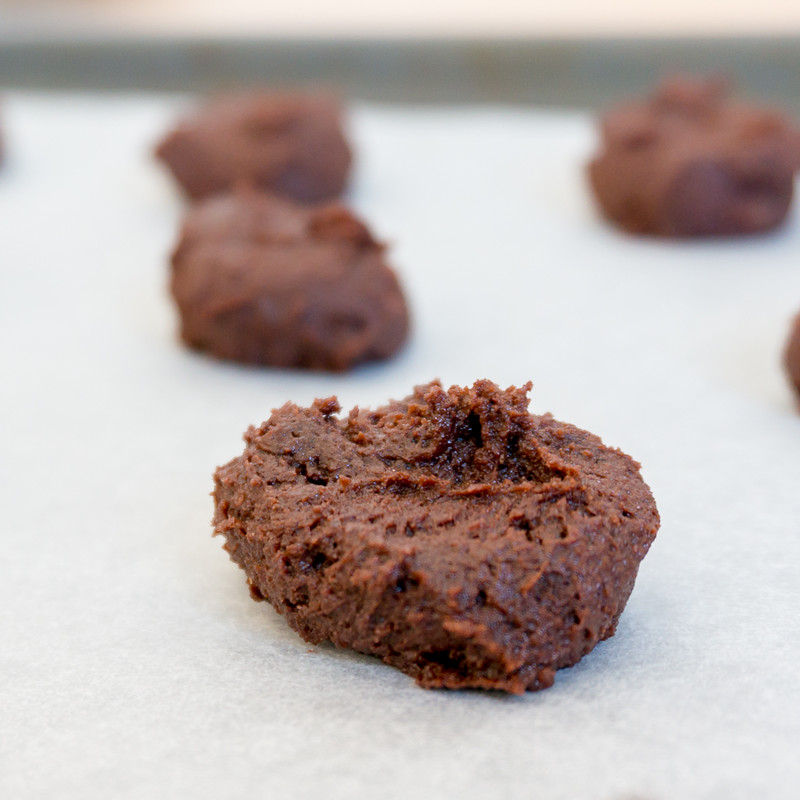
I left out the filling since I’m never a fan of Oreo’s cream, and I kept the sugar level for the cookies on the lower end as I don’t want them to be too sweet. With only 1 teaspoon of dough per cookie, the cookie dough spread quite a bit and flattened during baking, yielding a thin, flat and crisp cookie – an expected result from the usage of only white caster sugar and the absence of pre-refrigeration before baking.
And what’s the result?
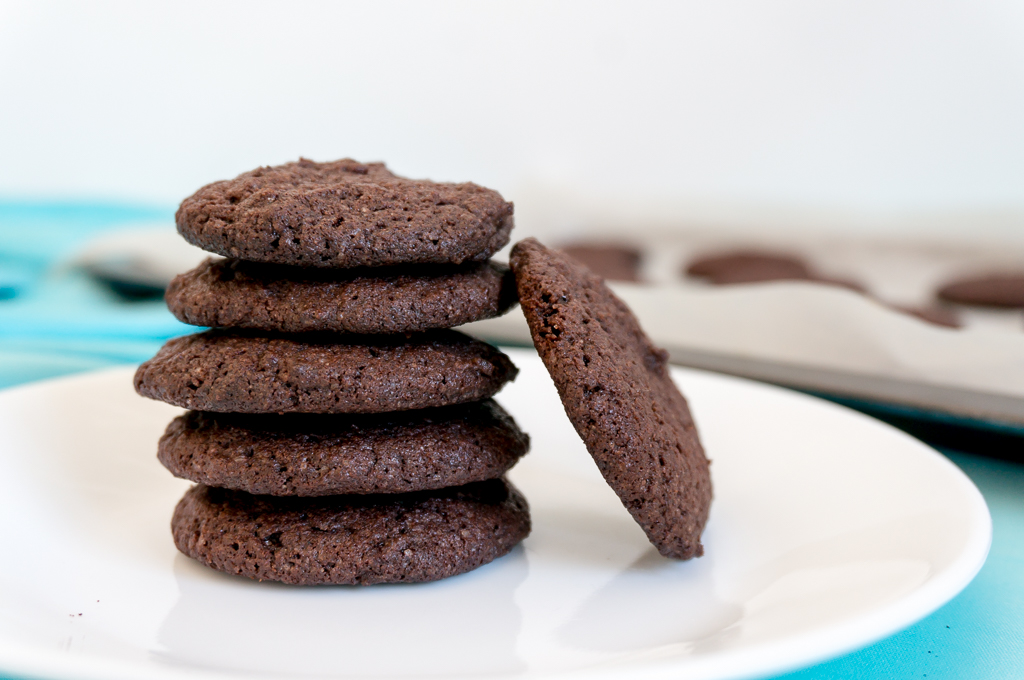
Well firstly, they actually look quite black in real life, but not so black like Oreos. Secondly, they don’t taste like Oreos, but then again I’ve not eaten an Oreo for more than 6 months, so my memory of them may be a bit blurry. So I guess I’ll have to grab some Oreos soon to do some comparison (what an excuse I know heh). On their own, these are not really my type of cookies as my favourite kind are those that are crisp-on-the-outside and chewy-in-the-middle.
However, I think they make good sandwich cookies because of their thin and flat shape (how about some peanut butter frosting?) A quick run in the food processor also yields nice and fine crumbs, making them perfect for cheesecake bases or add-ons in frostings and ice creams. I’ve used the crumbs in an upcoming cupcake recipe, so stay tuned for that!
And here’s the step-by-step photos and recipe!
Step-By-Step Photos | |
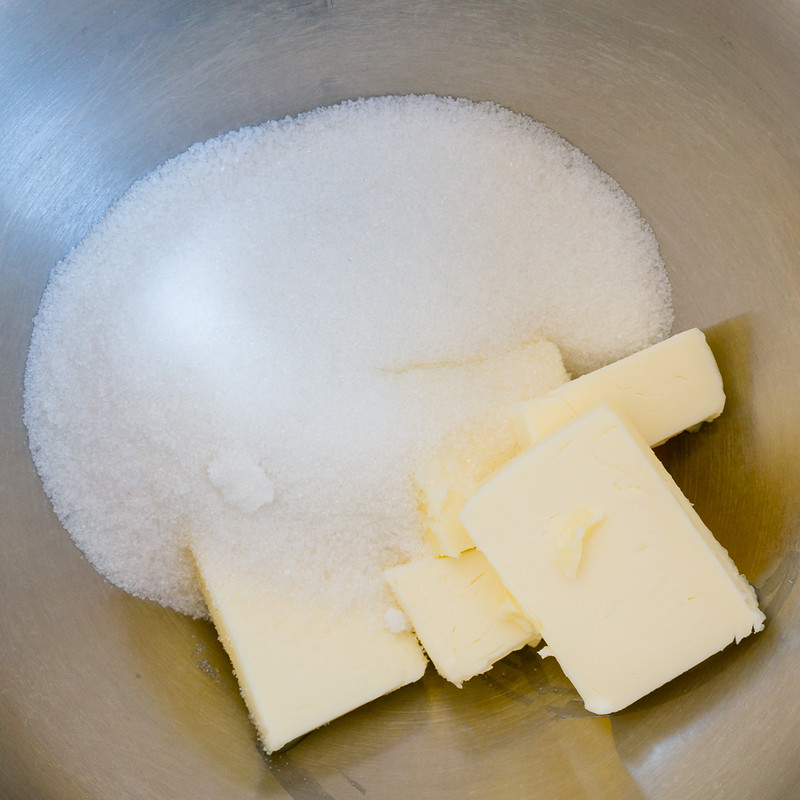 | 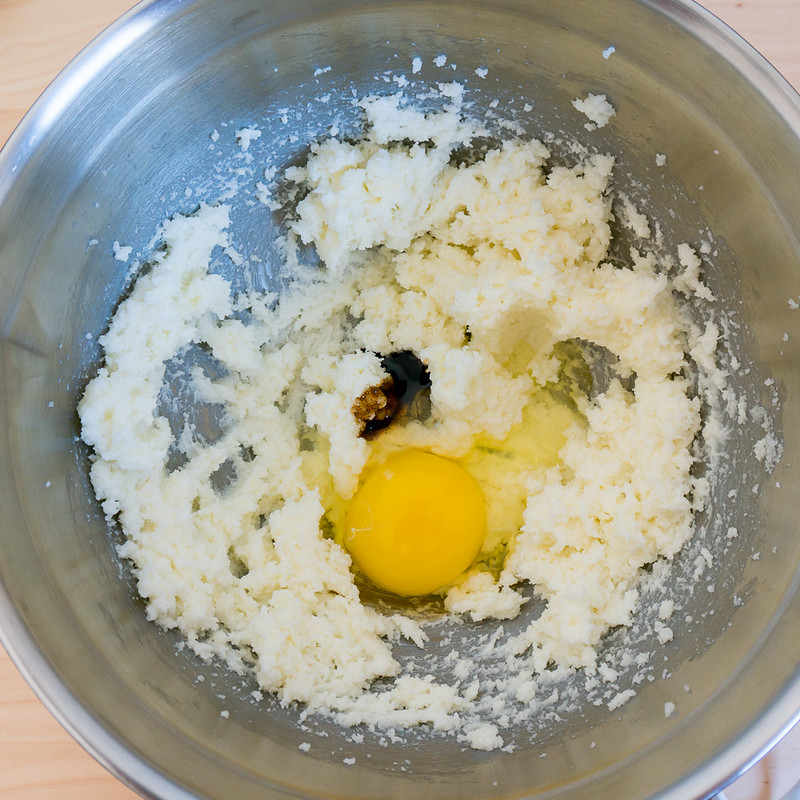 |
| 1) Cream butter and sugar together in a mixing bowl until light and fluffy. | 2) Beat in the egg and vanilla. |
 | 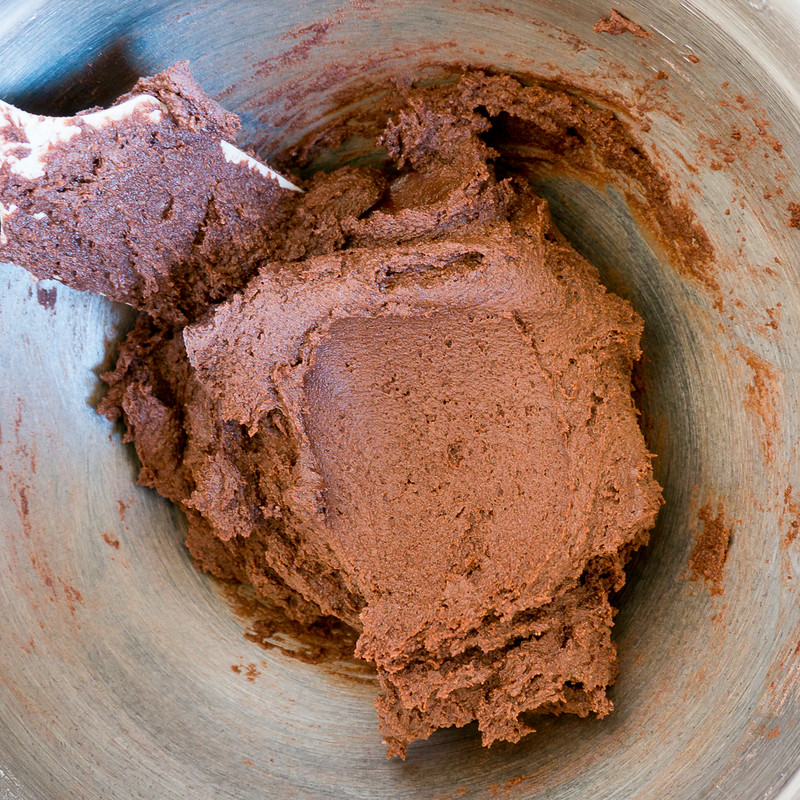 |
| 3) Sift in the dry ingredients. | 4) Mix well to form the cookie dough. |
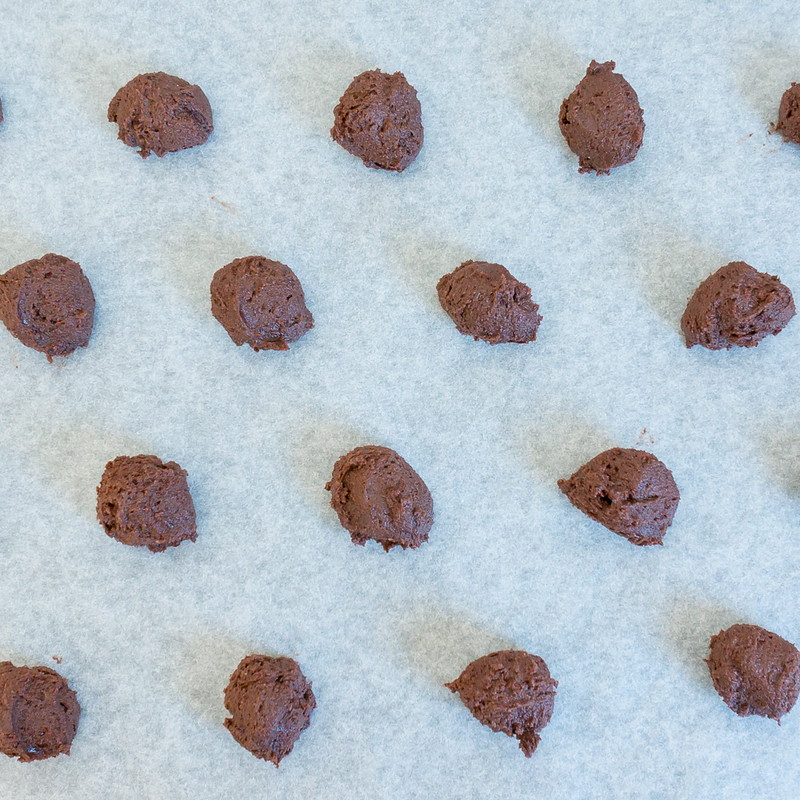 |  |
| 5) Place small teaspoonfuls of cookie dough on a lined baking sheet. | 6) Flatten them slightly and they are ready to be baked! |
Homemade "Oreos" Sans Filling
INGREDIENTS
- 140 grams unsalted butter, at room temperature (1/2 cup + 2 tablespoons)
- 200 grams caster sugar, 3/4 cup + 2 tablespoons
- 1 large egg, at room temperature
- 1/2 teaspoon vanilla
- 155 grams all-purpose flour, 1 1/4 cups
- 40 grams unsweetened Dutch-processed cocoa powder, 1/3 cup
- 1/2 teaspoon baking soda
- 1/4 teaspoon baking powder
- 1/4 teaspoon salt
INSTRUCTIONS
- Preheat oven to 190C / 375F. Line 2 baking sheets with baking parchment. Set aside.
- In a large mixing bowl, beat butter and sugar with an electric mixer until light and creamy, scrapping down the sides occasionally, about 5 to 7 minutes.
- Add in the egg and vanilla and beat for about 1 minute until incorporated.
- Sift in flour, cocoa powder, baking soda, baking powder and salt and beat on low speed until almost incorporated. Use a rubber spatula and mix everything together.
- Place 1 teaspoon rounded scoops of dough on the baking sheet, spacing them 1.5 to 2 inches apart from each other. Flatten slightly with the back of a spoon.
- Bake the cookies for 9 to 10 minutes. The cookie will flatten and spread out into a thin cookie.
- Cool the cookies on the baking sheet completely before storing it in an airtight container.
mjskit says
These are perfect for this cookie monster. I still take my oreo apart and eat the cream filling first just to get rid of it before eating the chocolate cookies. So I love bypassing the cream all together.
Jasline N. says
Sometimes I just discard the cream (what a waste I know), so I guess it’s better when I can make them myself!
milkandbun says
Cooooookies!!! Yum yum! They look tasty!
Jasline N. says
Thank you! I guess no one can resist a yummy cookie!
milkandbun says
Of course!
bentodays says
Already feel like taking a bite out of these after seeing the first photo posted! I try not to eat Oreos as I can’t stop eating once I’ve started, LOL. Would love to try out this recipe!
Jasline N. says
Haha that’s why I only buy Oreos that are packed into small packets of 3 pieces instead of one whole roll… will finish them up too fast!
Monica says
I’m with you and also prefer the cookies to the cream center. Homemade always just tastes so good and fresh. This crisp outside and chewy inside sounds perfect. A couple of these with a cup of coffee would end a meal perfectly.
Jasline N. says
Oooh I’m so glad that there are so many of you out there who prefer cookies to the cream center! 😀 And a cup of coffee sounds perfect, I think I’ll go make some now!
Susan says
I used to buy Oreos all the time when my girls were little. I haven’t tasted them for a long while either but I do love a plain chocolate cookie. They look great!
Jasline N. says
These cookies will be great to sandwich ice cream! Hope to try this idea when summer comes! 😉
Bam's Kitchen says
I love your version of the oreo better than the real oreo as that filling is way too sweet. crispy on the outside and chewy on the inside sounds like my kind of heaven.
Jasline N. says
I’m never a fan of the filling so making these Oreos helped me save money from buying the real deal and minimize wastage as I don’t have to throw away those filling!
Anna @ shenANNAgans says
YARM! I love oreo, although I dont really eat them. Thanks for the recipe, cant wait to give them a go. 🙂
Jasline N. says
You are welcome Anna! They don’t taste very much like Oreos in the end, but they are still a good crispy cookie!