
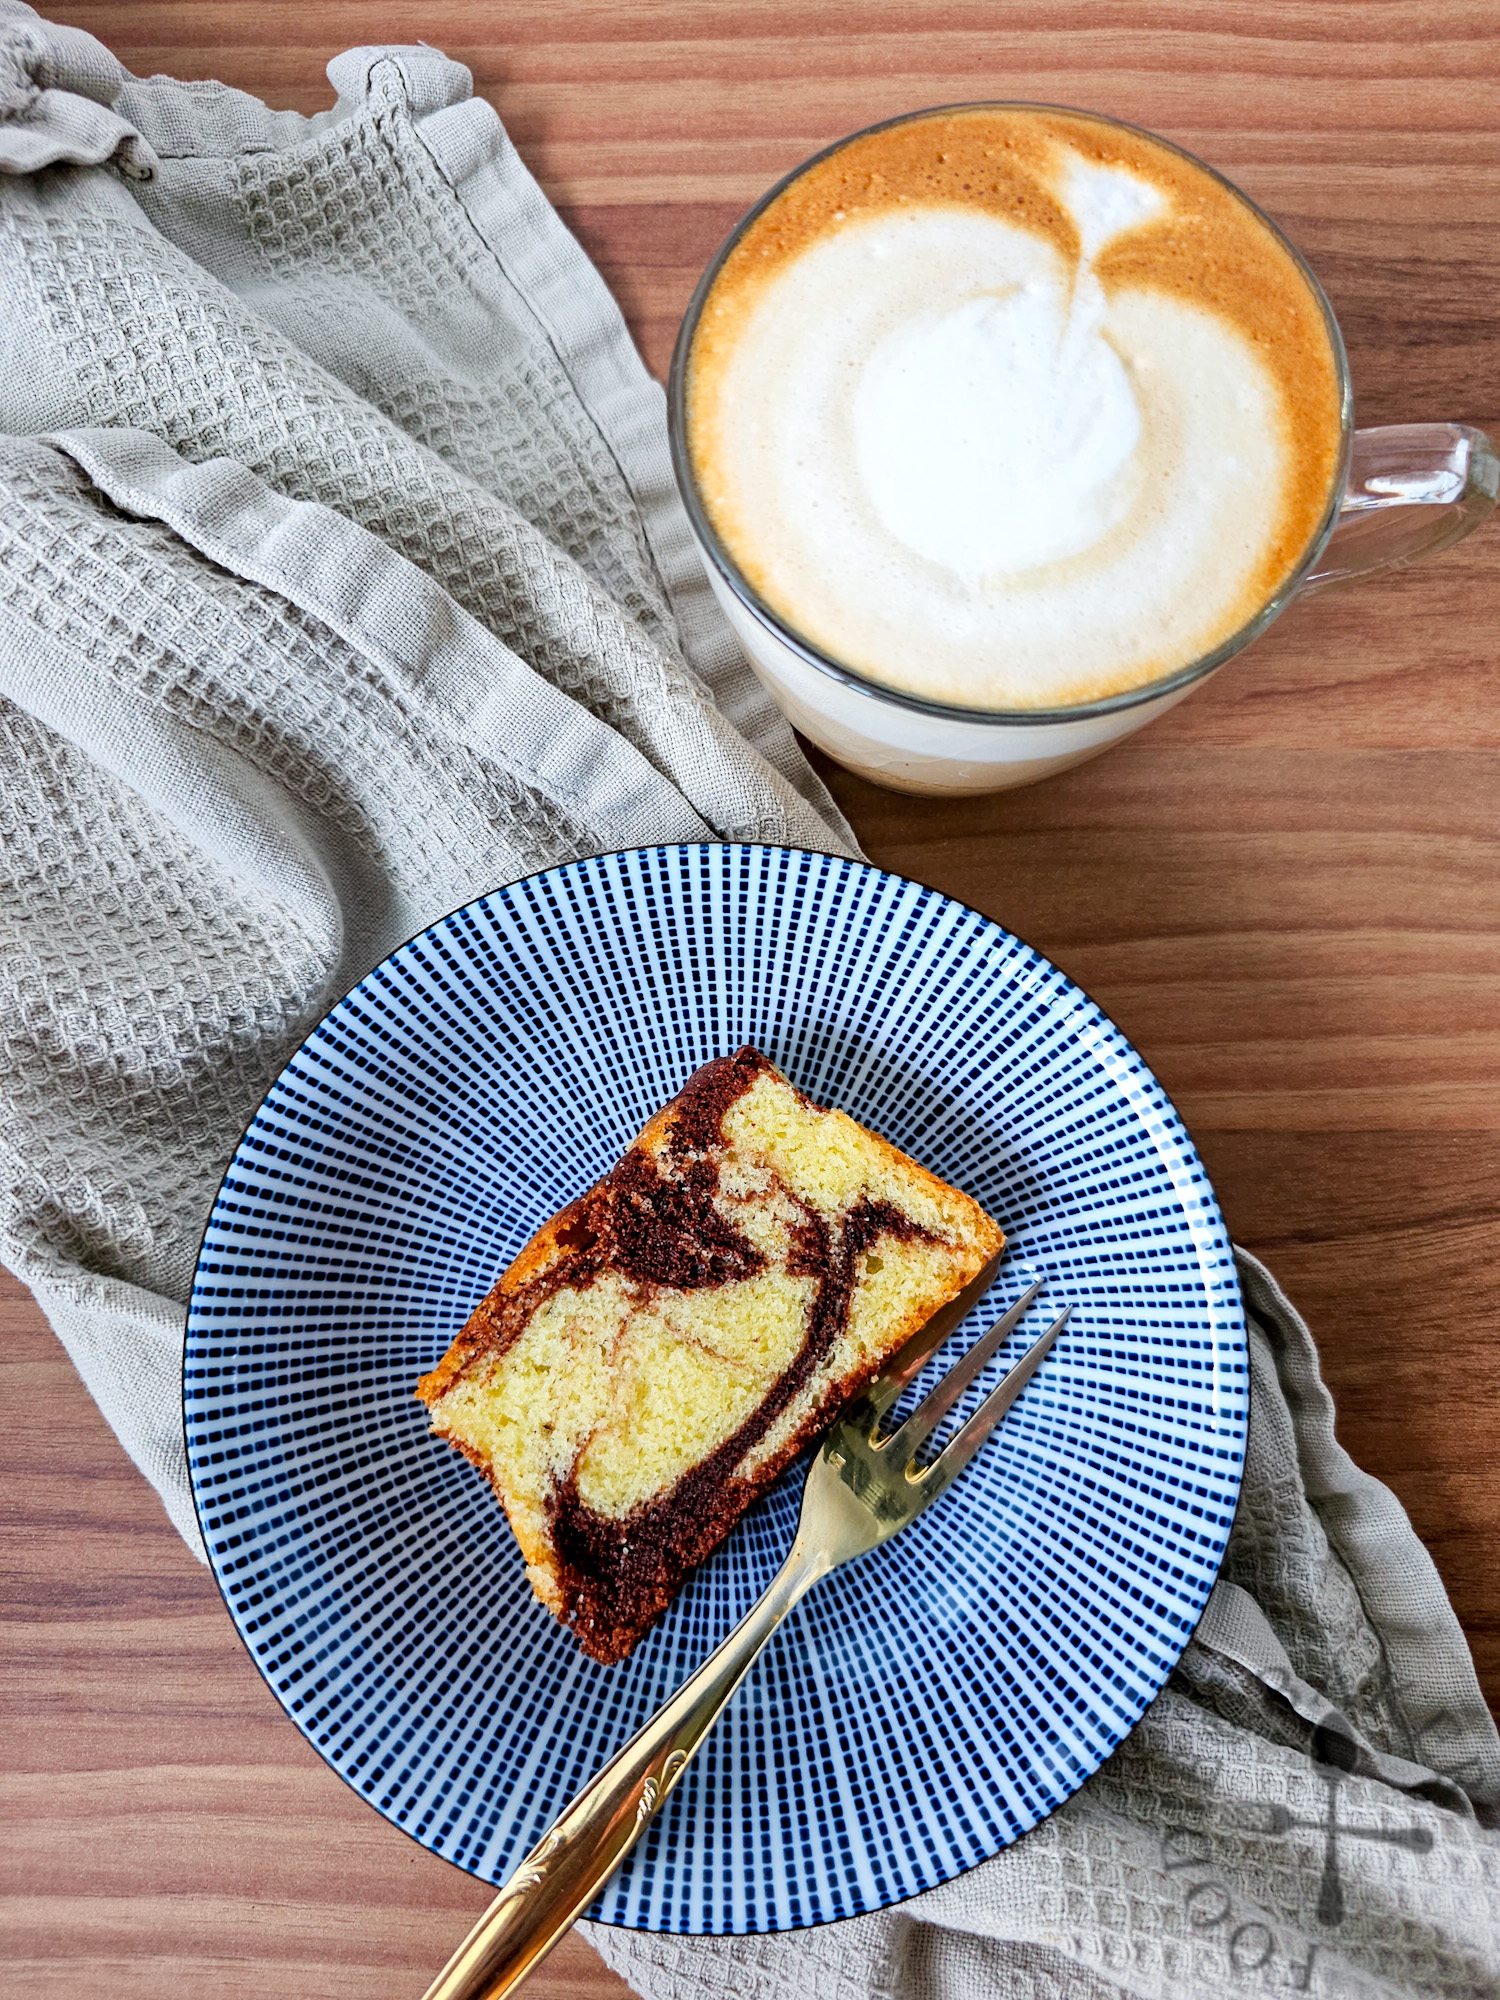
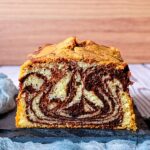
Tender, fragrant and buttery, this good-looking marble cake with beautiful chocolate swirls is dangerous – only because it’s so delicious that I always find myself going for a second slice!
This marble cake recipe has been “baking” for months in my draft since August last year, and I finally got down to writing the content. I have no problems taking photos and writing the recipe, but have difficulty finding the motivation to sit down to write the content because I know I’m very lor sor (i.e. 啰唆 / long-winded) these days. I want to try to include as many tips and pointers as I can to ensure that whoever tries out the recipe will be successful with the first attempt. If you are reading this… are you one who wants to know why certain ways work or you just want to ignore the content and go straight to the recipe?
Anyway, let me move on…

All ingredients must be at room temperature
It is important to ensure that all ingredients are at room temperature before you start any of the steps. My steps are written in such a way that you should be immediately proceeding to the next step once you’re done with the current step. Hence for instance you don’t want to whip the egg whites then found out that the butter is still cold and hard and cannot be cream-ed. This will result in your egg whites to deflate while you try to warm up your butter, losing precious air bubbles and lightness in the cake.
Some steps I do to ensure my ingredients are at room temperature:
- Take out all ingredients from the refrigerator at least 30 minutes before starting.
- Cut butter into small pieces to allow it to come to room temperature faster. The best temperature to cream the butter is at 20°C.
- For eggs, you can put them in a cup of tap water so that they come to room temperature faster. Make sure you wipe the egg shell dry before cracking the eggs to prevent additional water from dripping into your batter.
- For recipes using egg separation method, I prefer to crack and separate the eggs while they are still cold (tend to be easier to separate), before letting them come to room temperature.
Sift and whisk the dry ingredients

I used to find some of my cakes have weird metallic taste in certain parts of the cakes, which is an indication that raising agents are not distributed evenly in the batter. This happens even after I had whisked the dry ingredients before mixing into the batter. I then started to sift the dry ingredients and found out that there tend to clumps of dry ingredients. I’m assuming that this is due to Singapore’s humid weather and the fact that I’m not using my raising agents / flours fast enough, which resulted in clumps. Hence I sift and whisk these days, so that there are no lumps, and that the raising agents are evenly distributed. It is an extra step that you can skip if you don’t wish to do it or you don’t have this issue.
Use the best butter you can afford and like
This probably goes without saying, but the quality of butter matters in this recipe. Splurge a bit and opt for a good butter like SCS, Lurpark, Elle & Vire etc when baking this cake. Of course, you can opt for crazy expensive ones like Bordier if budget allows, but I personally think this kind of butter is better eaten as is with bread. I use Lurpark which I buy in bulk so it’s cheaper than sold in supermarkets.
Egg separation method
I adapted Mrs NgSK’s butter cake recipe to make it a marble cake and I’ve loved it since. Some say there is no difference between the usual whole-egg method vs. the egg separation method but I beg to differ. I find butter cakes made using the egg separation method are less dense, and have a more tender and lighter crumb and texture. I also find that while they are still buttery, they are not greasy or heavy in taste.
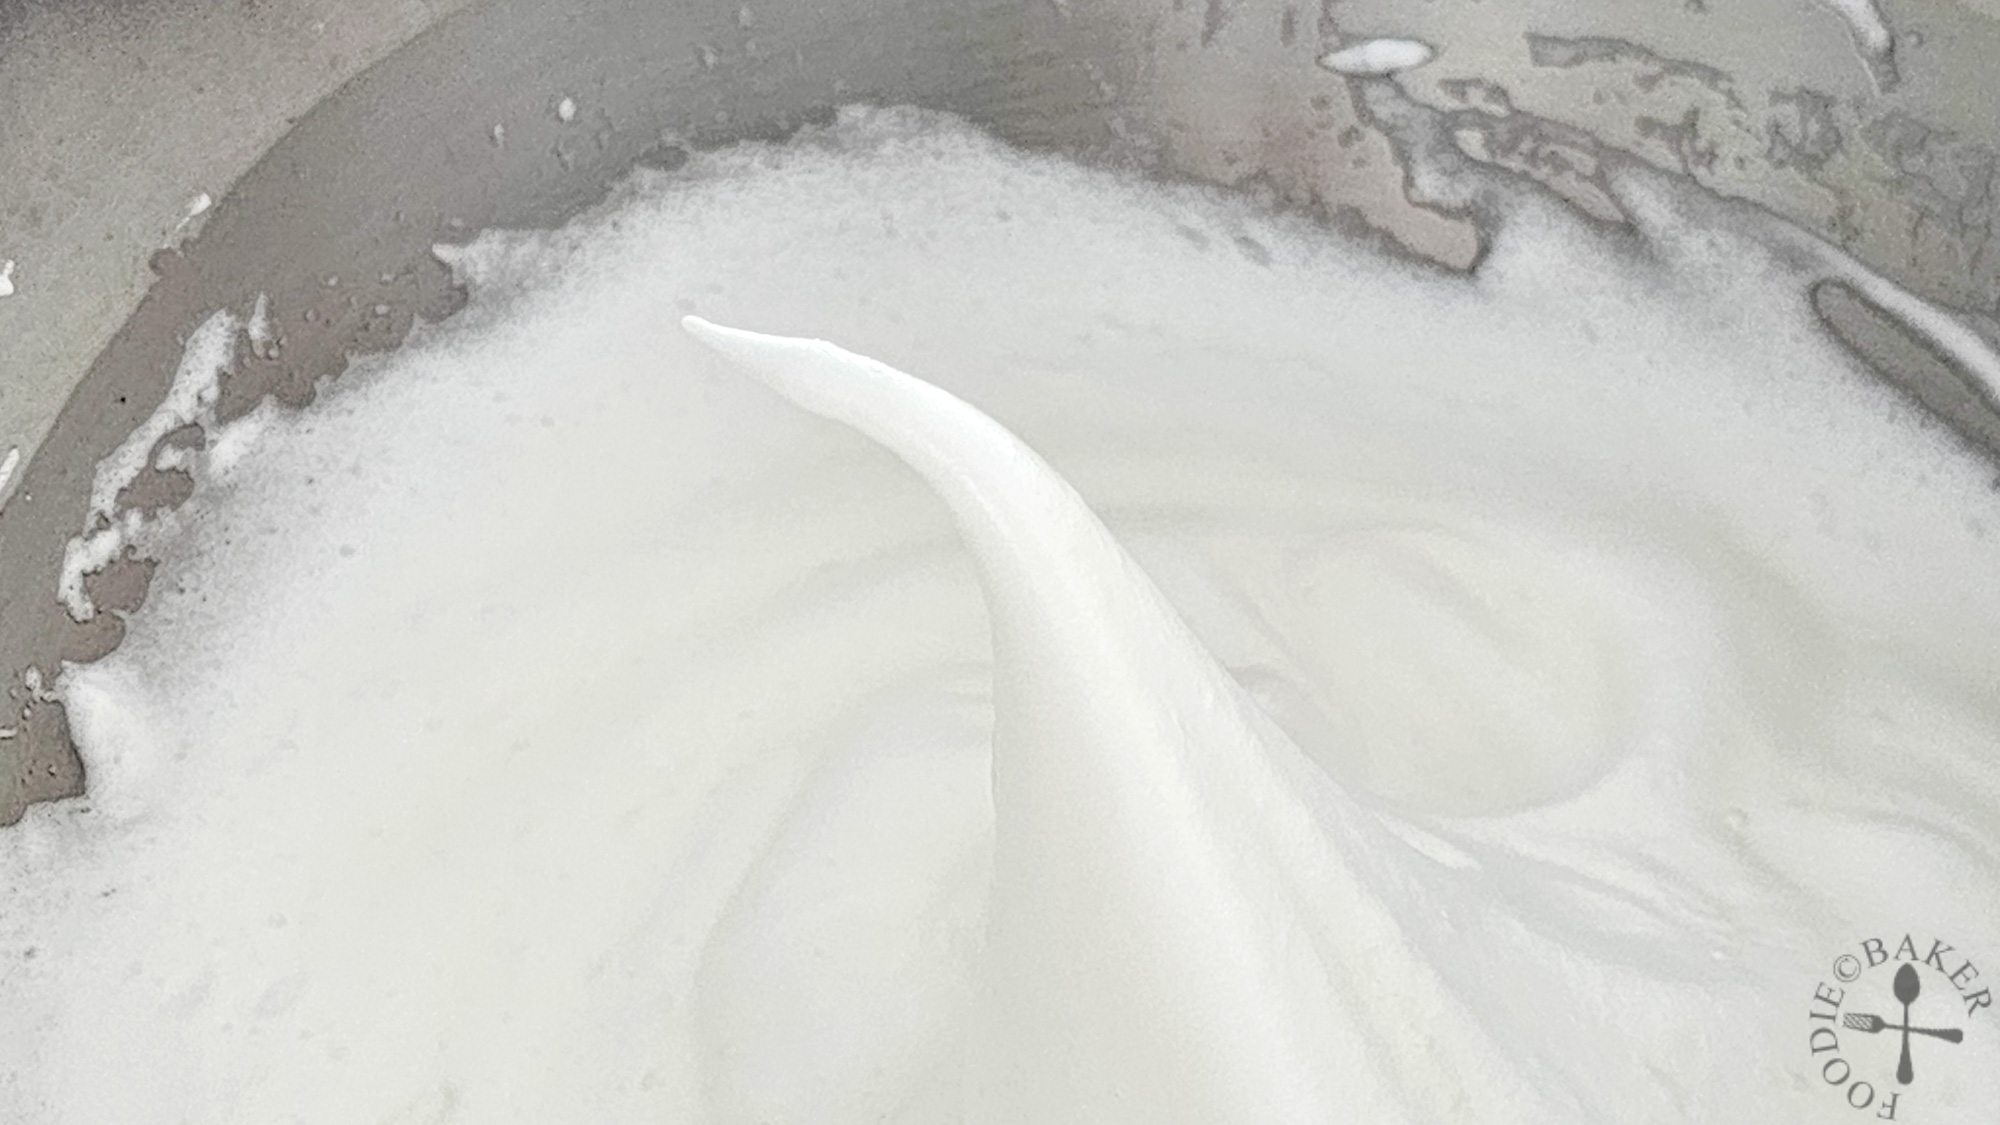
When whisking the egg whites with sugar, I learnt in pastry school that there’s no need to add in sugar gradually for cake recipes that require egg whites to be whipped separately. Our chef taught us to just dump in the sugar all in one go and whip until desired texture. Since we are not making meringue or pavlovas, we don’t need the whipped egg whites to be super stable and voluminous, as long as we don’t over-deflate the batter when folding in the egg whites. This also takes away the guesswork of “when should I add the next tablespoonful of sugar?” and ensure consistent egg whites every time you whip them.
The consistency of whipped egg whites matter too. I generally try to aim for firm peaks with droopy peaks for whipped egg whites used in cake recipes. I think it’s probably still fine if you ended up with stiff peaks, just that the cake will likely crack during baking. But never overwhip the egg whites until dry – the cake will end up dense and dry. My cake cracked in the photos because I used a slightly too high temperature to bake the cake (I’ve adjusted the temperature in the recipe below).
Marbling using zebra cake method
I’m not particularly fond of the dollop alternate spoonfuls in a pan and swirl with a knife method to make marble cakes because I find the swirls tend to be uneven. This ends up with some slices having more chocolate batter, while some will have more plain batter. I want to be “fair”, so I use the zebra cake method. I dollop two spoons of plain batter followed by one spoon of chocolate batter directly on top of each other. The batter will spread out as you dollop more batter on top, but I still shake the tin gently at the end to even it out, then swirl the batter with a knife to get a marbled top. The marble cake turned out much more beautiful than expected.

And that’s all for my thoughts on this marble cake. Here are the step-by-step photos and recipe, happy baking!
Step-by-Step Photos | |
|---|---|
 |  |
| 1) Separate egg whites and egg yolks. Whisk egg yolks with milk. | 2) Until mixed together. |
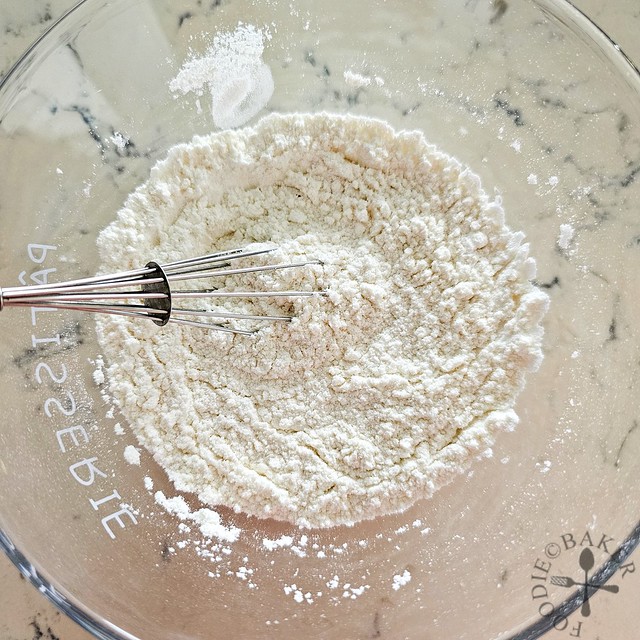 |  |
| 3) Sift plain flour, cornstarch and baking powder. Use a wire whisk and whisk the mixture 50 strokes to evenly distribute the baking powder. | 4) Whisk cocoa powder and boiling water together until no lumps remain. |
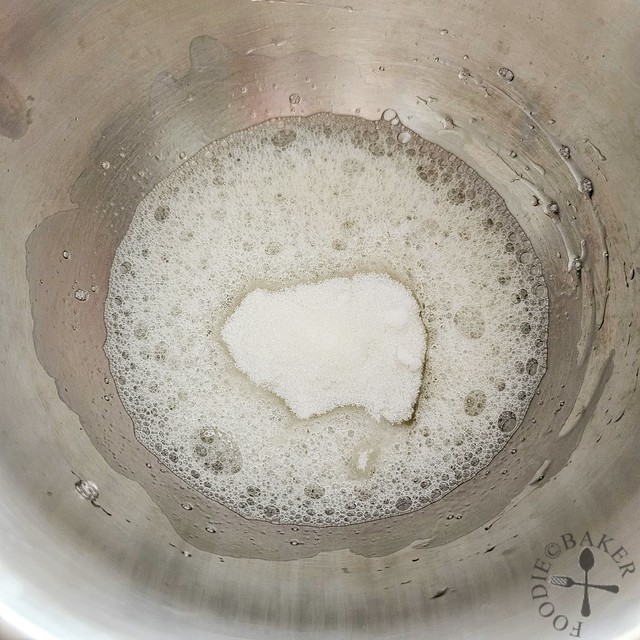 |  |
| 5) Add sugar into egg whites (ignore the foamy egg whites - there's no need to pre-whip the egg whites). | 6) Whip on medium-high spped until meringue forms firm peaks - the peaks will hold but the tip will bend over. |
 | 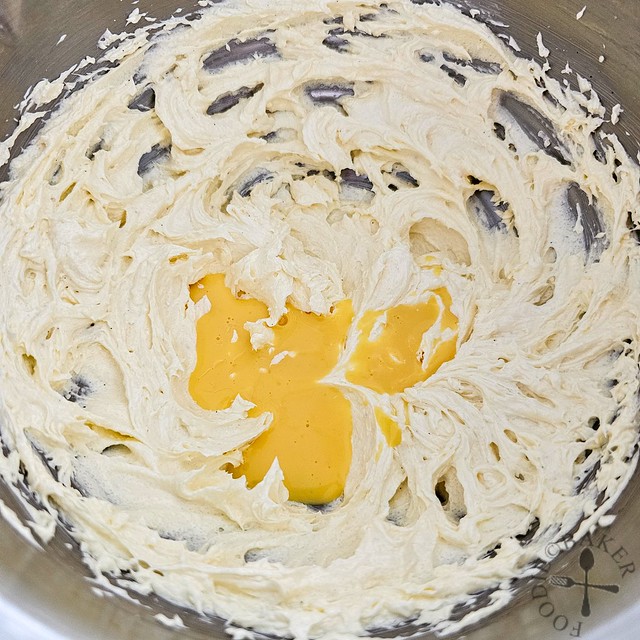 |
| 7) Place butter, sugar, salt and vanilla in another mixing bowl. | 8) Without cleaning the beaters, cream the butter on medium-high speed until pale, light and fluffy. Beat in egg-yolk mixture in two batches. |
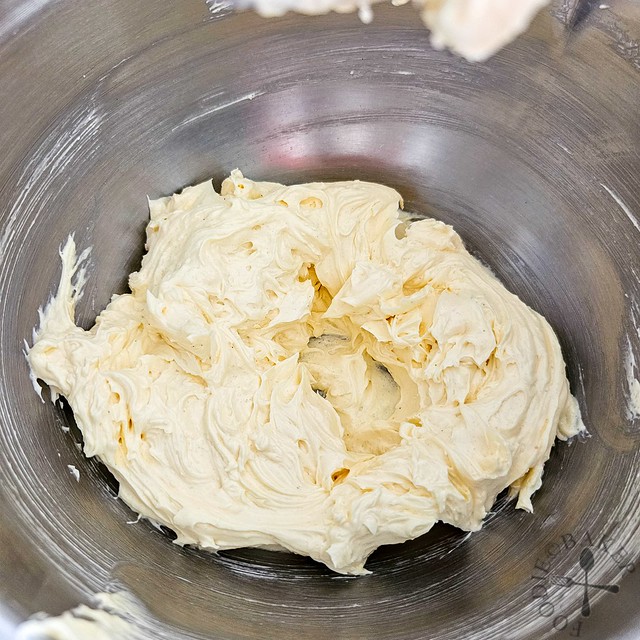 |  |
| 9) How the vanilla batter looks after beating in the egg yolk mixture. | 10) Add in the flour mixture in two batches, beating on low speed until just incorporated. |
 |  |
| 11) How the vanilla batter looks after mixing in the flour mixture. | 12) Fold in egg white meringue in three batches gently until just incorporated. |
 |  |
| 13) How the vanilla batter looks after folding in the egg white meringue. | 14) Scoop 30% (by weight) of the vanilla batter into the dissolved cocoa paste. |
 | 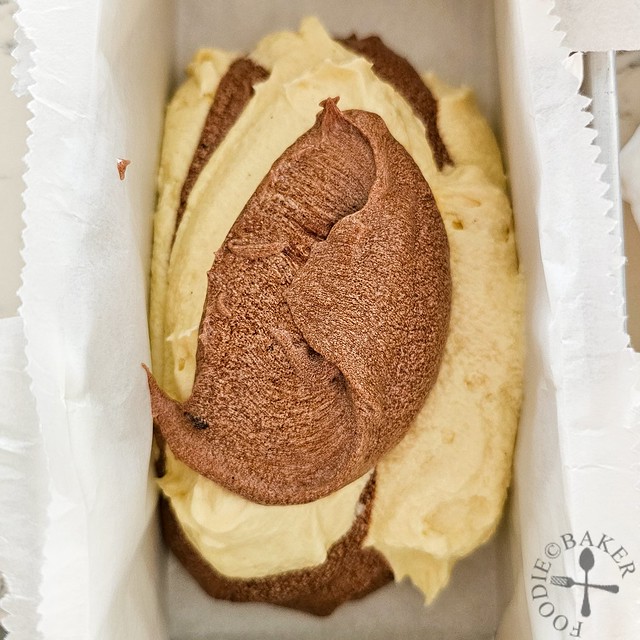 |
| 15) Fold until the cocoa paste is incorporated into the batter. | 16) Scoop 2 scoops of vanilla batter into the baking tin, followed by 1 scoop of chocolate batter. |
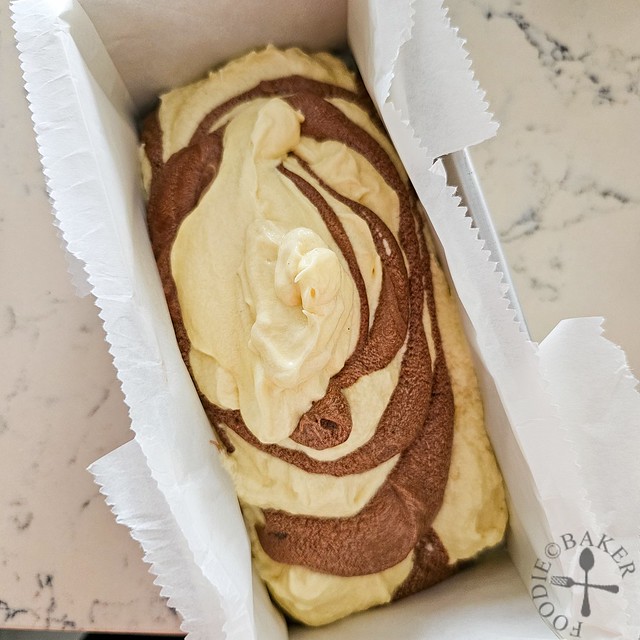 | 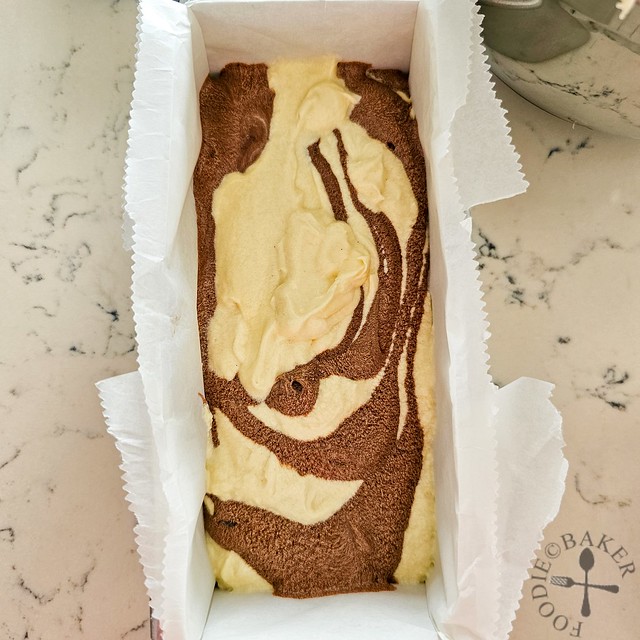 |
| 17) Repeat, ending with vanilla batter. | 18) Gently shake the tin to even out the batter. |
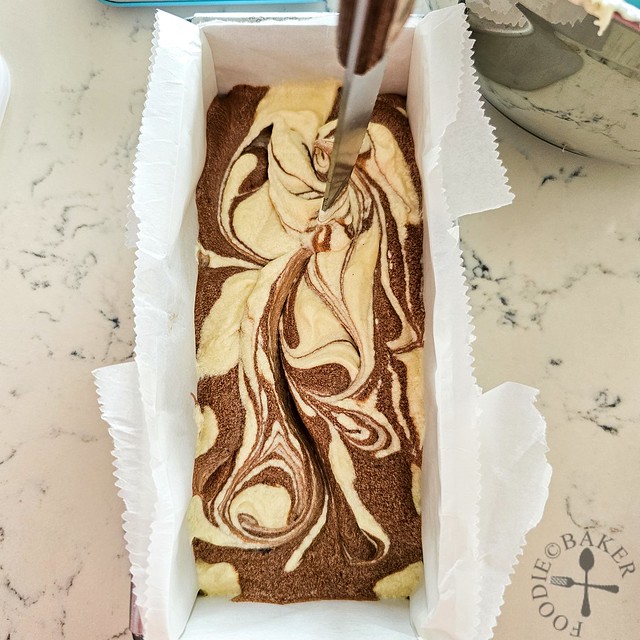 | 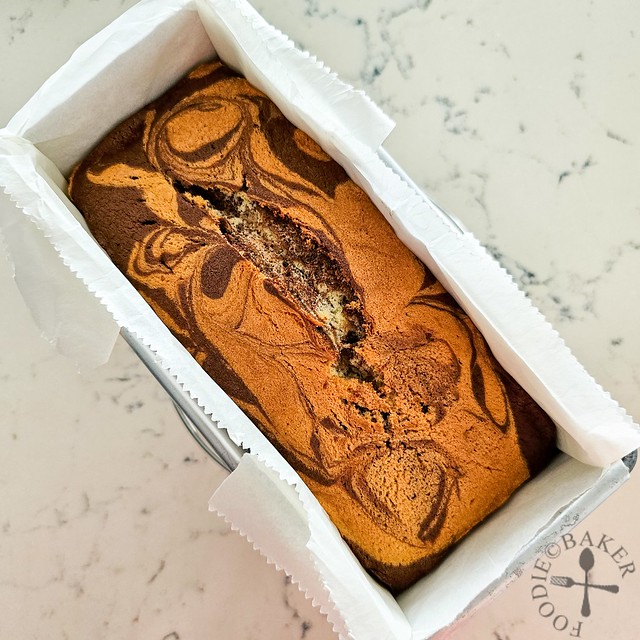 |
| 19) Dip a butter knife into the batter. Without removing the knife, swirl the batter a few times to create a marbled top. | 20) Bake the cake until a skewer inserted into the centre of the bake comes out clean. |
Marble Cake
INGREDIENTS
(B) Dry Ingredients
- 80 grams plain flour
- 20 grams cornstarch
- 1 teaspoon baking powder
(C) Cocoa Paste
- 10 grams cocoa powder, 10 grams = 1 tbsp
- 15 grams boiling water, 15 grams = 1 tbsp
(D) Egg White Meringue
- 25 grams caster sugar
(E) Vanilla Batter
- 125 grams unsalted butter, at room temperature
- 50 grams caster sugar
- 5 grams vanilla, 5 grams ≈ 1 tsp
- 1/2 teaspoon fine sea salt
INSTRUCTIONS
- Preheat oven to 160°C (conventional) / 150°C (convectional). Line a 8×4-inch baking tin with parchment paper.
- (A) Eggs: Separate egg whites and egg yolks. Place egg whites in a clean, dry and grease-free metal bowl. Whisk egg yolks with milk.2 eggs, 30 grams milk
- (B) Dry Ingredients: Sift plain flour, cornstarch and baking powder. Use a wire whisk and whisk the mixture 50 strokes to evenly distribute the baking powder. Set aside.80 grams plain flour, 20 grams cornstarch, 1 teaspoon baking powder
- (C) Cocoa Paste: Whisk cocoa powder and boiling water together until no lumps remain. Set aside.10 grams cocoa powder, 15 grams boiling water
- (D) Egg White Meringue: Get ready an electric mixer. Add sugar into egg whites and whip on medium-high spped until meringue forms firm peaks – the peaks will hold but the tip will bend over.25 grams caster sugar
- (E) Vanilla Batter: Weigh the mixing bowl that you are going to use to make the vanilla batter and note down the weight. Place butter, sugar, salt and vanilla in another mixing bowl. Without cleaning the beaters, cream the butter on medium-high speed until pale, light and fluffy, about 5 minutes, scrapping down the sides every 2 minutes.125 grams unsalted butter, 50 grams caster sugar, 1/2 teaspoon fine sea salt, 5 grams vanilla
- Add in egg yolk-milk mixture in two batches, beating on medium speed until fully incorporated and scrapping down the sides before the next addition.
- Add in the flour mixture in two batches, beating on low speed until just incorporated. Scrape the sides and bottom of the bowl to ensure all dry ingredients are incorporated. There should not be any streaks of flour in the batter.
- Fold in egg white meringue in three batches gently until just incorporated. Scrape the sides and bottom of the bowl to ensure the meringue is incorporated.
- (F) Make the Chocolate Batter: If you have weighed the mixing bowl previously, scoop 30% (by weight) of the vanilla batter into the dissolved cocoa paste. If not, simply eye-ball slightly less than 1/3 of the batter. Fold until the cocoa paste is incorporated into the batter.
- (G) Layer the Batter: Scoop 2 scoops of vanilla batter into the baking tin, followed by 1 scoop of chocolate batter. Repeat, ending with vanilla batter. Gently shake the tin to even out the batter. Dip a butter knife into the batter. Without removing the knife, swirl the batter a few times to create a marbled top. Remove the knife.
- (H) Bake the Cake: Bake the cake for 30 to 40 minutes until a skewer inserted into the centre of the bake comes out clean. Let the cake cool in the tin for 15 minutes. Invert the cake out of the tin, then invert again and place on a wire rack (i.e. the pretty side is facing up). Let the cake cool completely before serving.
- (I) Storage: Store the cake in an air-tight container in the refrigerator for 3 to 5 days. Let the cake come to room temperature or warm it in the microwave (I do 20 seconds at 800W) before serving.
NOTES
- Adapted from Mrs NgSK’s Butter Cake
Sabina says
I just made this and it turned out amazing. The texture is perfect, moist, fluffy. Will make it again for sure. Thanks for the recipe!
Raymund says
Don’t be so hard on yourself for being “lor sor”! Your detailed tips and explanations are like gold dust for baking newbies like me. Understanding why room-temperature ingredients matter or how egg whites affect texture makes baking feel less like magic and more like science (the delicious kind, of course!).
Foodie Baker says
Aww thank you for your kind words Raymund! I hope all these info have helped smooth your baking journey! 🙂