I think butter cake is my most-eaten cake during my childhood. My mom would occasionally buy a loaf for our breakfast or sometimes treating us to a butterfly butter cupcake after our swimming lessons. The first cake that my mom baked after buying the our first oven is also a butter cake! I love butter cakes – they are soft, buttery, have this skin on top that I could peel off (it’s the best part in my opinion), and usually leave a greasy feel on the fingers (yes I love this greasy feel!) But it’s funny how I’ve never posted a butter cake recipe on the blog, maybe because I’ve yet to find one that I think is the best.
I have seen this Mrs NgSK Butter Cake recipe on the blogosphere for a very long time but didn’t manage to make it until recently. I wanted to test out how the egg separation affects the appearance of the cake so I did a small-scale bake-off.
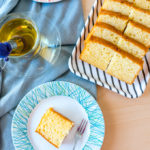
The cake on the left is the Whole Egg Method, made by creaming butter and sugar and adding whole eggs one by one. The cake on the right was made with the Egg Separation Method. It’s quite obvious that there’s a dome on the cake made with the Whole Egg Method, while the cake made with the Egg Separation Method has a flat top. In terms of taste, they are both the same recipe so there’s no difference. In terms of texture, both are very close in terms of softness and fluffiness as I made sure to cream the batter sufficiently for the Whole Egg Method (1 minute after every egg is added). So if looks is not an issue – go for the Whole Egg Method as it’s easier and one less bowl to wash!
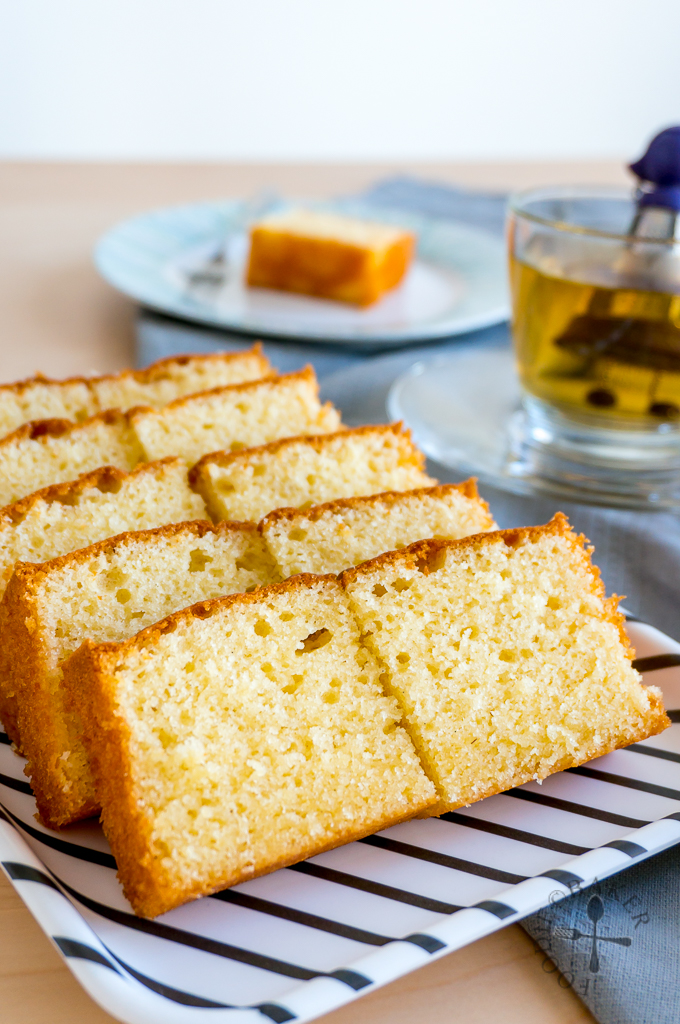
I don’t have a 8×4-inch loaf pan so I used my 8×5-inch. The original recipe uses 4 eggs for an 8-inch square cake so I scaled the recipe to 3 eggs so that I will still get a relatively tall cake.
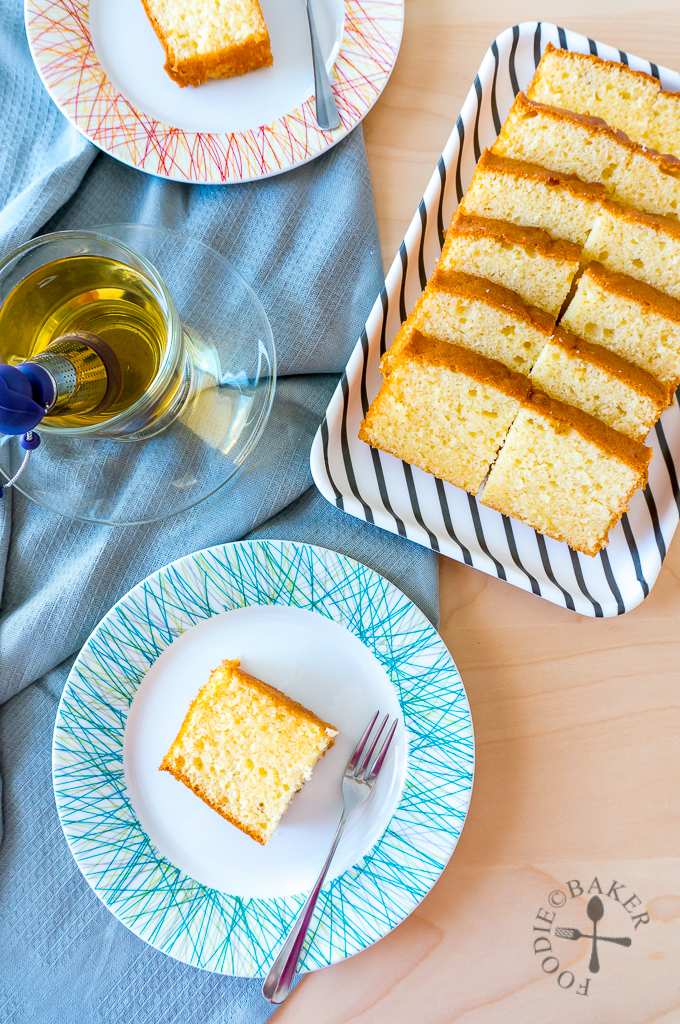
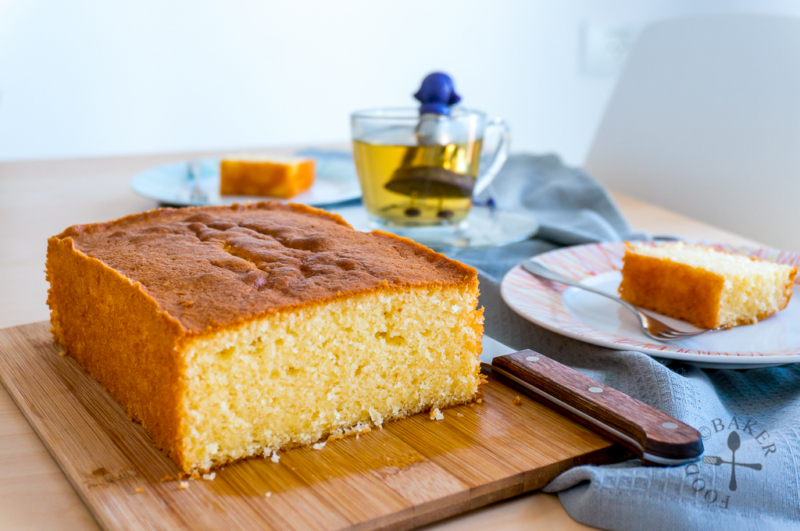
This butter cake is soft, light, buttery and delicious (I splurged on Lurpak butter here). It’s really good because I actually ate 3 slices at one go (sobs goodbye waist). But is this the best butter cake? It did not have the skin that I could peel off (still wondering how to get that) and it’s not greasy enough to leave a oily residue on my fingers… so maybe it’s not the best one for me, but it may be the best one for you!
Step-by-Step Photos | |
|---|---|
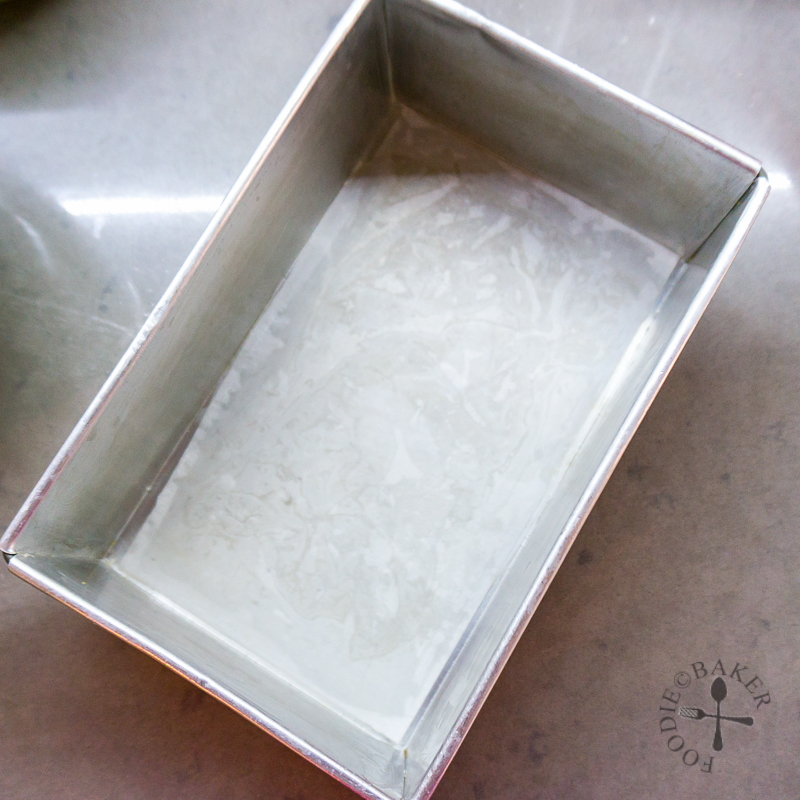 |  |
| 1) Grease a loaf tin and line the bottom with parchment paper. | 2) Place egg whites in a clean, dry, and oil-free metal bowl. Using an electric mixer, beat the egg whites on medium speed until foamy. |
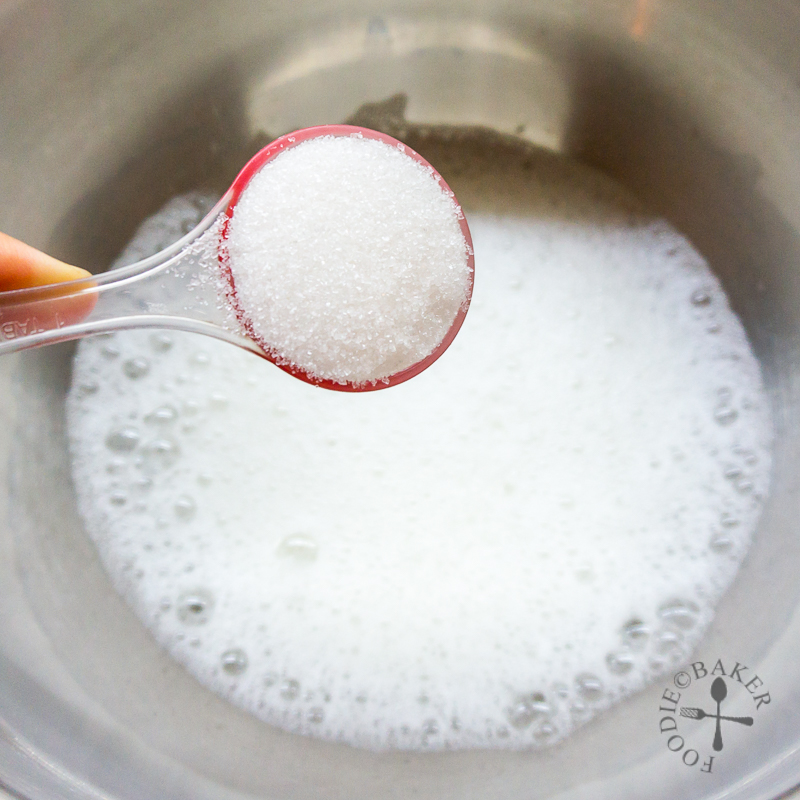 | 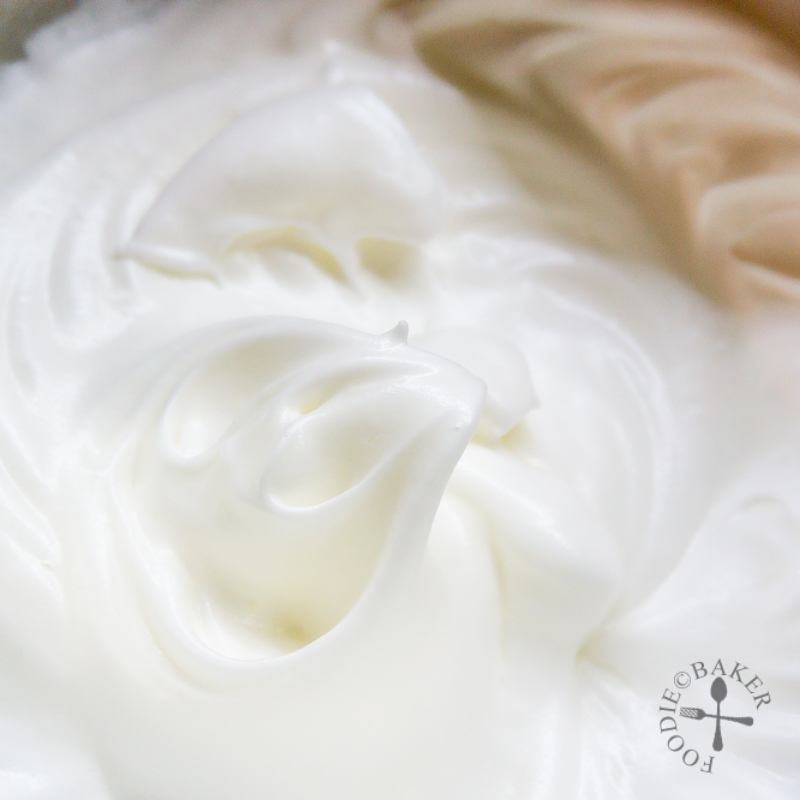 |
| 3) Add in part of the sugar gradually, while beating the egg whites constantly. | 4) After the sugar has been added, turn the speed up to high and beat until the egg whites form stiff peaks. |
 |  |
| 5) Place butter and remaining sugar in a separate mixing bowl. Without cleaning the beaters, cream the butter and sugar on medium-high speed until light and fluffy, about 5 minutes. | 6) Beat in the egg yolks, one by one, until incorporated before adding the next egg yolk. Beat in the vanilla with the last egg yolk. |
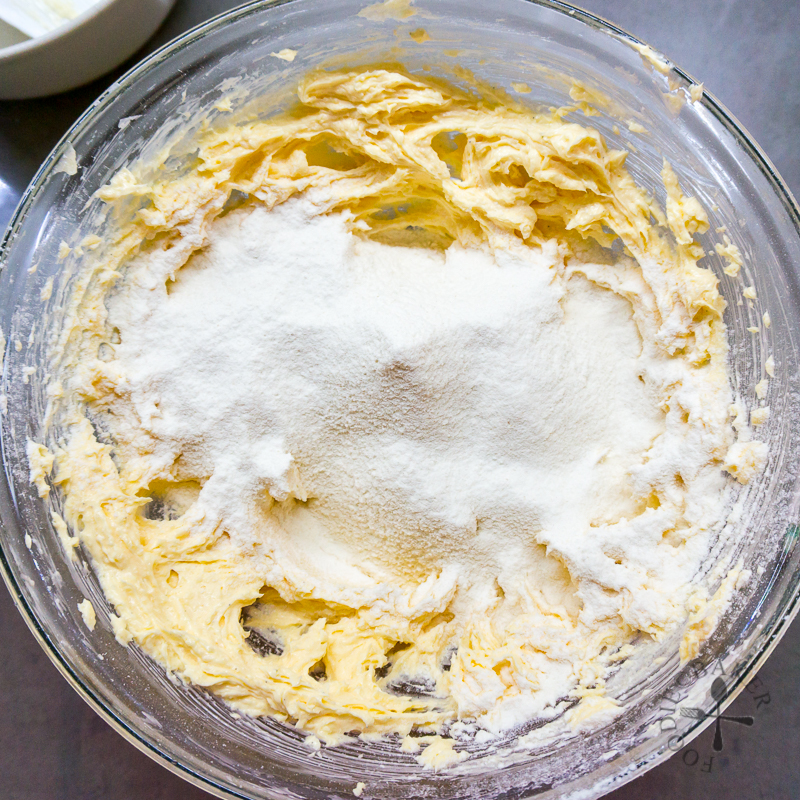 | 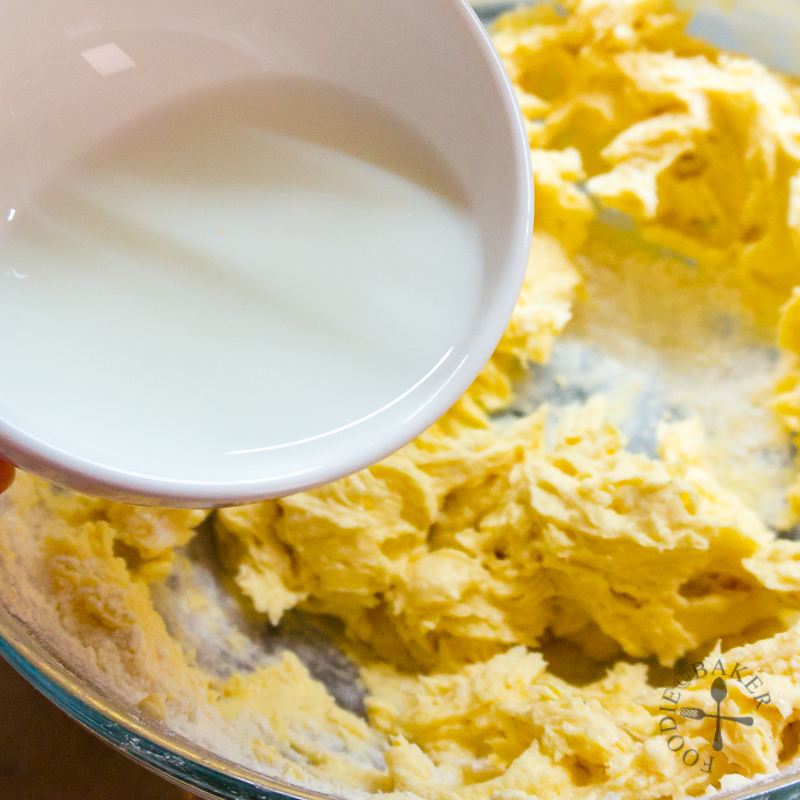 |
| 7) Sift half of the flour into the butter mixture, then beat on low until just incorporated. | 8) With the mixer on low, beat in the milk. |
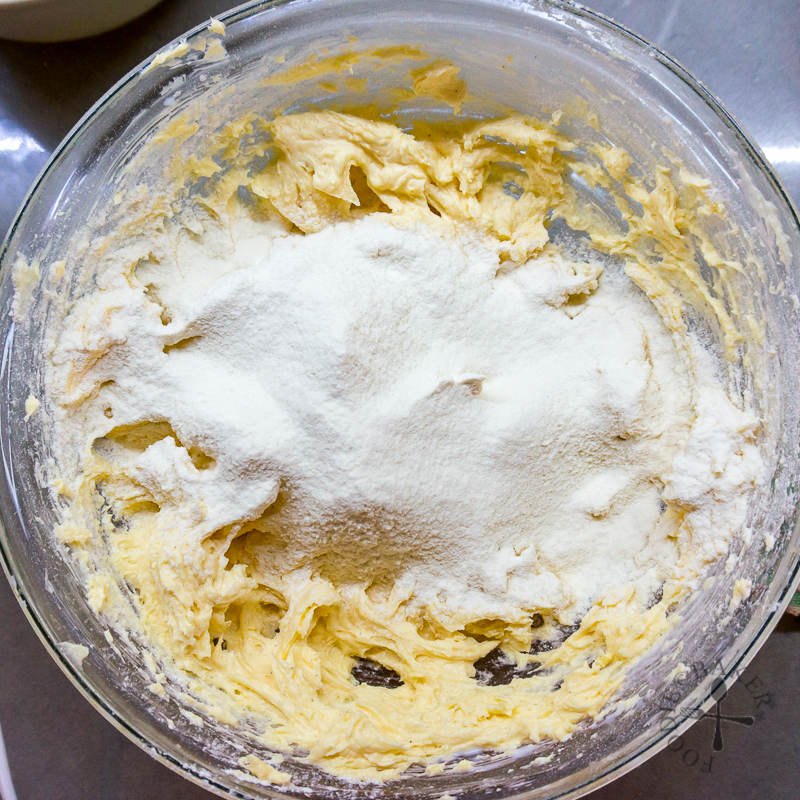 | 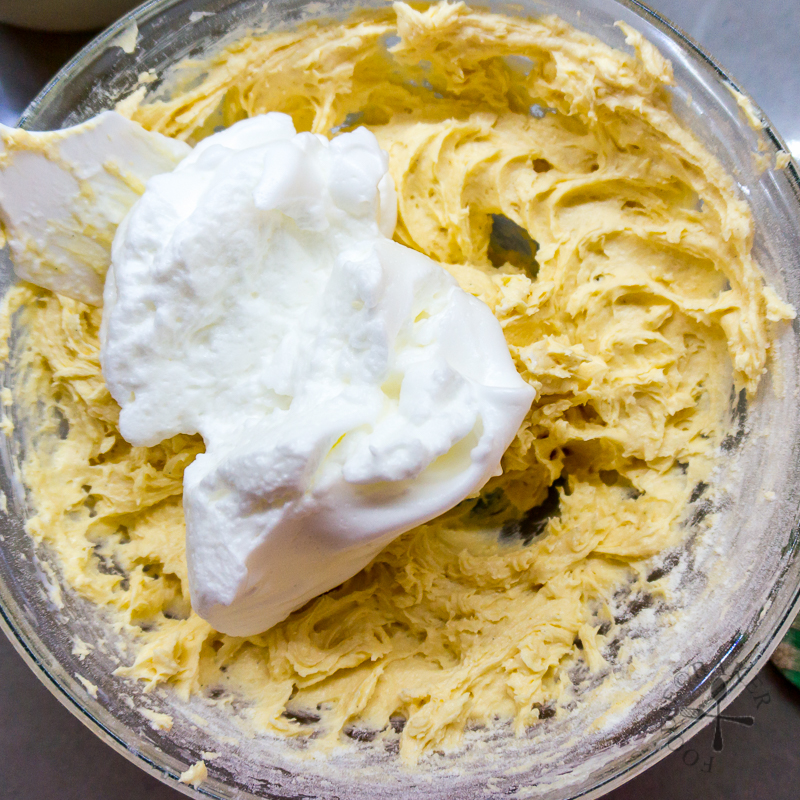 |
| 9) Sift in the rest of the flour and bit on low until just incorporated. | 10) Using a big rubber spatula, fold in the egg whites in 3 parts. |
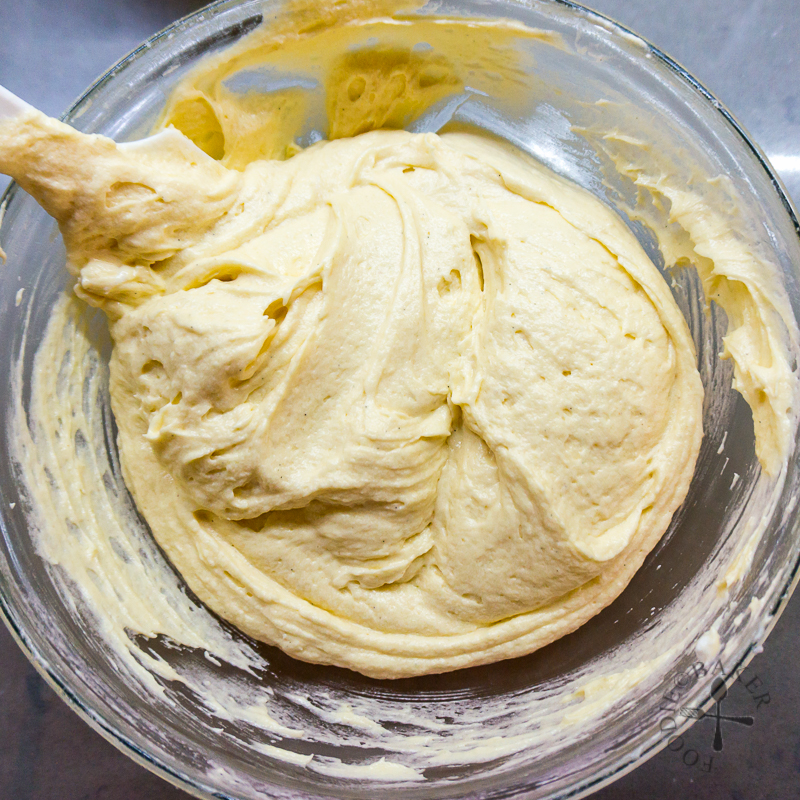 | 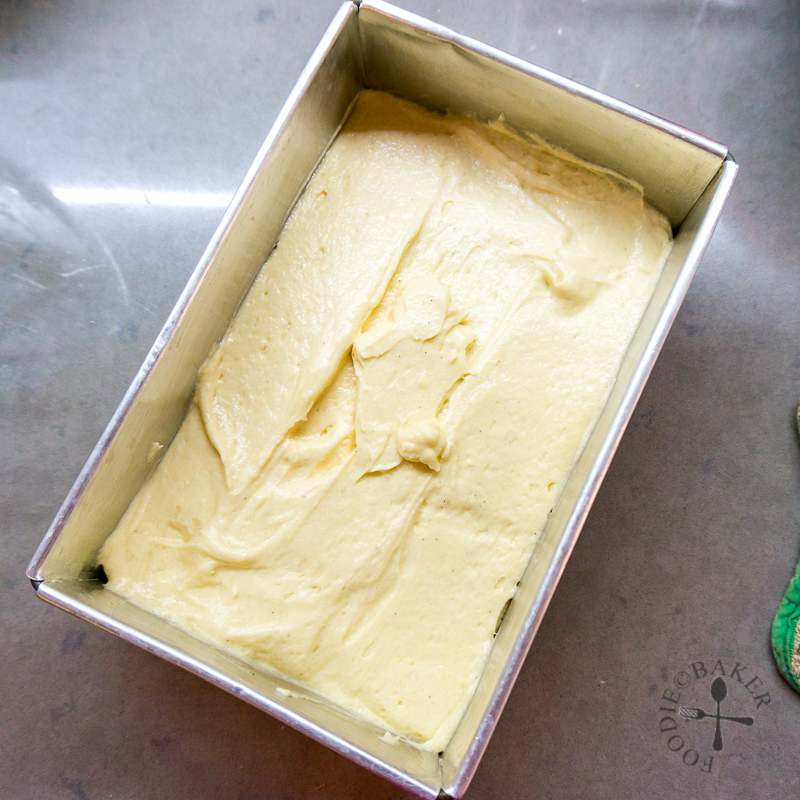 |
| 11) Make sure to scrape the bottom of the mixing bowl to ensure the batter is well-mixed. | 12) Scrape the batter into the loaf tin and smooth the top. Time to bake! |
Mrs Ng SK’s Butter Cake
INGREDIENTS
- 2 large eggs, separated, at room temperature
- 25 grams caster sugar , Part A, for egg whites
- 115 grams good-quality butter, at room temperature
- 75 grams caster sugar, Part B, for butter
- 1/2 teaspoon vanilla
- 100 grams self-raising flour
- 2 tablespoons milk, at room temperature
INSTRUCTIONS
- Preheat oven to 175°C / 350°F (non fan-assisted). Grease an 8×4-inch loaf tin and line the bottom with parchment paper. Set aside.
- Place egg whites in a clean, dry, and oil-free metal bowl. Using an electric mixer, beat the egg whites on medium speed until foamy. Add in Part A of the sugar gradually, while beating the egg whites constantly. After the sugar has been added, turn the speed up to high and beat until the egg whites form stiff peaks. Set aside.
- Place butter and Part B sugar in a separate mixing bowl. Without cleaning the beaters, cream the butter and sugar on medium-high speed until light and fluffy, about 5 minutes. Beat in the egg yolks, one by one, until incorporated before adding the next egg yolk. Beat in the vanilla with the last egg yolk.
- Sift half of the flour into the butter mixture, then beat on low until just incorporated. With the mixer on low, beat in the milk. Sift in the rest of the flour and bit on low until just incorporated.
- Using a big rubber spatula, fold in the egg whites in 3 parts (fold in 1/3 first, then another 1/3, then remaining egg whites). Make sure to scrape the bottom of the mixing bowl to ensure the batter is well-mixed.
- Scrape the batter into the loaf tin and smooth the top. Bake for 30 minutes, then lower the temperature to 170°C / 338°F and continue baking for 10 to 15 minutes, until a skewer inserted to the center of the cake comes out clean and the cake is pulling away from the edges of the loaf tin.
- Transfer the loaf tin on a wire rack and cool the cake for 30 minutes. Run a thin spatula along the edges of the cake, turn the cake out, peel off the parchment paper and turn the cake right side up onto a rack and let cool completely.
- Store any leftover cake in an airtight container at room temperature for up to 3 days. The cake can also be stored in the refrigerator for up to 5 days.
NOTES
- Make sure you have all the ingredients ready before you start making the cake. The whipped egg whites should not be set aside for too long as it will become watery, so you must cream the butter immediately after you finish whipping the egg whites. If you have 2 mixers, you can cream the butter and whip the egg whites at the same time.
- Use only good-quality butter for this recipe! In Singapore I would have used SCS but as I’m overseas, I used Lurpak butter.
- Adapted from Table for 2… Or More
Bam's Kitchen says
Love butter cake…and yes the skin on the top. Ha Ha..I though I only did that. I bet you this cake would freeze well too. hmmm…why am I no longer getting your post email notification… will try to sign up again. Sharing, of course
Susan says
It certainly looks moist and delicious, even without the greasy fingers 🙂
priscilla poh says
Good day Jasline, thanks for sharing your experience, esp. your recommendation to readers on the whole egg method.
Blessings
Priscilla Poh
Monica says
Such a classic for a very good reason. I love the smell of butter cakes like this as it’s baking and then the flavor is just so familiar and good. This looks perfect…love that crumb!