When we moved overseas, I regretted not bringing a pack of gochugaru from Singapore with me. Gochugaru is a coarse ground red pepper made from sun-dried chile peppers. It can be used in many Korean dishes and is the key ingredient in most types of kimchi, a traditional fermented Korean side dish. I’ve been dying to make some kimchi-based recipes but couldn’t do so because I cannot find kimchi here and I cannot make my own kimchi because of the lack of gochugaru.
I initially wanted to wait until I go back to Singapore (for holiday) to stock up on gochugaru but when I saw a pretty head of napa cabbage in the market a few weeks back (which is a rarity as well), I knew I couldn’t wait any longer.
Jump to: Step-by-Step Photos · Recipe
It seemed impossible to make kimchi without gochugaru, because so many websites have stated that there is no substitute to gochugaru. But then I happened to chance upon Lisa’s Lemony Kitchen’s recipe and saw that she used paprika and chili powder to make kimchi – and that’s what I decided to do too. After all, paprika is made from dried chilli pepper as well and the colour closely resembles that of gochugaru, isn’t it? There are many different types of paprika, the common ones I saw in supermarket are smoked, sweet and hot paprika, as well as paprika in oil and without. I chose hot paprika (without oil) as I felt that it will give the kimchi the spicy flavour I’m looking for.
I used Maangchi’s Easy-to-Make Kimchi recipe, which involves chopping up the cabbage first instead of the traditional method which leaves the cabbage whole. One reason was because the only glass container I have to keep the kimchi in is a jar, so putting a whole cabbage inside will be pretty difficult. In addition, by chopping ahead, I save time later on when I make other recipes. The kimchi will taste quite spicy at the start, but after fermentation, the sour-ish taste will offset against the spiciness.

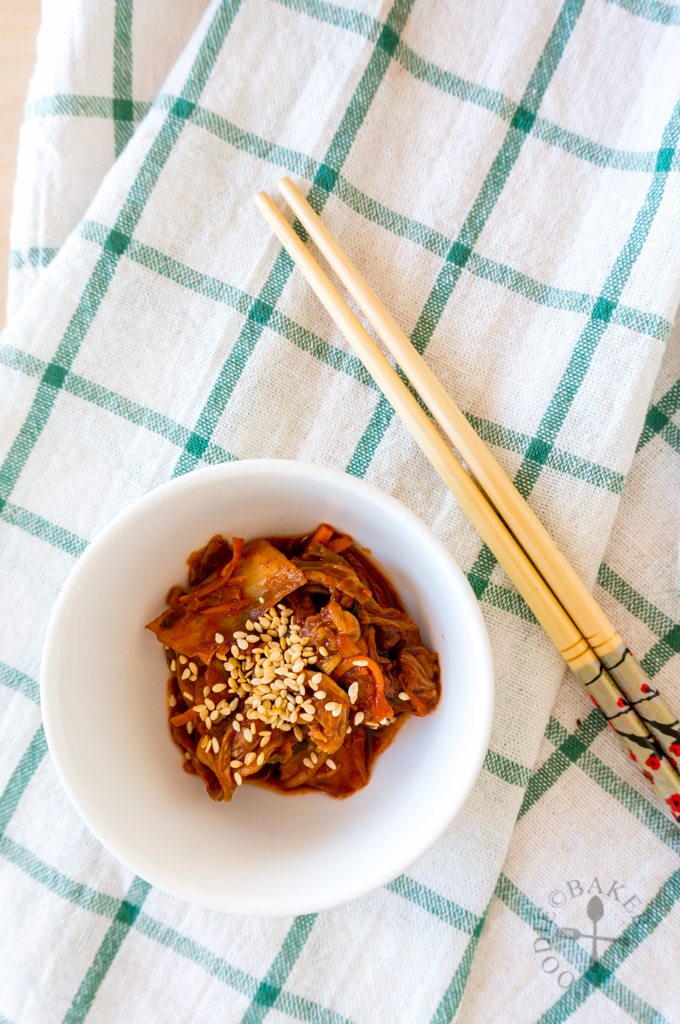
Does the kimchi taste authentic? I cannot say for sure as I’ve not eaten the real kimchi for a very long time. But I have to say that this is definitely an option for those staying in places with no access to Korean ingredients, and probably one that I will keep making until I lay my hands on some gochugaru!
And while I leave you with these photos, I’m off to make some kimchi pasta and budae jjigae!
Step-by-Step Photos
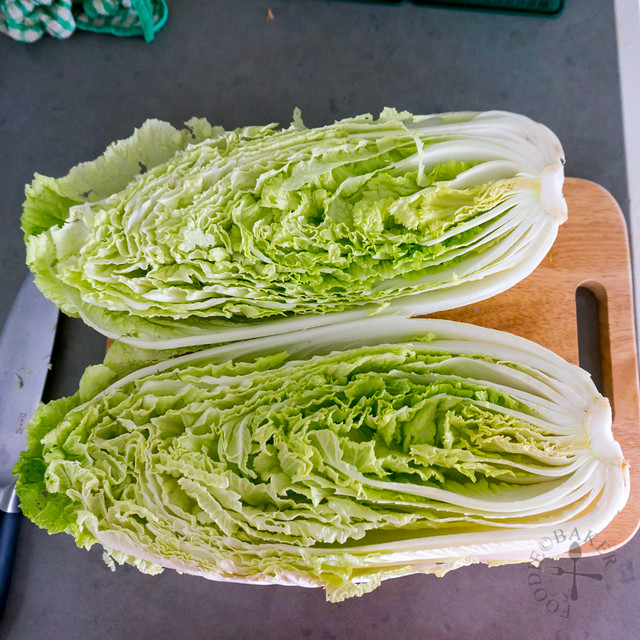 |  |
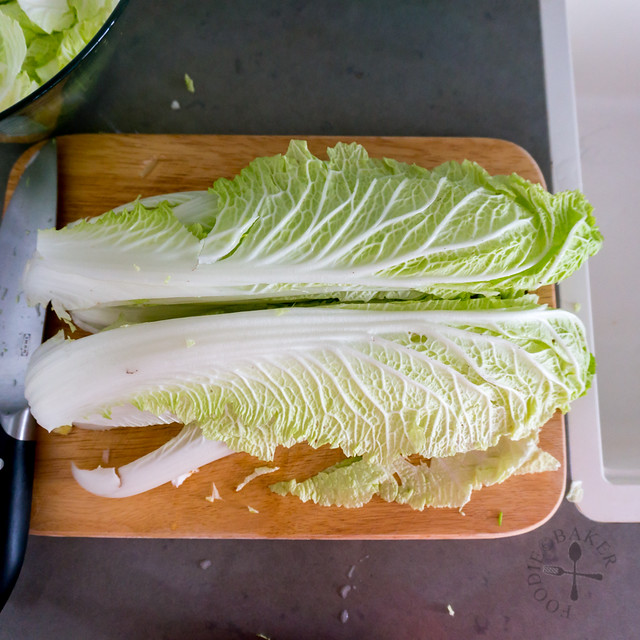
| 1) Cut the napa cabbage in half. | 2) Make a triangular incision to core the napa cabbage. |
 | 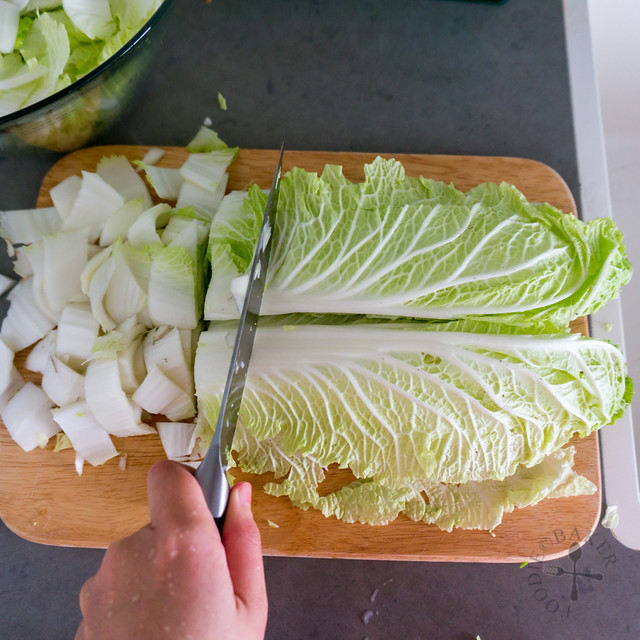 |
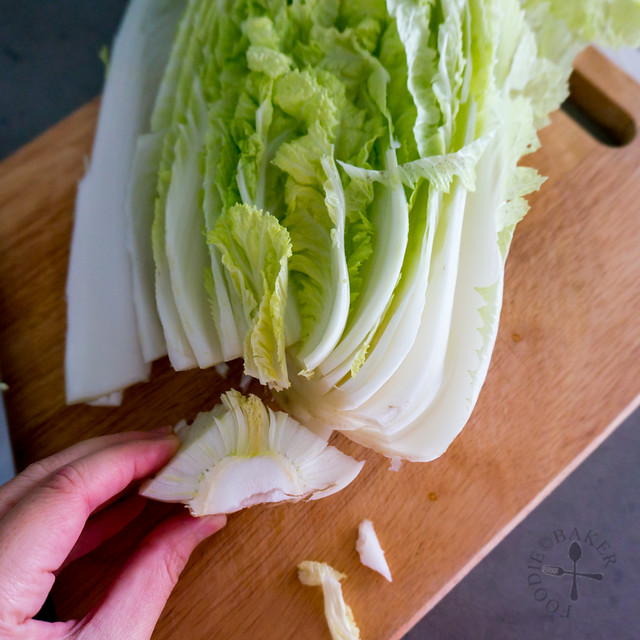
| 3) Flip the napa cabbage over and halve it again. | 4) Cut into 1.5 to 2-inch chunks. |
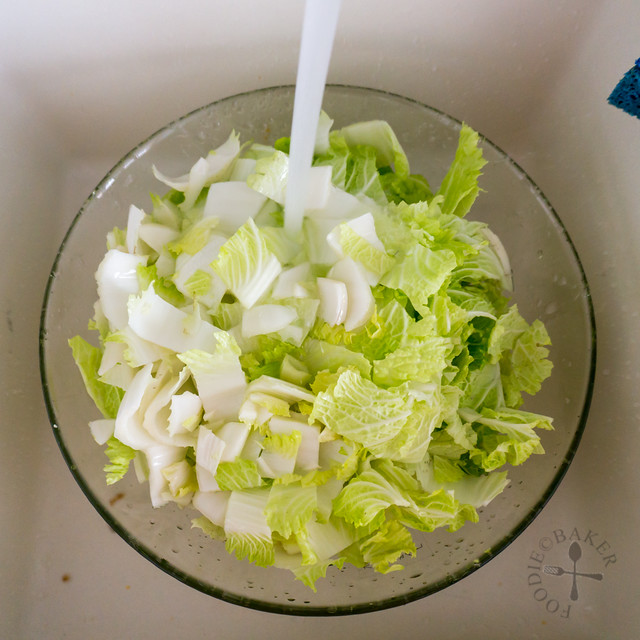 | 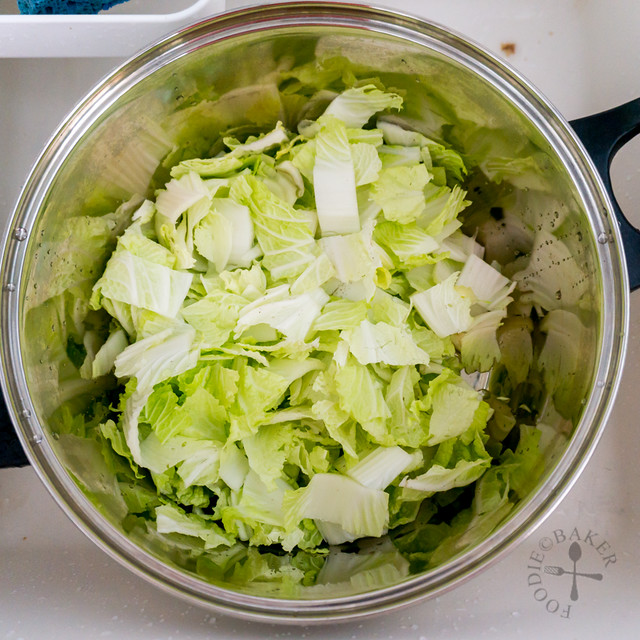 |
| 5) Rinse the cabbage to remove dirt or soil. Drain the cabbage. | 6) Place the cabbage in a big container (or pot) |
 | 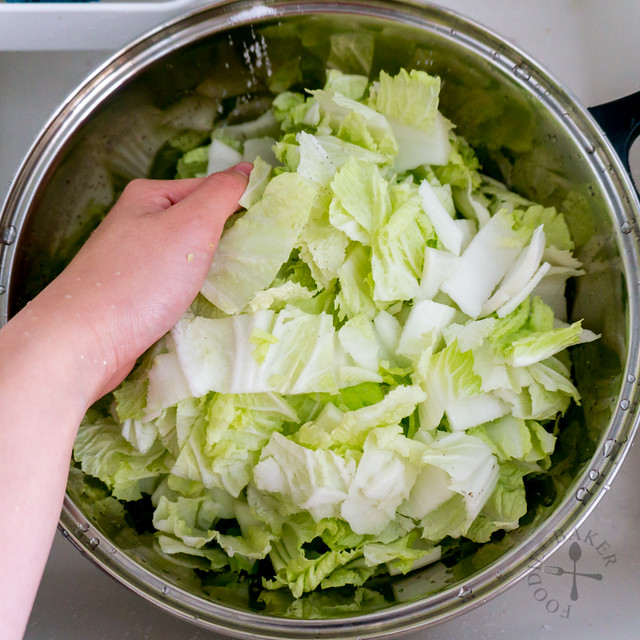 |
| 7) Sprinkle salt all over the cabbage. | 8) Toss the cabbage to mix well with the salt. |
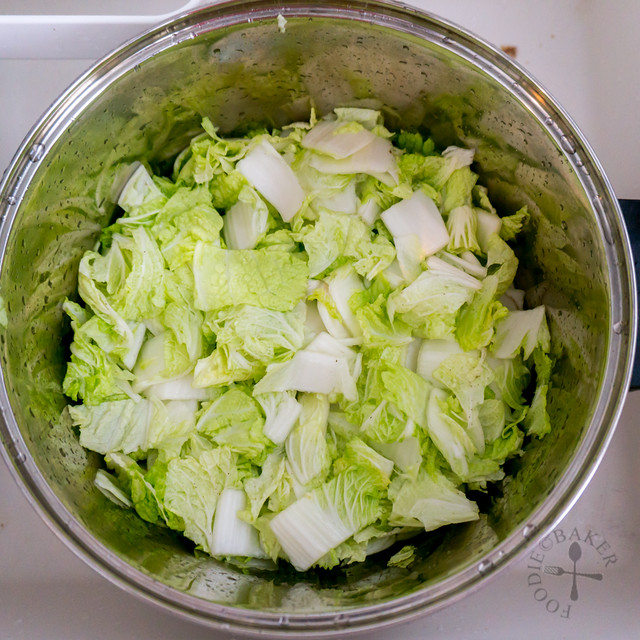 | 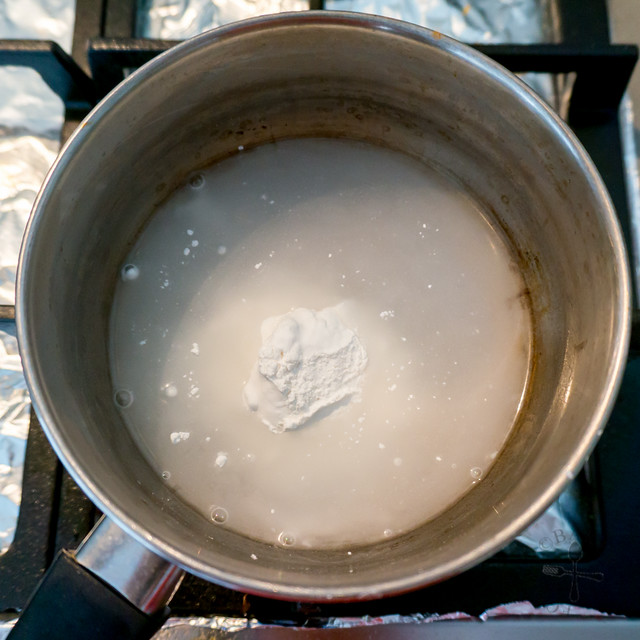 |
| 9) Cover and let the cabbage sit for 1.5 hours until the cabbage has wilted and shrunk in size, tossing it every 30 minutes. | 10) While the cabbage is being salted, make the porridge. Whisk glutinous rice flour and water together. |
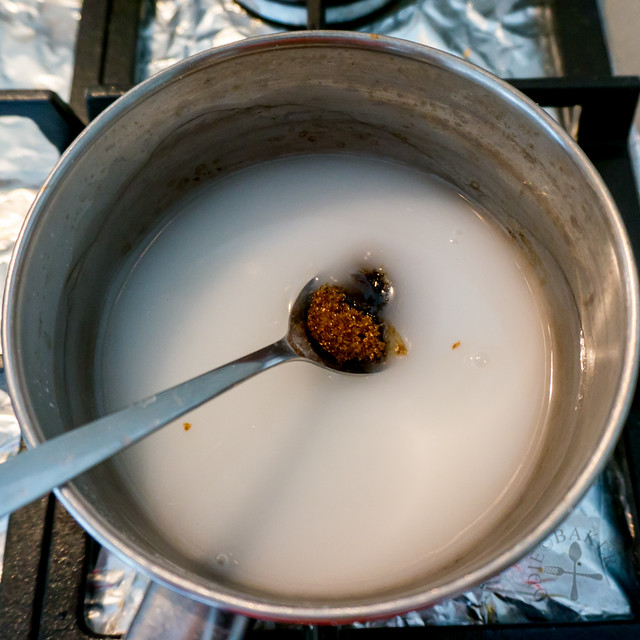 | 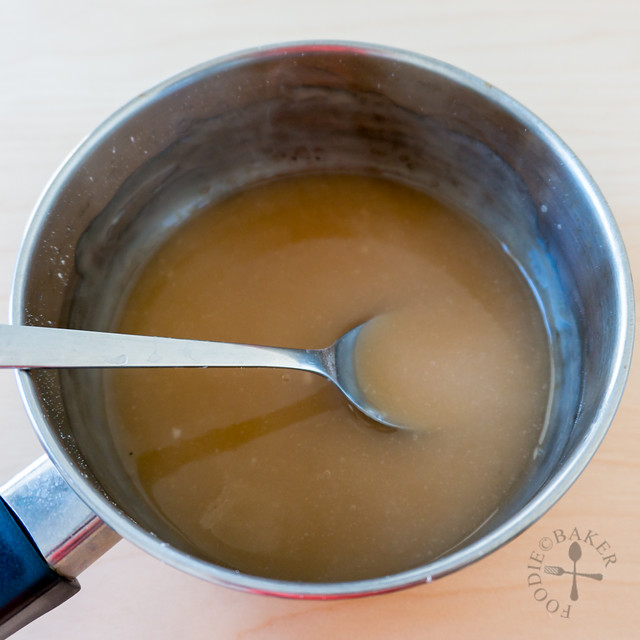 |
| 11) Stir in brown sugar. | 12) Let cool to room temperature. |
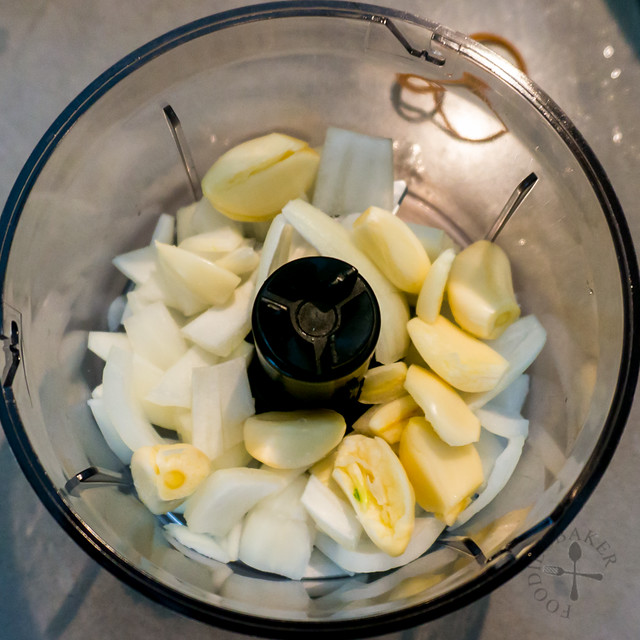 | 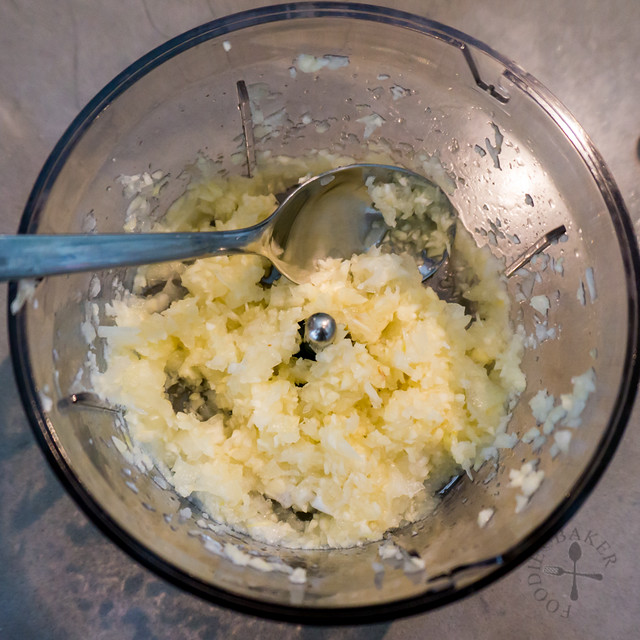 |
| 13) Place onion and garlic in a food processor. | 14) Process into a mince (or mince with a knife). |
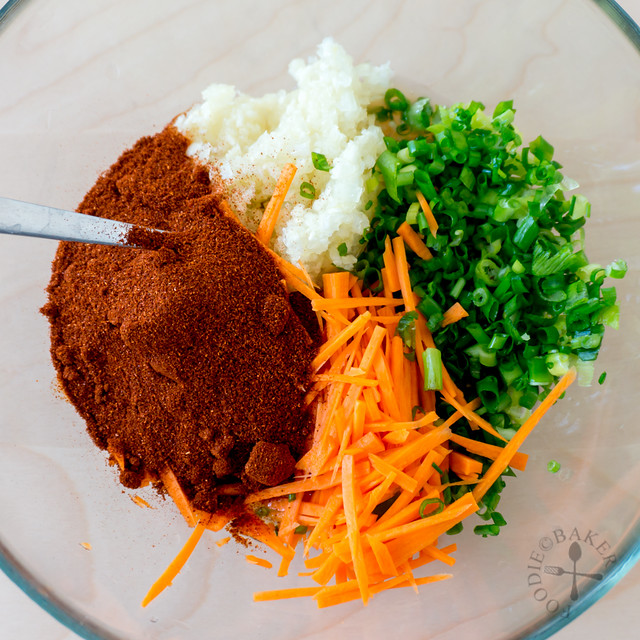 | 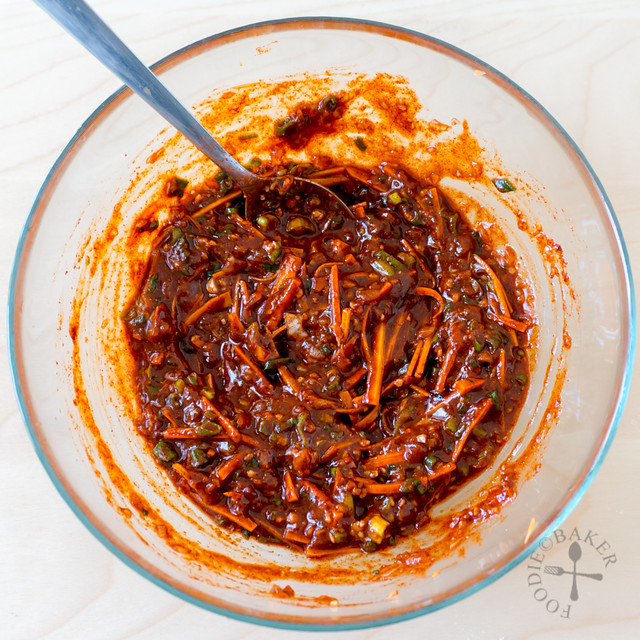 |
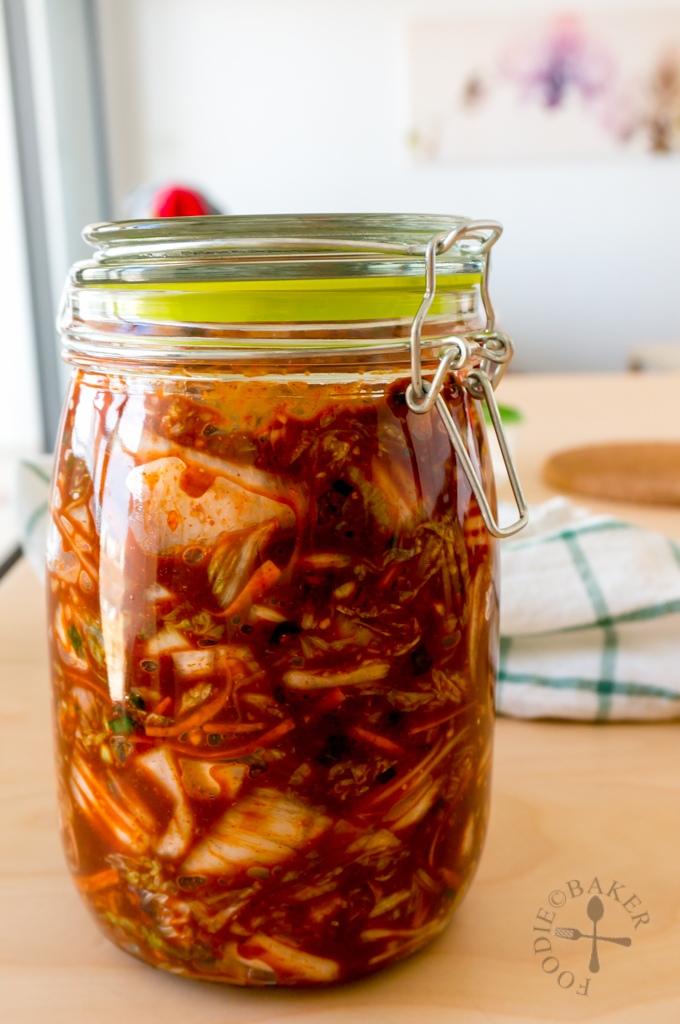
| 15) Combine the porridge with fish sauce, paprika and all the other vegetables. (I forgot to buy radish so I didn’t add it in this time round.) | 16) Here’s your kimchi paste, a brilliant and beautiful bright red colour! |
 | 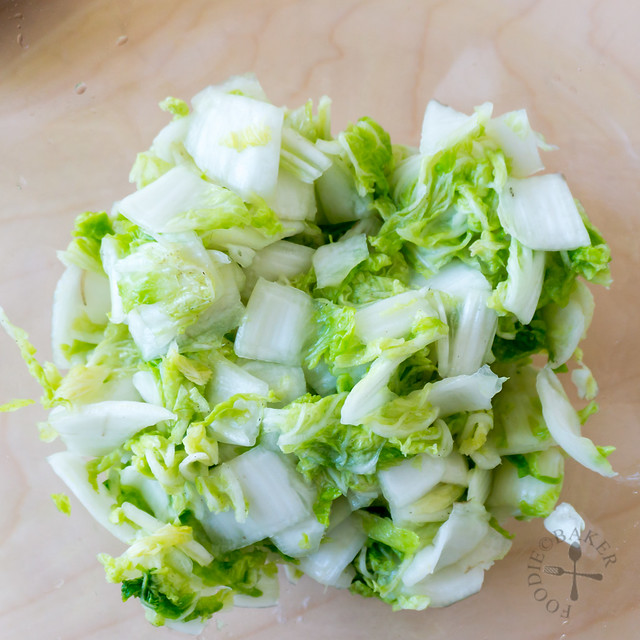 |
| 17) Rinse the wilted and shrunk cabbage 3 times. | 18) Drain them well and place in a large mixing bowl. |
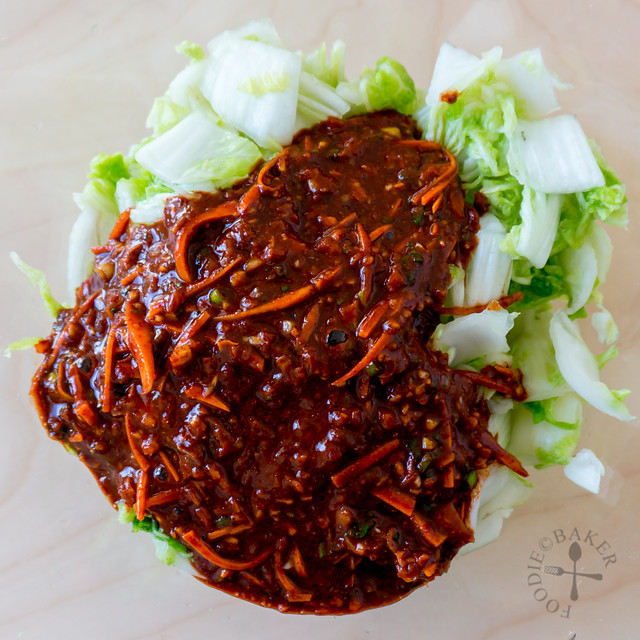 | 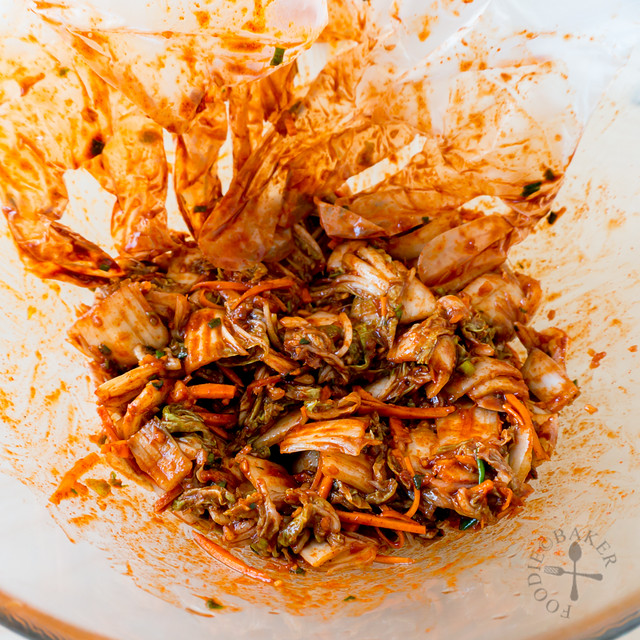 |
| 19) Add in your kimchi paste. | 20) Wear a pair of gloves and use your hands to mix everything together. |
 | 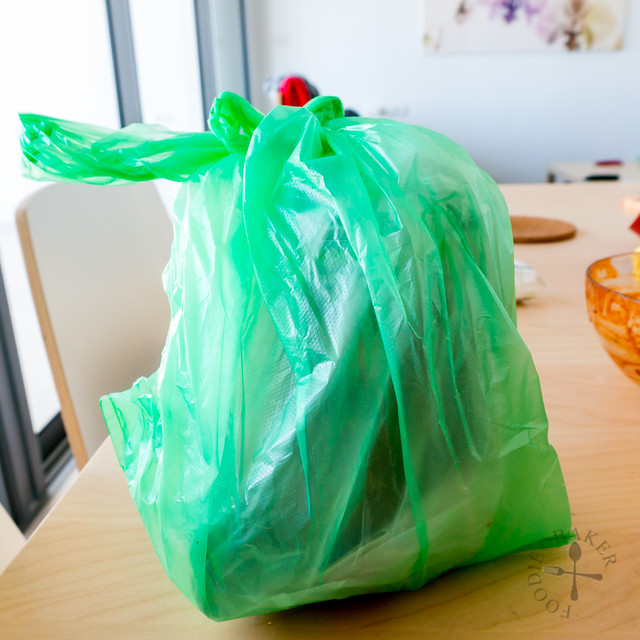 |
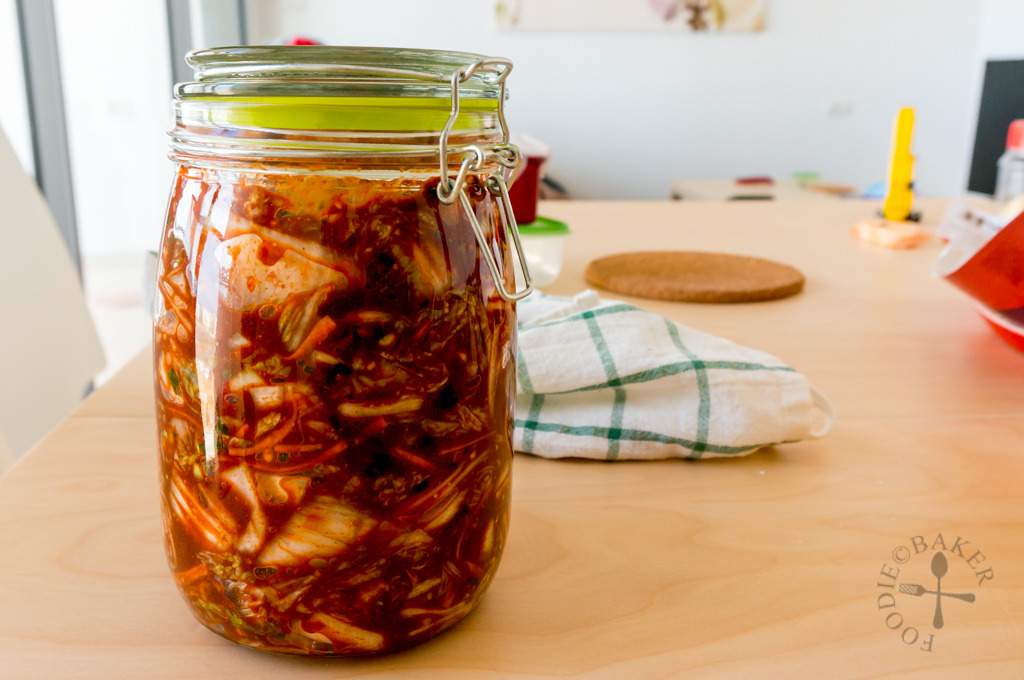
| 21) Transfer into a container, cover and let it rest at room temperature for 1 to 2 days to kick-start the fermentation. (See the recipe for more details.) | 22) Double wrap the kimchi container with plastic bag before placing it into the refrigerator to prevent the kimchi smell from seeping into the refrigerator. |
Spicy Kimchi without Gochugaru
INGREDIENTS
Cabbage
- 1 napa cabbage, about 1 kg
- 1/4 cup fine sea salt
Porridge
- 1 tablespoon glutinous rice flour
- 3/4 cup room-temperature water
- 2 teaspoons brown sugar
Kimchi paste
- Porridge
- ¼ cup hot paprika
- ⅛ cup fish sauce
- 8 cloves garlic, peeled and minced
- ½ onion, peeled and finely chopped
- 1 teaspoon minced ginger
- ½ cup finely chopped spring onion
- 1 carrot, shredded (optional)
- ½ radish, daikon, shredded (optional)
INSTRUCTIONS
Cabbage
- Halve and core the napa cabbage. For each half, halve the cabbage again and cut into 1.5 to 2-inch chunks (see step-by-step photos above for a clearer picture).
- Place the chopped cabbage into a large bowl and rinse the cabbage well a few times to remove dirt or soil. Drain the cabbage and sprinkle in the sea salt. Toss the cabbage a few times with your hands to ensure the salt is sprinkled evenly on the cabbage.
- Cover the cabbage and let it soak for 1 1/2 hours, tossing the cabbage every 30 minutes. The cabbage should have wilted and shrunk in size.
- Rinse the cabbage 3 times to remove excess salt. Drain well and place in a large mixing bowl. Set aside.
Porridge
- While the cabbage is soaking, make the porridge. Whisk glutinous rice flour and water in a small pot. Bring the mixture to a boil then lower the heat to a simmer. Cook until the mixture starts to thicken. Remove from heat and stir in the sugar. Set aside until the porridge has cooled to room temperature.
Kimchi Paste
- Combine the cooled porridge with hot parika, fish sauce, garlic, onion and ginger. Stir well into a paste. Stir in chopped spring onion, carrot and radish.
Making the Kimchi
- Pour the Kimchi Paste over the cabbage. Wear a pair of gloves and use your hands to mix the cabbage thoroughly with the Kimchi Paste. Transfer the kimchi into a 1-litre air-tight container, packing it down.
- Cover the container and let sit at room temperature for 1 to 2 days to start the fermentation. Open the container twice a day during the fermentation to release gas, and use a clean and dry spoon to press down the cabbage into the kimchi juices released by the cabbage, ensuring the cabbage is fully submerged into the kimchi juices.
- After the fermentation, keep the kimchi in the refrigerator. To prevent kimchi smell from seeping into the refrigerator, fold 3 to 5 pieces of A4-size newspaper and place them at the bottom of a plastic bag. Place your kimchi container inside and tie it up tightly. Place the whole bag into another plastic bag and tie it up before storing in the refrigerator.
- The kimchi can now be eaten or used in dishes, however, it will taste better after 1 more week of fermentation in the refrigerator. Always use clean and dry utensils to remove the kimchi from the container and keep them submerged in the kimchi juices.
Minahil says
hey! would table salt work instead of fine sea salt for your recipe?
Jasline N. says
Hi Minahil, yes table salt will work as well 🙂
Ramsha Qureshi says
Hi i wanted to ask if the kimchi paste that you made could be used in other dishes too, like for example, tteokbokki?
Jasline N. says
Hi Ramsha, no this paste is for making kimchi only. You may want to Google for tteokbokki recipes online as I don’t have one on the blog!
May says
Hi, can I use rice flour instead of glutinous rice flour?
Jasline N. says
Hi May, I would suggest sticking to glutinous rice flour. I’ve not used rice flour before so I don’t know how it will turn out.
May says
Hi, can I use rice flour instead of glutinous rice flour?
Jasline N. says
Hi I have not used rice flour before so I can’t comment, sorry!
namarre says
Thank you very much for this! I was having trouble finding gochugaru and was wondering whether paprika could be used. It’s only day two but it tastes great. 🙂
Shivani Kapadia says
I’m so glad that i came across this recipe. I have never tried authentic kimchi, since it is not available where i live. I couldn’t find gochugaru and all the recipes said that you cant use a substitute, so i am excited to try your recipe. Thank you!!
ChgoJohn says
I do love coming here, Jasline, whether you’re showing us a recent travel destination or detailing a dish from you homeland, I always leave more knowledgable than when I arrived. I’ve yet to try kimchi, much less make my own. This is something I need to remedy. 🙂