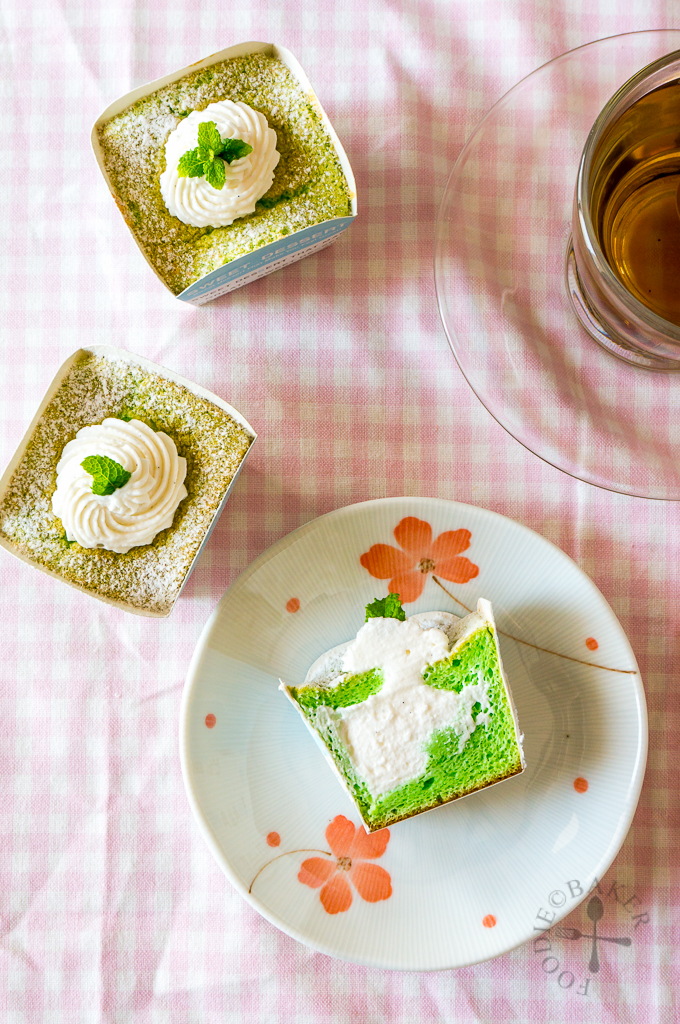
Hokkaido chiffon cupcakes are the rage over the past few years and I can understand why – pillowy soft sponge cakes filled with a generous amount of sweetened whipped cream or custard, what’s not to love? I had tried baking a few of them before but they all didn’t turn out very well, hence they only made it into our stomachs but never on the blog. As the dateline for Bake-Along draws nearer, I decided to attempt these chiffon cupcakes again, and I’m so glad I did!
Jump to: Step-by-Step Photos · Recipe
While browsing through my extensive collection of chiffon cake recipes, I saw a pandan chiffon recipe that I bookmarked from Doreen’s place (My Little Favourite DIY) a few months back. She claims that the recipe is fail-proof, so of course I have to give it a shot! I also love how the quantities are measured in weights (even the eggs) instead of in cups as I believe it’s more precise and accurate.
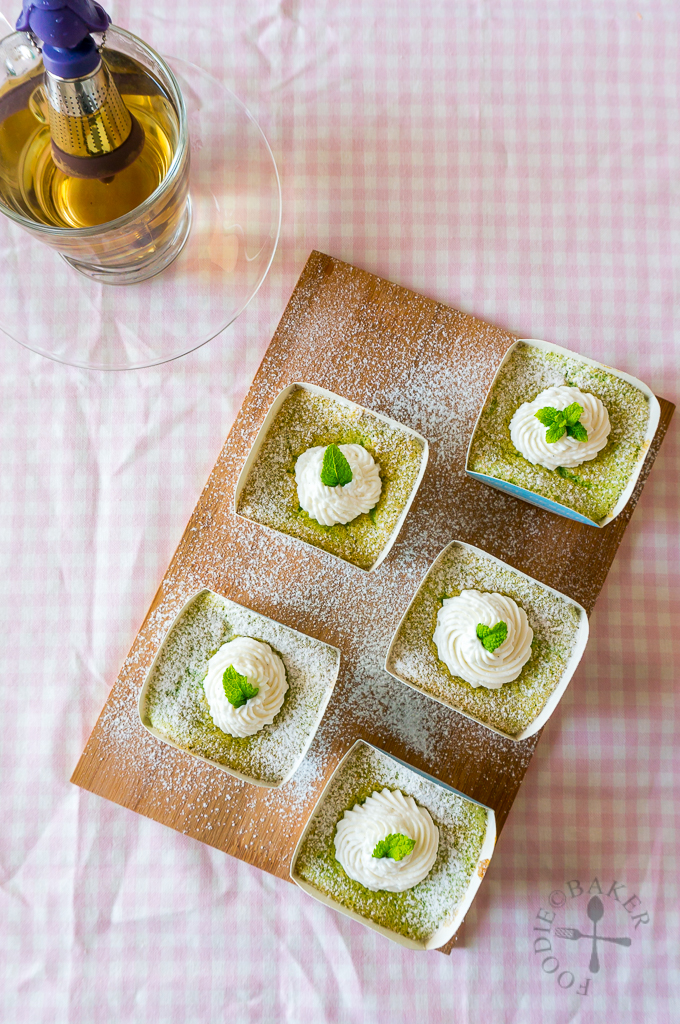
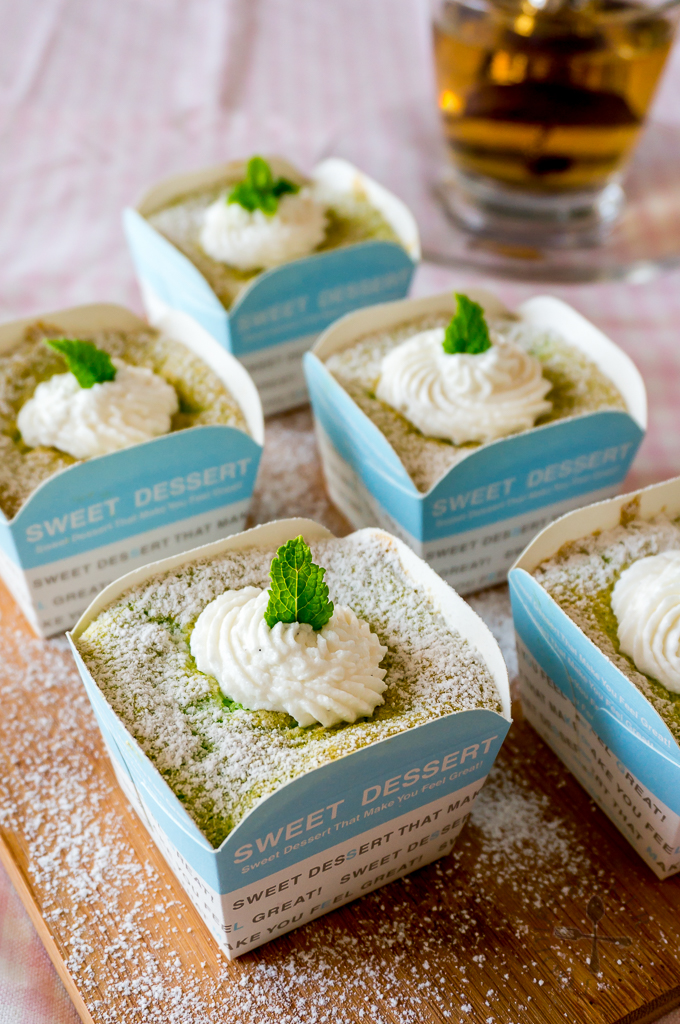
Before the move, I was afraid that I won’t be able to get any pandan leaves here (and I was right), so I brought along a small bottle of pandan extract that I bought in Singapore. The brand I used was Koepoe Koepoe, a highly recommended brand as it is intense in flavour with a deep green colouring – hence a little goes a really long way. I used only 1/4 teaspoon to get this brilliant green colour and a light pandan flavour.
The cake is pretty easy to assemble – the only tricky part is the whipping of egg whites and the folding of them into the egg yolk batter. I blogged a slightly detailed sponge cake tutorial in the past here (so that I can refresh my memory when I need to), but I’ll extract the egg white and folding parts.
The Egg Whites
The Bowl Part 1
The most preferred bowl to use when beating egg whites are copper bowls. But honestly, how many of us out there own a copper bowl? A metal bowl works best (mine is a stainless steel bowl) but glass or ceramic bowl can be used too. Plastic bowls are not preferred as they retain grease easily – which prevents the eggs from beating up and achieving maximum volume.
The Bowl Part 2
Once you have gotten the bowl, make sure that the bowl is dry and free of grease before you add in the egg whites. Any liquid or grease in the egg whites will prevent the whites from achieving maximum volume..
The Egg Whites
The egg whites should be at room temperature to attain maximum volume. There should also not be any trace of egg yolks in them as they will prevent the whites from beating up. I like to separate my eggs when the eggs are cold as it is easier. Then I’ll let the eggs come to room temperature before using them.
The Beating
With an electric mixer, start beating the egg whites on medium-low speed until the egg whites are foamy. Low speed is preferred so that the air bubbles created in the egg whites are small, so that the cake will rise evenly during baking and there won’t be any huge gaping holes in the cake (imagine cheese).
Once the egg whites are foamy, increase the speed to medium and start to add in sugar gradually, 1 tablespoon at a time, beating constantly until all the sugar is added.
After adding all the sugar, increase the speed to medium-high and beat until the egg whites formed stiff peaks and are glossy. The egg whites will not slip when you turned the bowl over.
The Cream of Tartar and/or Salt
In some other recipes, cream of tartar and/or salt are also listed as ingredients. They to stabilize the egg whites and increase their volume. I often omit the cream of tartar as I don’t have it on hand, but I will add the salt if it is stated. The cream of tartar and/or salt can be added after the egg whites are foamy.
The Folding
This is yet another headache for me as I have no idea how to fold it properly so that it is fully incorporated and so that I will not deflate the egg whites too much. After much experiment, the method that works best for me is to use a wire whisk to fold in the egg whites (and will probably be the method I use in the future). Here is a YouTube video on folding egg whites in using a wire whisk: here (starting at 1:49). After folding in all the egg whites with the wire whisk, I like to use my spatula to scrape the bottom and fold it a couple more times to ensure the batter is even. If it is not even, some parts of the cake may collapse / may not rise as much.
Sadly, the video is no longer available. I’ll see if I can video down my attempt in folding the egg whites, then upload it here!
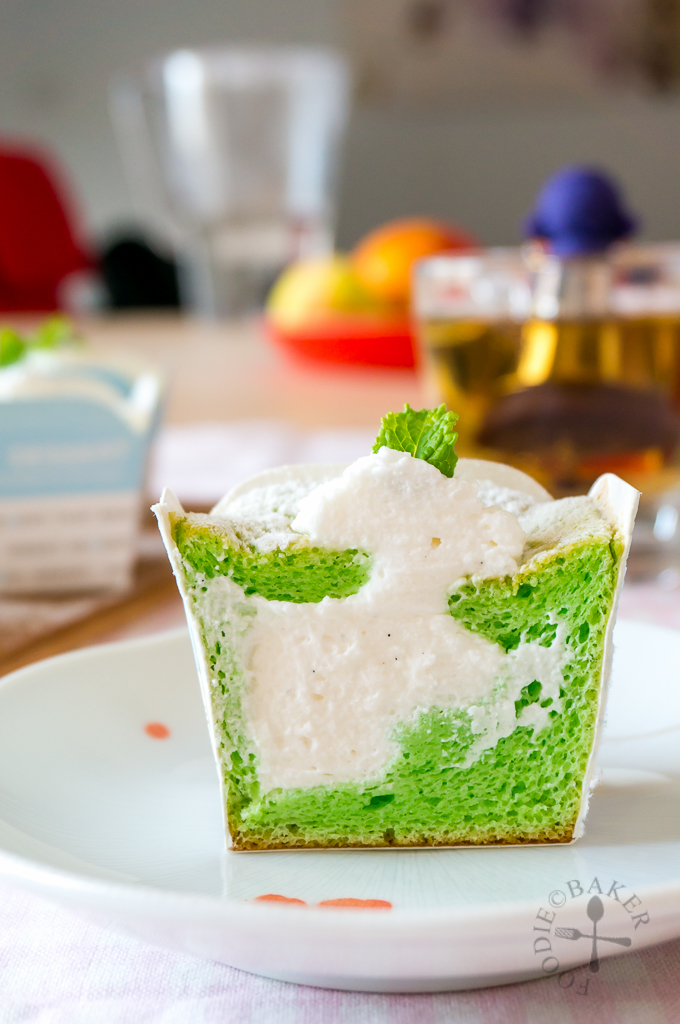
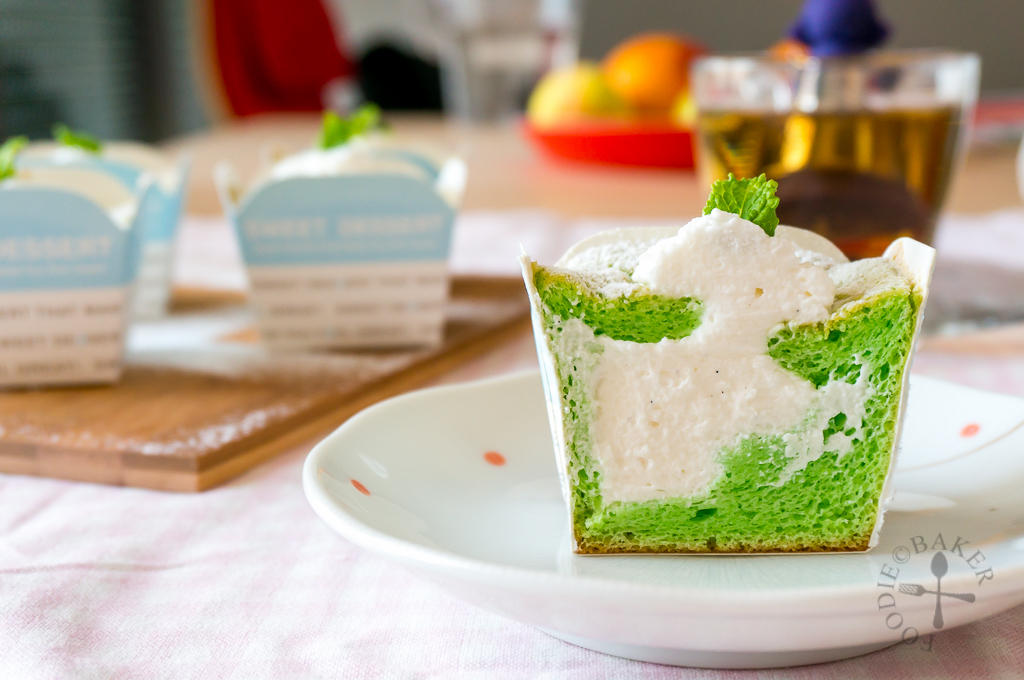
Overall, this bake is a huge success – the cupcake is extremely soft and pillowy, even after a night’s refrigeration! I have already eaten 2 (straight from the refrigerator) while I’m typing this post *burps* I’m going to bake this into a chiffon cake this weekend and bring them out for an outing, can’t wait!
Step-by-step Photos | |
|---|---|
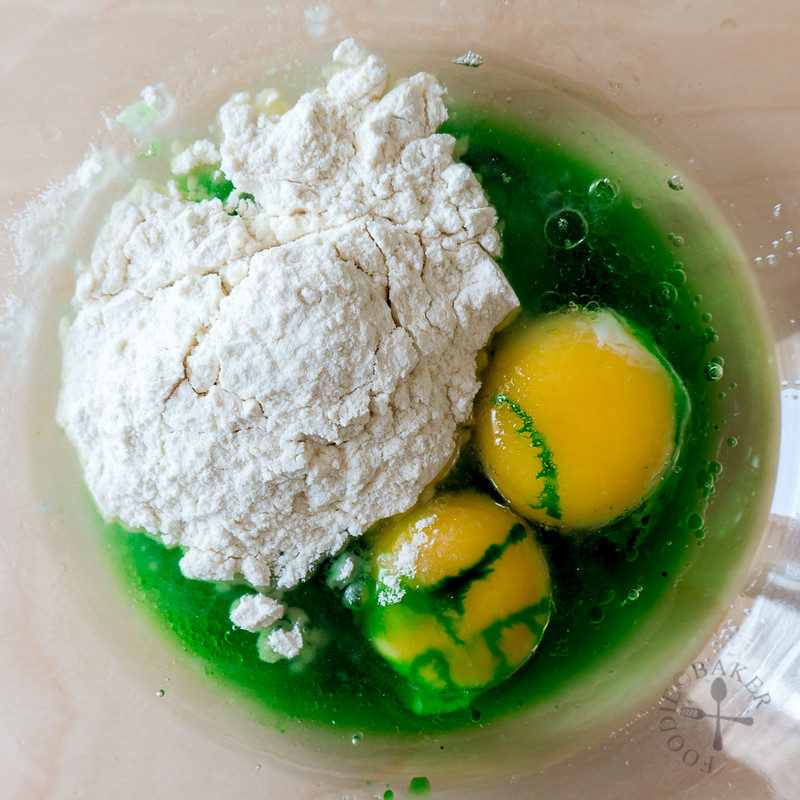 | 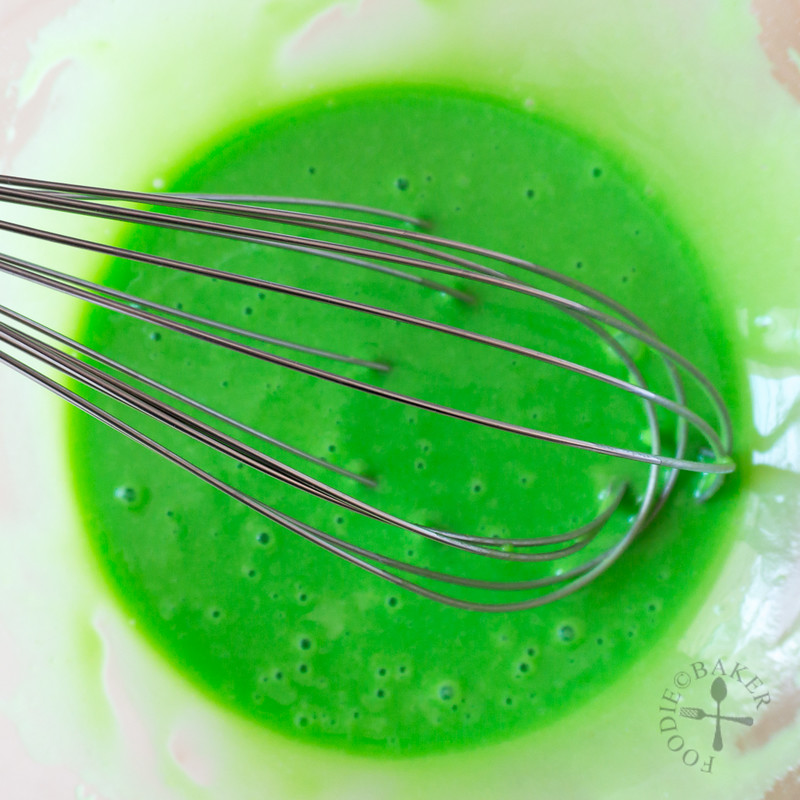 |
| 1) Combine egg yolks, water, oil, sugar, flour and pandan together in a mixing bowl. | 2) Whisk until incorporated. Set aside. |
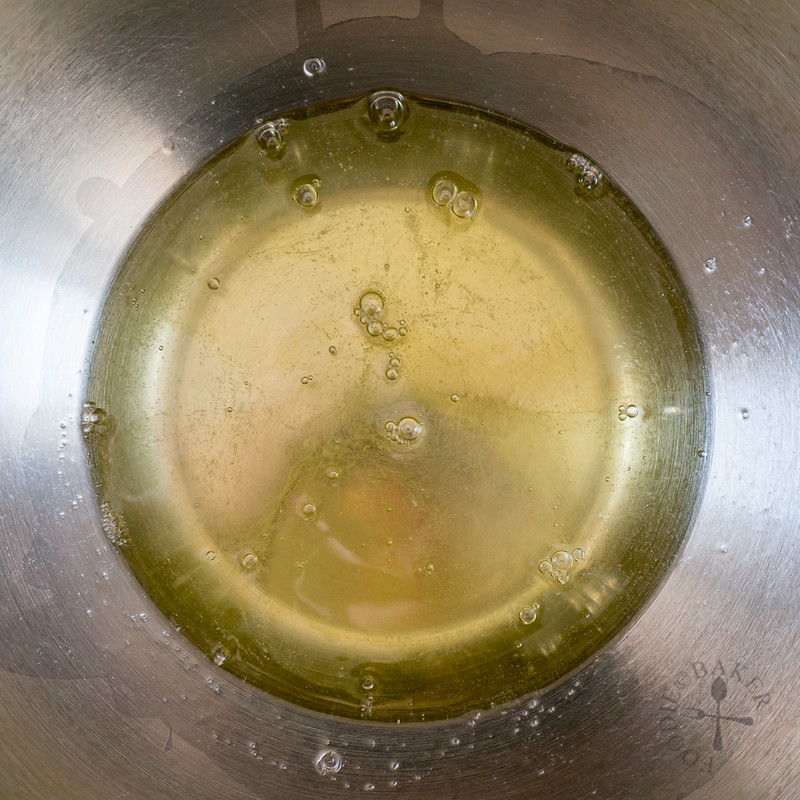 | 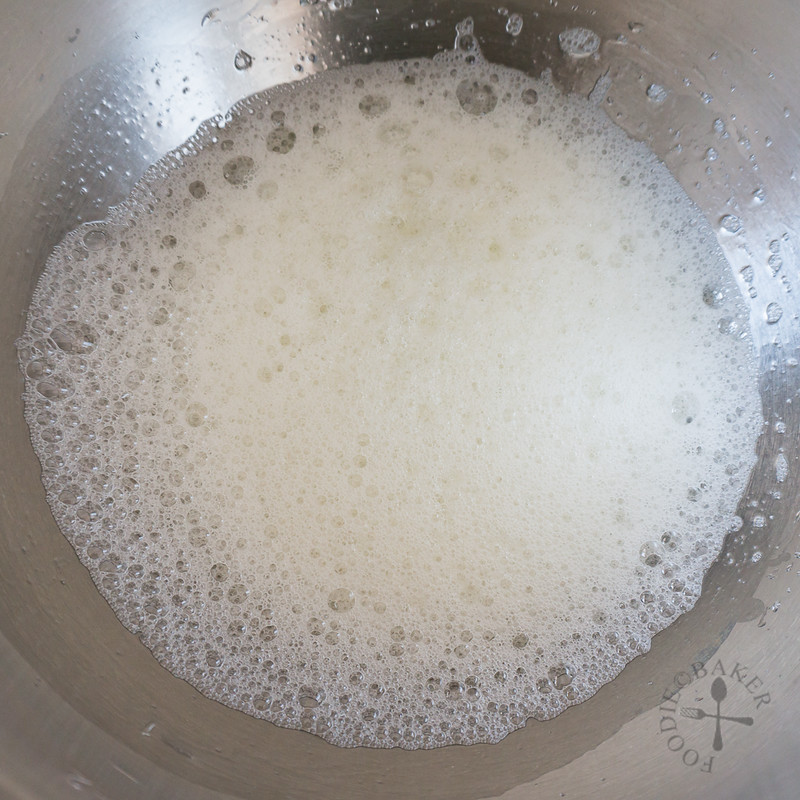 |
| 3) Grab your egg whites and place them in a dry and oil-free bowl. | 4) Beat with an electric mixer on medium-low speed until foamy. |
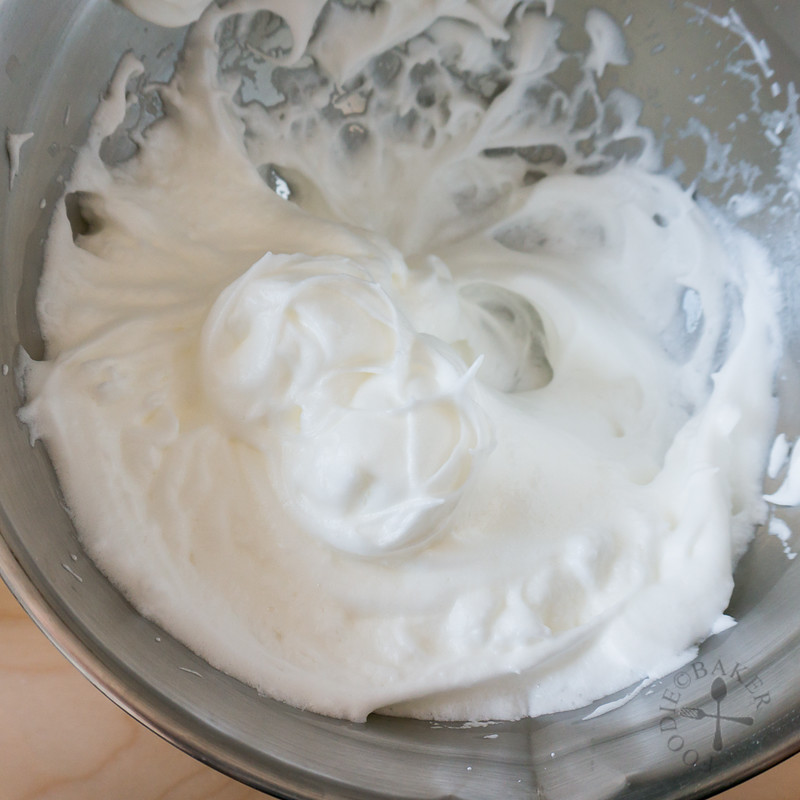 | 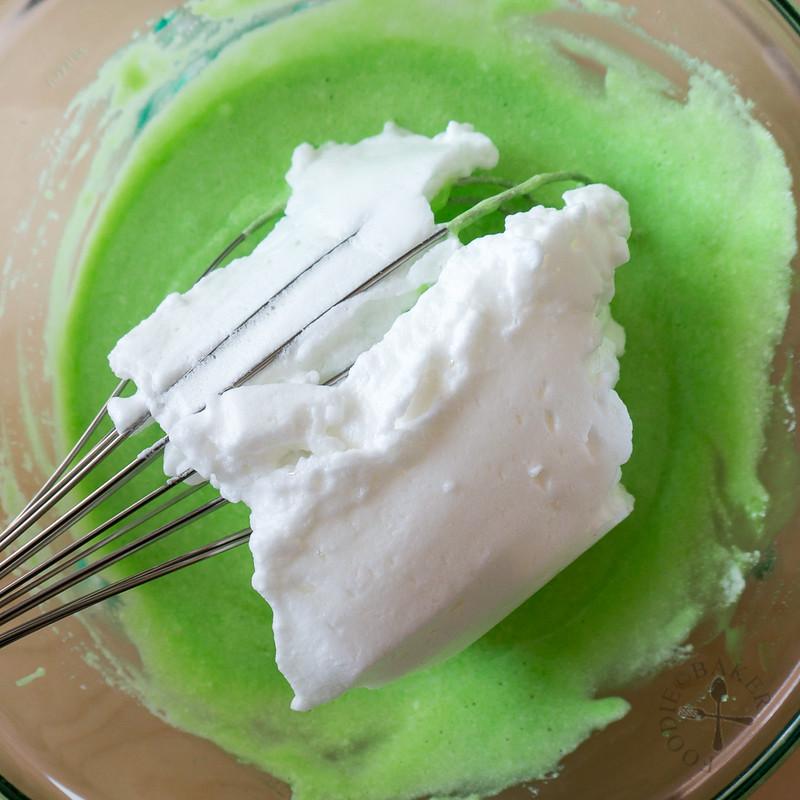 |
| 5) Add in salt, then start beating on medium speed. Add in sugar gradually while beating, then change to medium-high speed and beat until stiff peaks formed. | 6) Fold in 1/3 of the beaten egg whites first into the egg yolk mixture to loosen it, then fold in the remaining egg whites as gently as possible. |
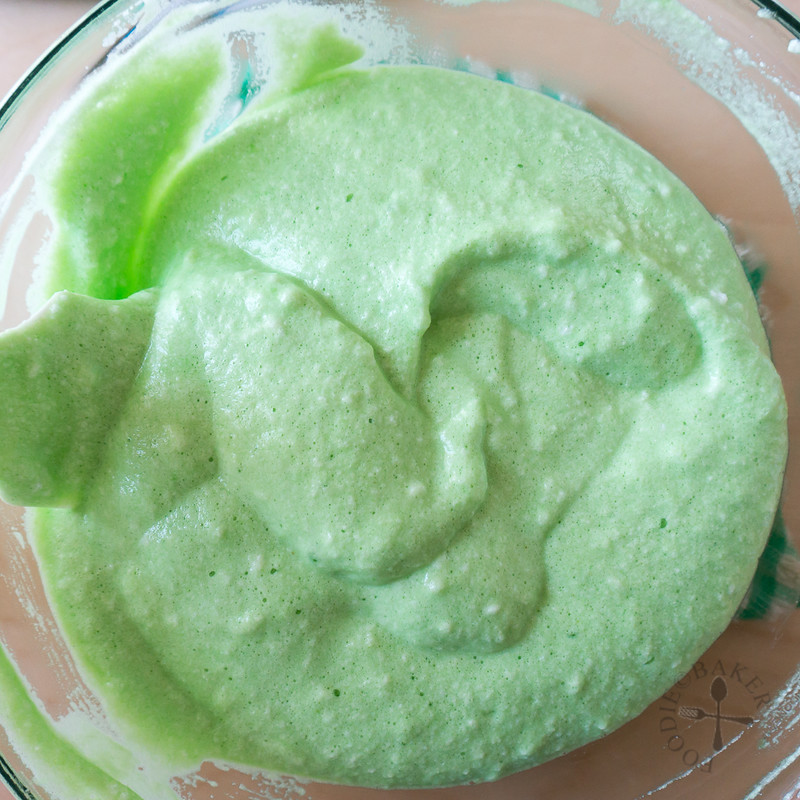 | 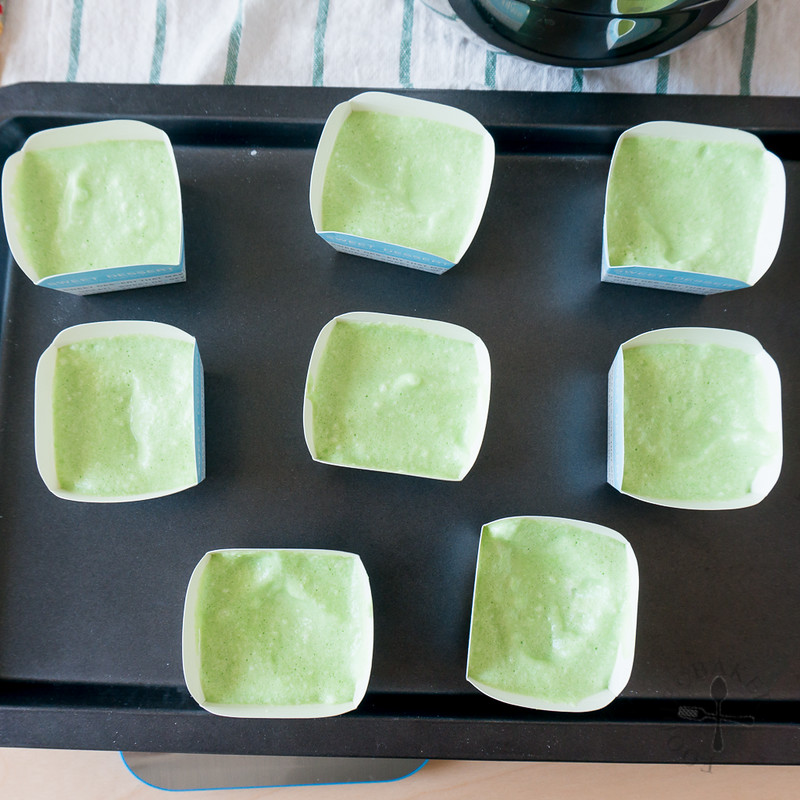 |
| 7) Use a spatula and fold a few times, scrapping the bottom to make sure everything is mixed together. | 8) Divide the batter among the cupcake liners and bake away! |
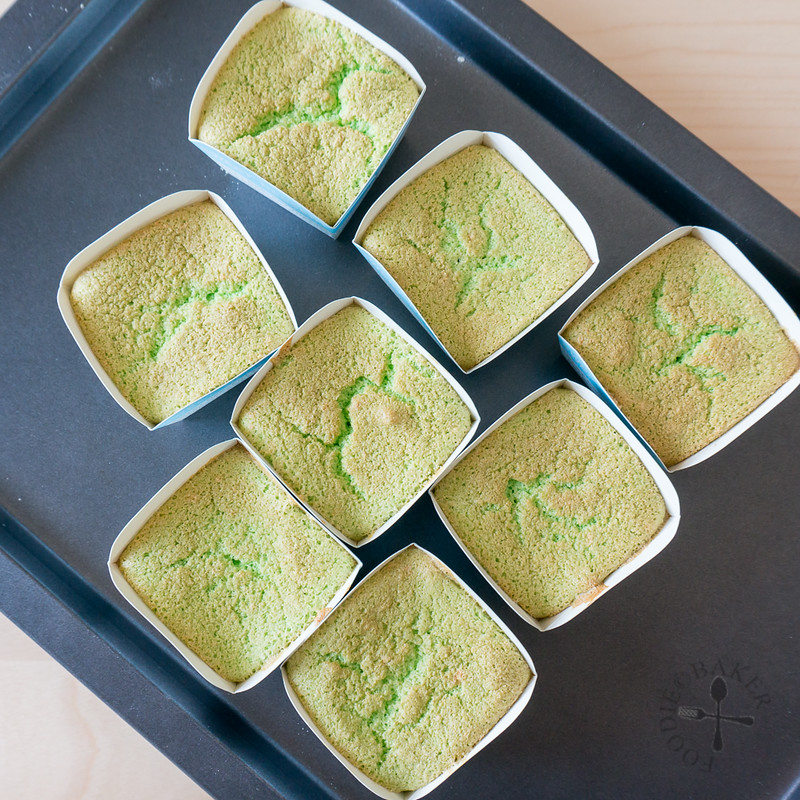 | 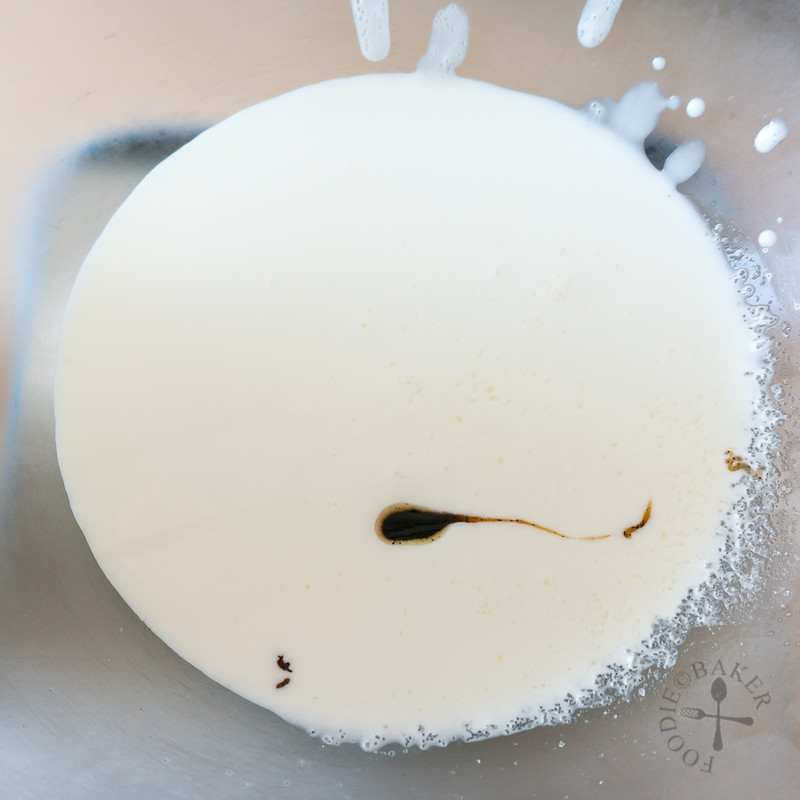 |
| 9) Let the cupcakes cool completely before filling / decorating. The cupcakes will shrink a little. | 10) Place cream, sugar and vanilla in a chilled mixing bowl. |
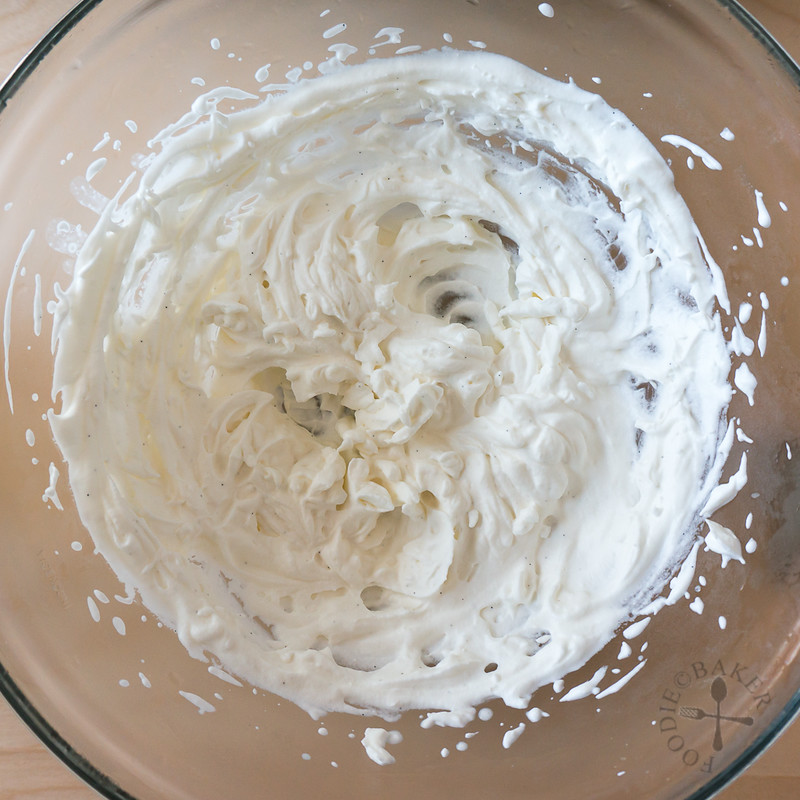 | 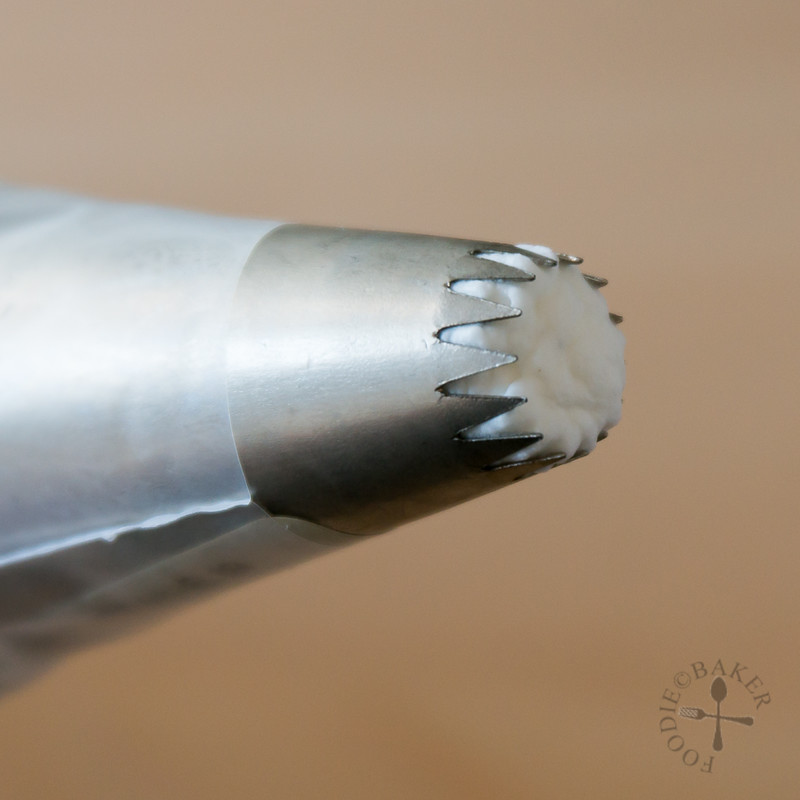 |
| 11) Beat until stiff peaks formed. | 12) Transfer the whipped cream into a piping bag fitted with a star tip. |
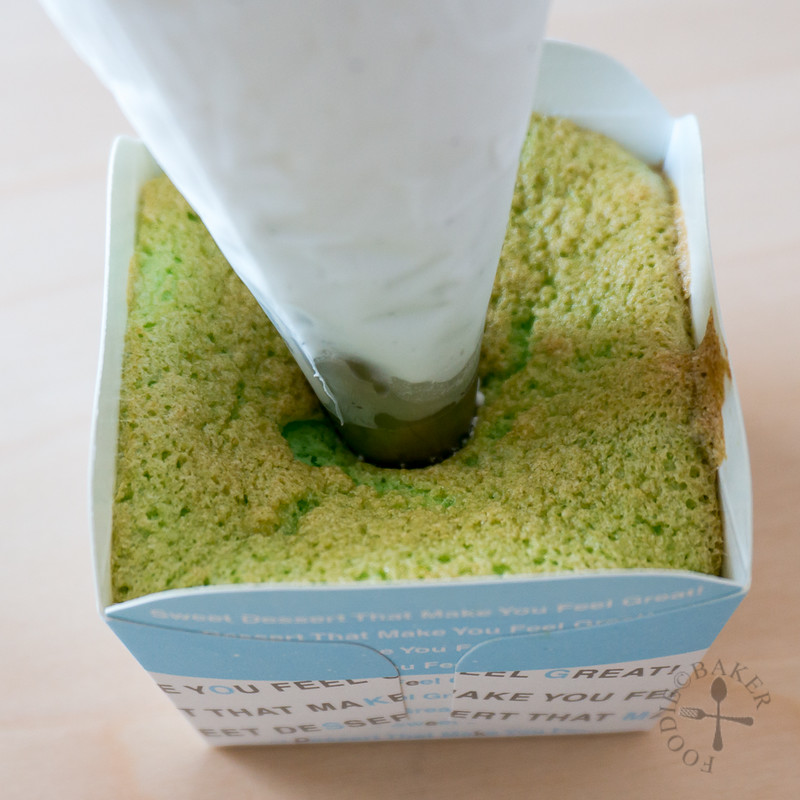 | 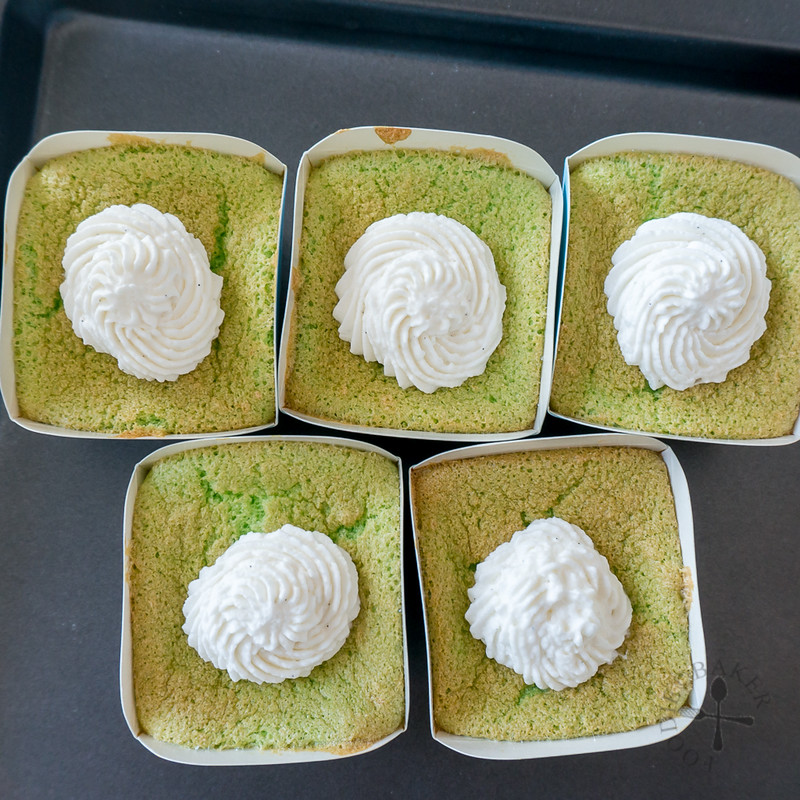 |
| 13) Poke the piping bag into the cupcake and squeeze in the whipped cream. | 14) Decorate as desired before serving. |
![]()
This is for Bake-Along #84 : Hokkaido Chiffon Cupcakes hosted by Zoe from Bake for Happy Kids, Joyce from Kitchen Flavours and Lena from Her Frozen Wings.
I’d also like to say a huge thank you to Doreen for her yummy and indeed fail-proof recipe!
Pandan Hokkaido Chiffon Cupcakes
INGREDIENTS
Egg Yolk Batter
- 40 grams egg yolks, at room temperature (about 2 egg yolks)
- 25 grams caster sugar
- 35 grams canola oil
- 35 grams water, at room-temperature (or coconut milk)
- 40 grams plain flour
- 1/4 teaspoon pandan extract
Egg White Batter
- 100 grams egg whites, at room temperature (about 3 egg whites)
- Pinch of salt
- 15 grams caster sugar
Whipped Cream Filling
- 100 grams whipping cream, minimum 35% fat
- 10 grams caster sugar
- 1/4 teaspoon vanilla
INSTRUCTIONS
- Preheat oven to 170 degrees Celsius.
- Egg Yolk Batter: Whisk all the ingredients together in a mixing bowl with a wire whisk until incorporated. Set aside.
- Egg White Batter: Get another mixing bowl (preferably metal) and make sure it's dry and oil-free. Add in the egg whites and beat with an electric mixer on medium-low speed until foamy. Add in the salt and beat the egg whites on medium speed. While the mixer is running, add in the sugar gradually. Once all the sugar has been added, turn the mixer speed up to medium-high and beat until stiff peaks formed.
- Add 1/3 of the Egg White Batter into the Egg Yolk Batter. Using the wire whisk, fold in the egg whites to loosen the mixture. Fold in the remaining Egg White Batter gently with the wire whisk. Change to a rubber spatula and scrape up the bottom of the mixing bowl a few times, making sure that both batters are mixed well together.
- Divide the batter among 8 cupcake liners (10 to 12 if using standard-size cupcake liners) and bake for 18 to 20 minutes, until a skewer inserted into the center comes out clean. The cupcakes will puff during baking then shrink slightly as it cools. Let the cupcakes cool completely on a wire rack.
- Whipped Cream Filling: Chill a bowl and the beaters (of the electric mixer) in the refrigerator for 30 minutes. Place the whipping cream, sugar, and vanilla into the chilled bowl and beat on medium to medium-high speed until stiff peaks formed. Transfer the whipped cream into a piping bag fitted with a large star tip.
- Poke the cupcakes in the middle with the star tip and squeeze in the whipped cream until the cupcakes is slightly puffed. Remove and pipe a small star on top as decoration if desired. Dust with icing sugar, garnish with mint leaves and serve.
- Store any leftover cupcakes in an airtight container in the refrigerator.
Paulina Sierra says
hi! i tried making this today. i couldn’t taste the pandan, but the brand of pandan extract i used might be the one at fault here. it’s so fluffy though!!! and it’s not to sweet! i’ll try to do this again tomorrow and i’ll double the pandan extract!
also, can i double this?
Jasline N. says
Hi Paulina! I’m glad you like the recipe 🙂 and yes you can definitely double the recipe, but do bake them all in one go otherwise the batter may deflate while waiting for the first batch to be baked. I think this brand of pandan extract has the strongest flavour, the rest of the brands unfortunately are not as strong.
Sunnybb says
This looks so nice! Can i check if there will be a difference in taste if i use plain water vs coconut milk?
Jasline N. says
Thanks! Coconut milk will give it a slightly nicer flavour, but plain water is more convenient for me these days because I don’t have to get an extra ingredient!
Nagi@RecipeTinEats says
I love how detailed this post is. The green color of these chiffon cupcakes are so inviting and I love that there’s a hint of pandan flavor in it 🙂
Jess@Bakericious says
Jasline, this is nice, my favourite!
bentodays says
Oh this look so good! Definitely going to try out this recipe!
Zoe (@bake4happykids) says
Hi Jasline,
I can never say no to pandan chiffon cakes… even to your very beautiful pandan chiffon cupcakes! I know Koepoe Koepoe is super powerful… Just a little can make the cake so green and so fragrant 😀
Zoe
Joyce, Kitchen Flavours says
Hi Jasline,
Your pandan cupcakes looks very pretty! I like the beautiful colour of the green, must look for this brand of pandan extract. Lucky that you are well-prepared with your ingredients, and smart too! 🙂
Thanks for baking along with us!
Anna @ shenANNAgans says
Everything about this striking dessert is foreign, well not the cupcake bit. I’ve not heard of Pandan leaves. Looks fun. Will have to check out when I am next in your neck of the woods. 🙂 Happy weekend lovely one. 🙂
hopeandserendipity says
They look beautiful! I really love pandan cakes, especially the ones from Bengawan Solo.. I have never been able to replicate the moistness of their pandan chiffon cakes in my attempts. Yours look really good. Hope to try your recipe one day!
canelakitchen says
aww Jasline what cute and lovel are these chiffon cupcakes, I love them, all how you made:)
Just lovely!
Monica says
That is gorgeous! Love the presentation and just love any kind of chiffon cake! Great pics and great learning about pandan extract and your technique! : )
tt says
我想我是幸運的,家裏後院就種了一大顆的班蘭葉,長年不愁收成,這絕對是和老人家一塊兒住的好處,呵呵。妳這班爛北海道蛋糕相當誘人,鮮綠色哪!有機會俺也來試試。^^
lena says
you are really well prepared to bring along the pandan essence with you, that’s a nice one..beautiful green. i wonder what other ingredients you brought along with you besides this..hehe..thanks jasline again for taking part in our bake along..and happy to know that you hv made them successfully this time! Very pretty too!
Luvswesavory Karen says
Hi Jasline,
I so love the contrast & striking colours of green & white. Yummy too … I’ve actually thought of baking pandan hokkaido cupcakes but too lazy to make the pandan juice/extract. Drooling …
Angie@Angie's Recipes says
I wish I could find some pandan leaves over here…gorgeous sexy green and a lovely contrast against whipped cream. Well done, Jasline.
Jasline N. says
Pandan leaves are also non-existent here too 🙁 But lucky I managed to bring some pandan extract from Singapore. Hope you managed to find a good quality pandan extract to try this out!