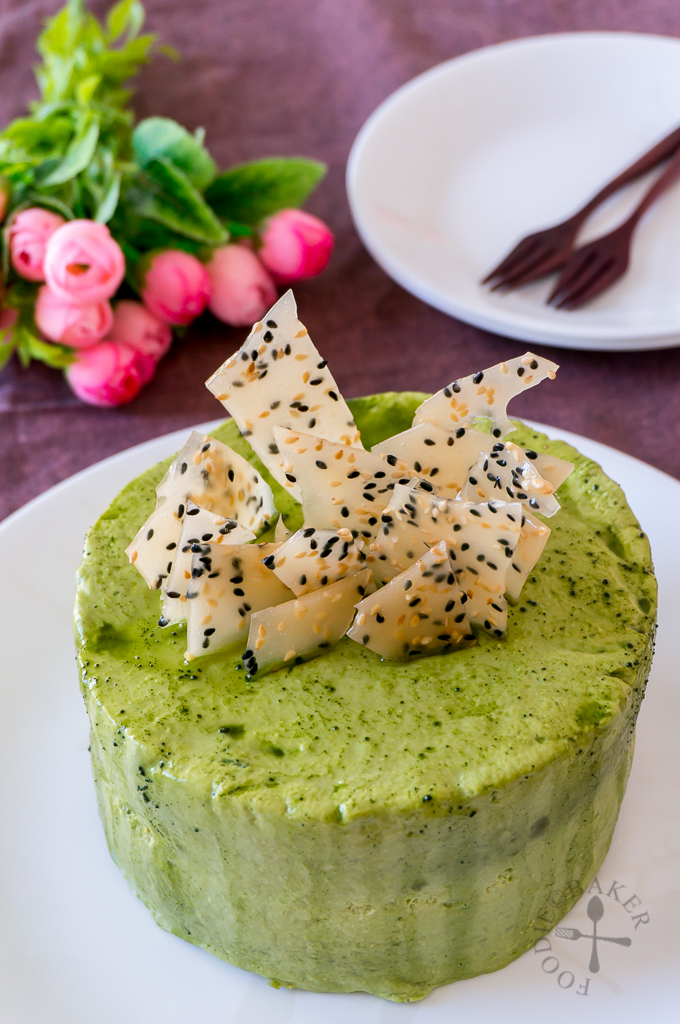
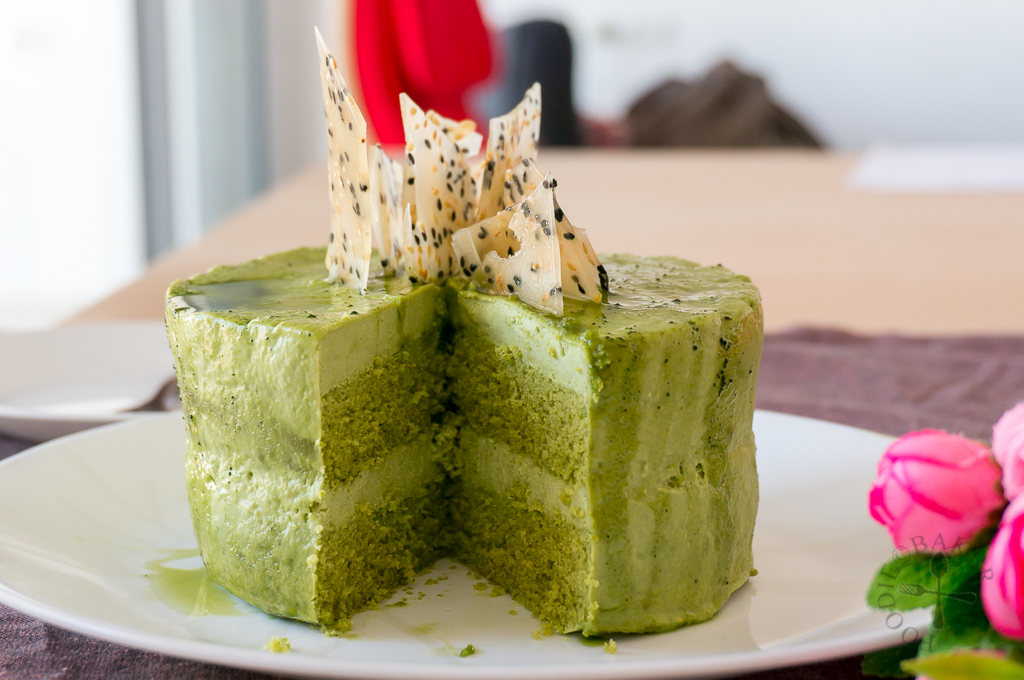
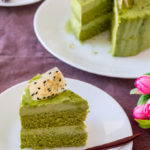
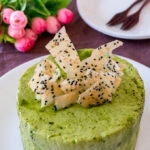
If you are a fan of matcha, you will love this Matcha Mousse Cake – easy matcha sponge cake filled with creamy and light matcha mousse, adorned with caramel-y, crunchy and nutty sesame brittle – I wonder why I haven’t made this sooner?!
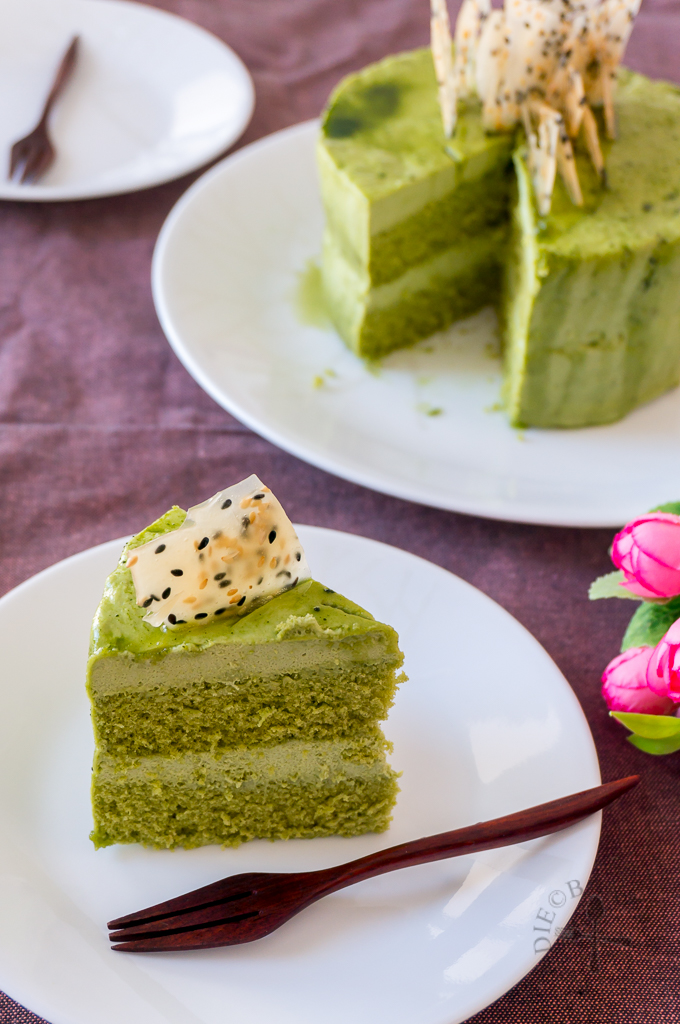
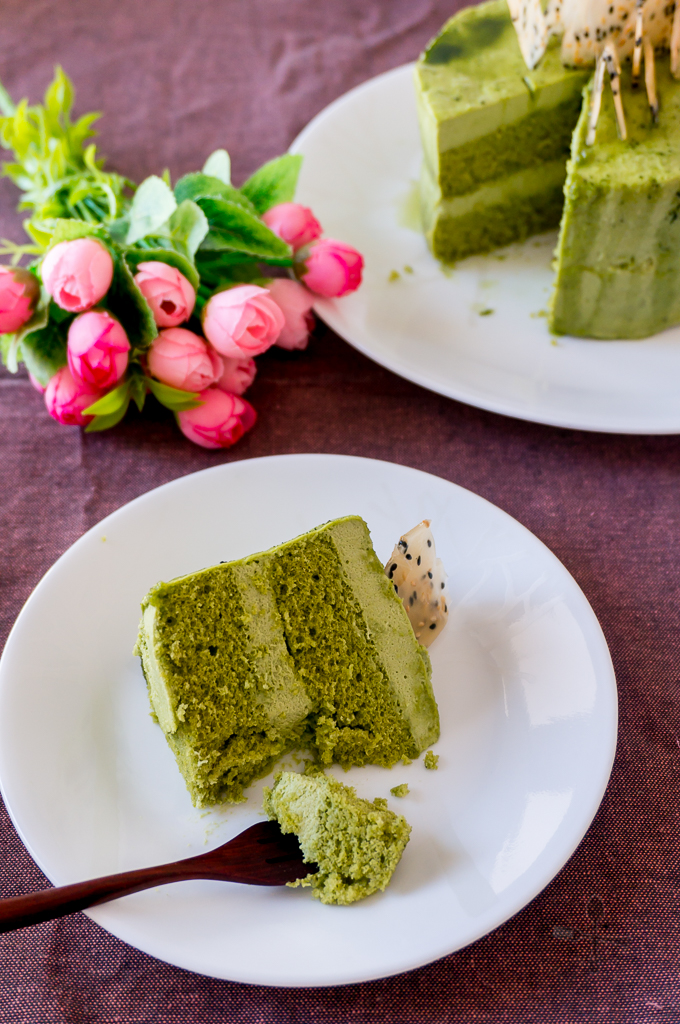
The sponge cake recipe is very similar to the one I used in my Japanese Strawberry Shortcake recipe – I love how it bakes up very nicely with a flat top so I don’t have to bother or worry about leveling it (because I’m really bad at this and I’ll always end up with lopsided cake…) The matcha mousse is a cooked custard with whipped cream folded in it. Gelatin is added to provide additional stability to the mousse.
Jump to: Step-by-Step Photos · Recipe
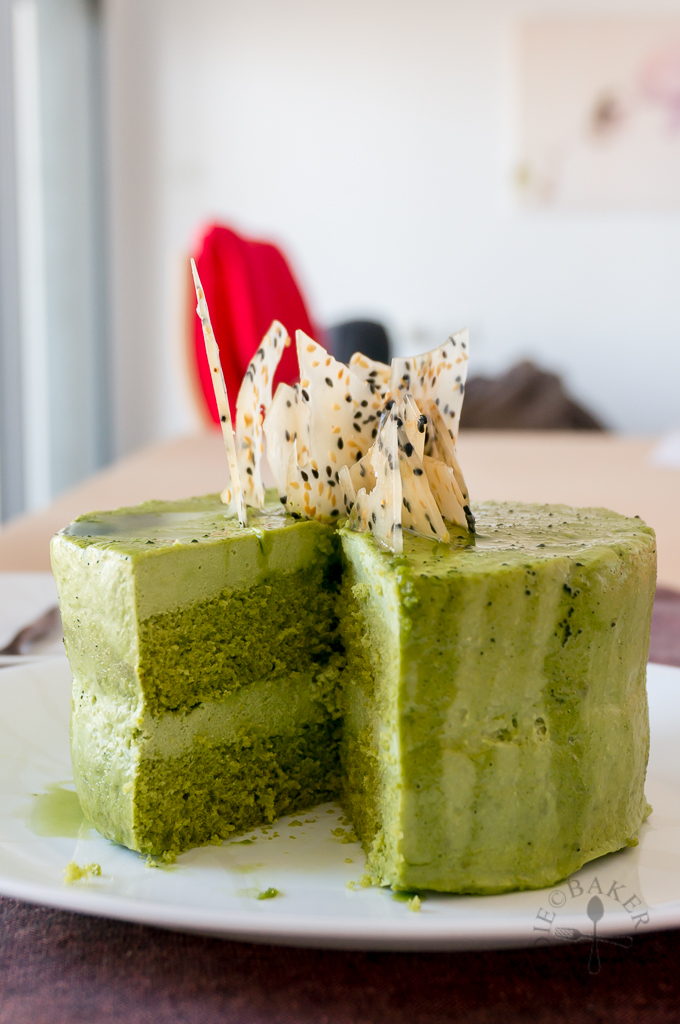
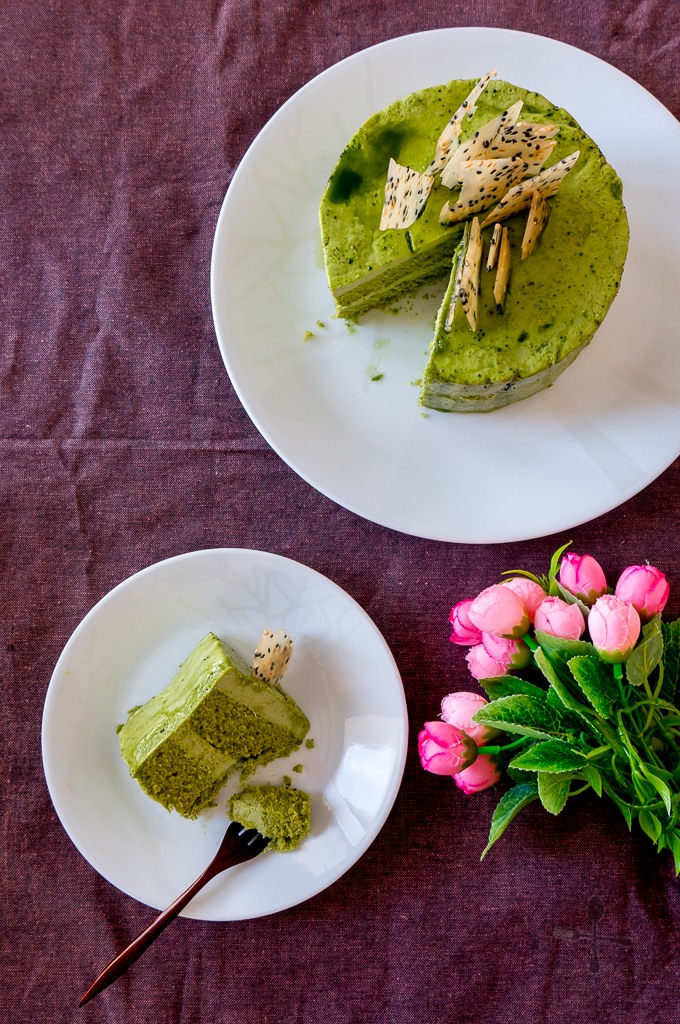
While assembling the cake, I originally wanted to use a 7-inch cake ring for my 5-inch cake but at the last minute, felt that it will be too big and the mousse layer will look too thin. Hence I decided to assemble the layers separately in the cake tins then “join” them together the next day. To make sure the cake doesn’t fall apart into 2 layers, I “melt” the top of the mousse of the bottom layer slightly with a hot metal spatula so that it can “glue” to the top layer. I’m really glad the method works and I hope it will be useful for those who wants to assemble a cake without cake rings!
You might have noticed some unsightly green streaks on the surface of the cake – those are actually a matcha glaze which failed to set nicely on top of the mousse. I originally wanted to make a ganache but I don’t have any white chocolate on hand so I thought a thick matcha glaze will work, but apparently it didn’t… so I won’t be sharing the glaze recipe here!
The sesame brittle is a last minute addition (in hope to distract all of you from the unsightly greenish streaks) and I was quite surprised by it because the nutty flavour contrasts with the matcha very well. No wonder there are so many sesame and matcha combi cakes out there! I will definitely give that combination a try next time (next layered cake inspiration!)
Step-by-step Photos | |
|---|---|
 |  |
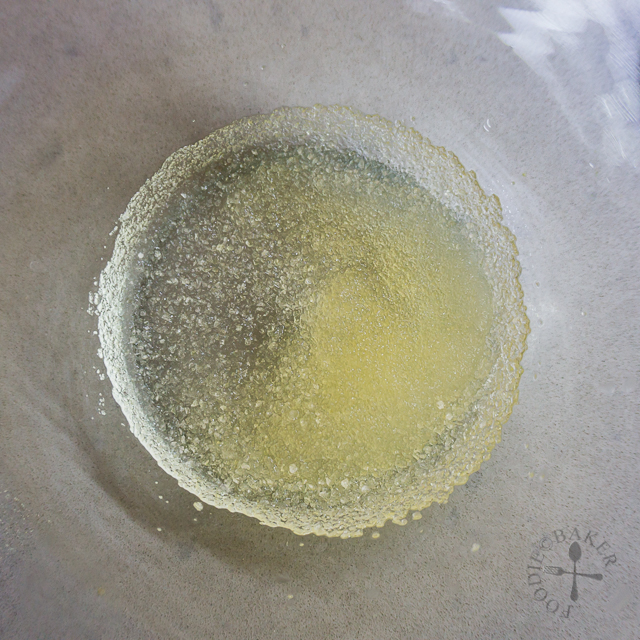
| 1) Sift plain flour, corn flour and matcha powder together thrice. Set aside. | 2) Place butter and milk in a medium mixing bowl and melt them over a pot of simmering water or in a microwave (microwave at full power for 30 seconds. Give the mixture a stir, then microwave for 10 seconds, check the mixture and repeat until butter has melted). Set aside. |
 |  |
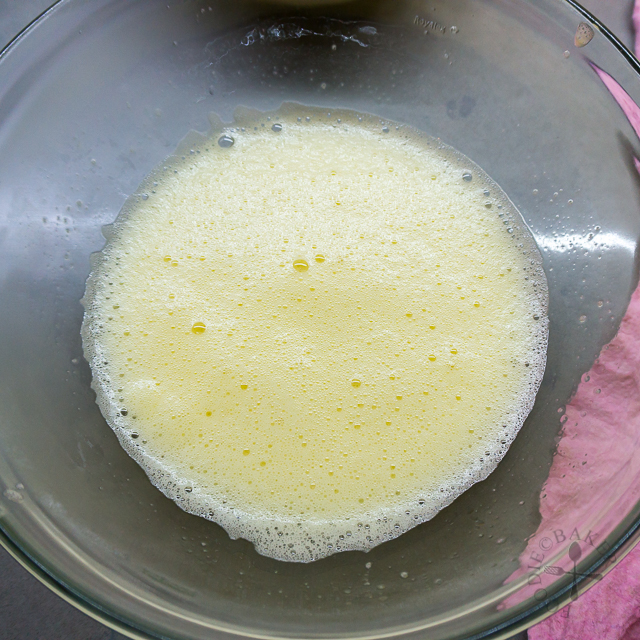
| 3) In the large mixing bowl, add in eggs and sugar. Whisk immediately with a wire whisk to mix them together. | 4) Place the mixing bowl over the pot of simmering water and whisk constantly until the mixture is warm like baby's milk (or until the sugar has melted). |
 | 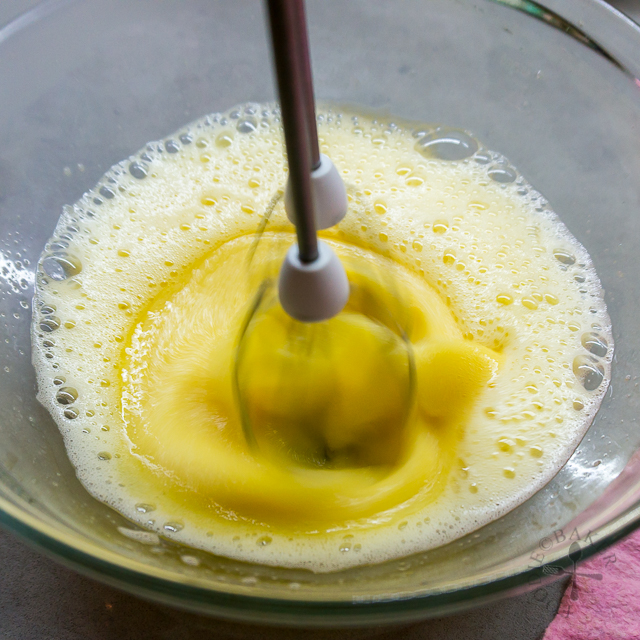 |
| 5) Remove the mixing bowl from the pot. | 6) Change to an electric mixer and whisk the egg and sugar mixture on medium-high speed. |
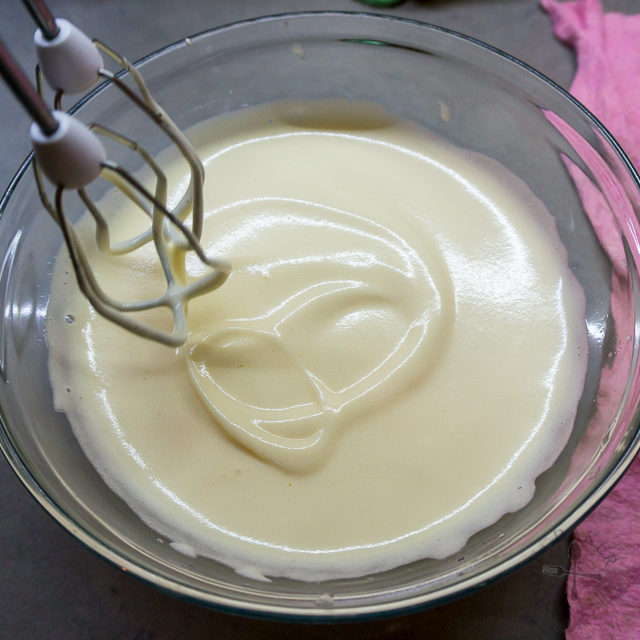 |  |
| 7) Until thick and ribbony. Turn the electric mixer speed to low and beat for 1 minute to even out the air bubbles. | 8) Sift in ½ of the flour mixture and fold in with a rubber spatula until incorporated (never use an electric mixer for this step). |
 |  |
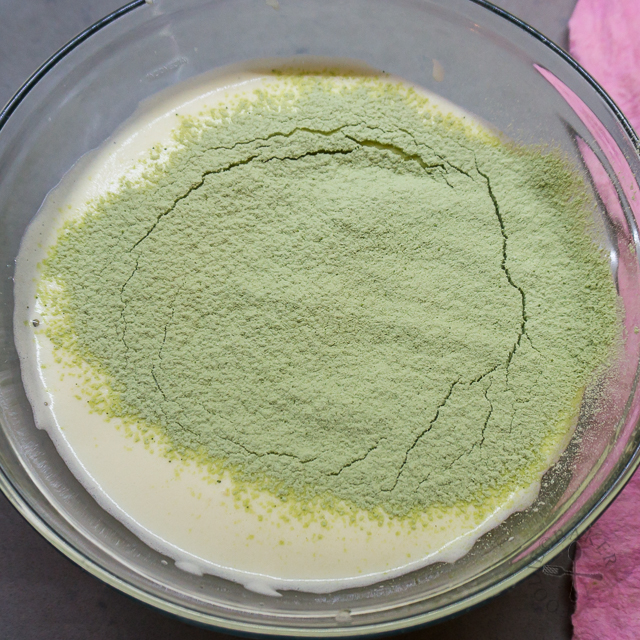
| 9) Sift in the remaining flour mixture and fold until incorporated. | 10) Pour 1/3 of the batter into the butter-milk mixture and fold until the butter-milk has been incorporated. |
 |  |
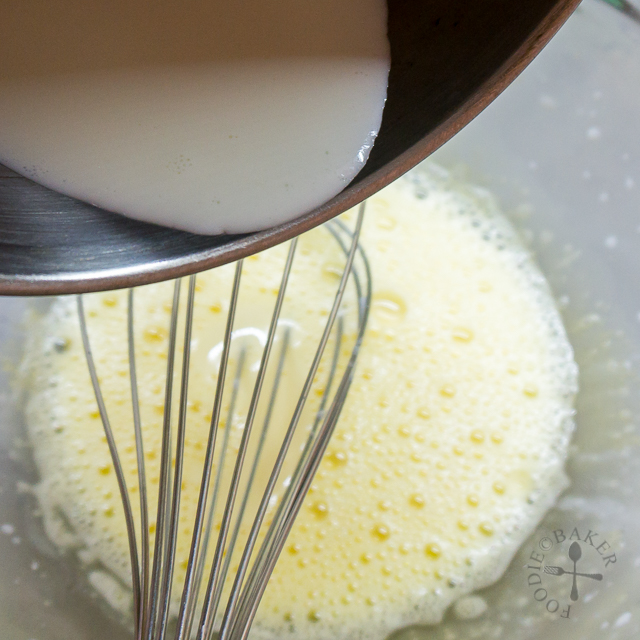
| 11) Pour it back into the large mixing bowl. | 12) Mix until the batter is homogenous. |
 |  |
| 13) Divide the batter between the 2 cake tins. Bake in the middle shelf for 18 to 20 minutes until a skewer inserted into the center comes out clean and the top of the cake springs back when touched lightly. | 14) Cool the cake in their tins completely on a wire rack before using. Run a thin spatula along the edges of the cake and invert them out. |
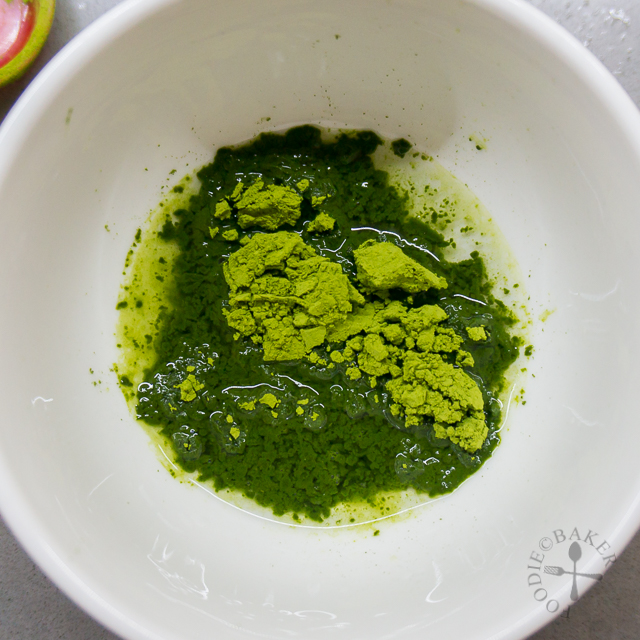 |  |
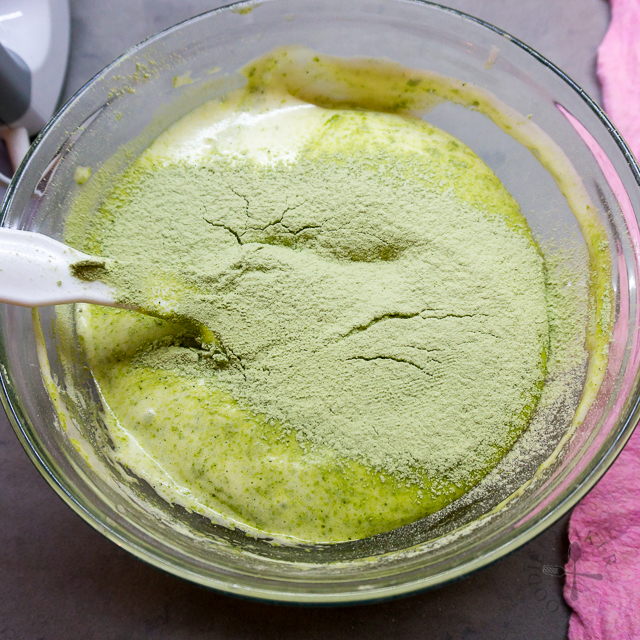
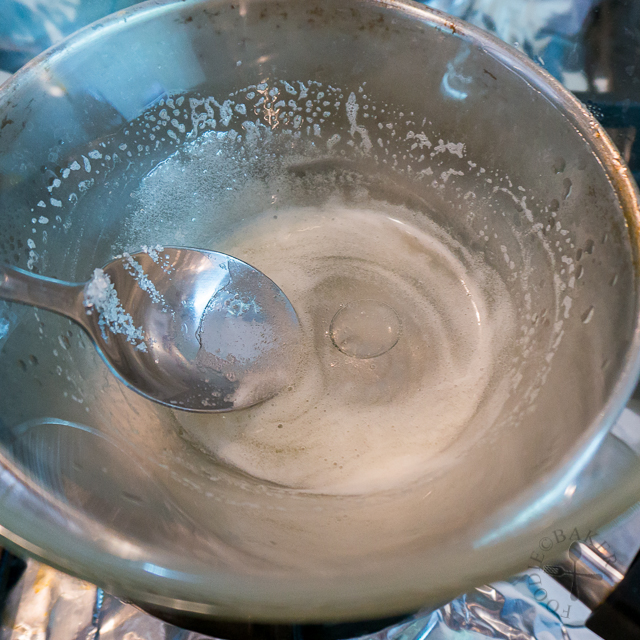
| 15) Whisk 1 tablespoon water and matcha together in a small bowl. Set aside. | 16) Place 2 tablespoons water in a small heatproof bowl. Sprinkle in the gelatin and set aside for 5 minutes. |
 | 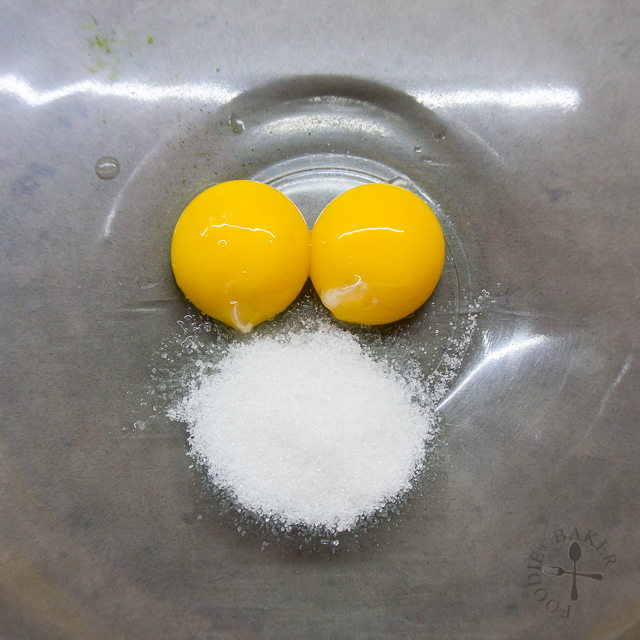 |
| 17) Place the bowl of gelatin in a pan of simmering water and heat until the gelatin has dissolved. Remove from heat and set aside. | 18) Whisk egg yolks, sugar and salt in a medium mixing bowl with a wire whisk. |
 | 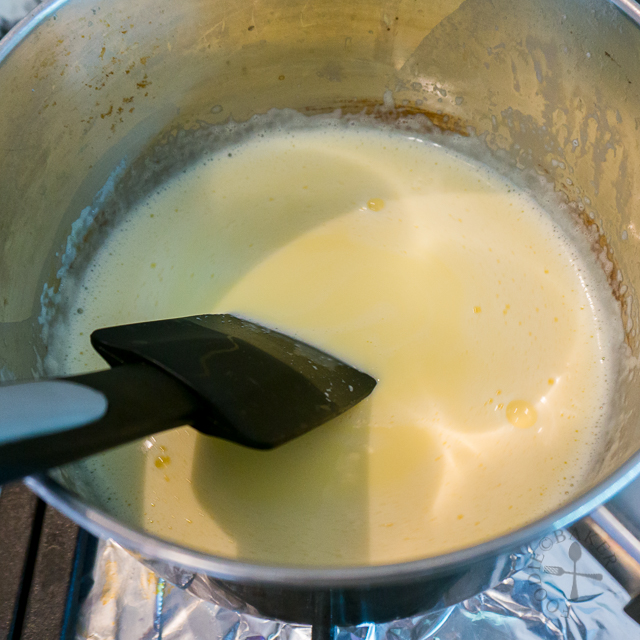 |
| 19) Heat milk and cream in a pot and pour it in slowly to temper the egg yolks. | 20) Pour the egg and milk mixture back into the pot and cook over medium heat. |
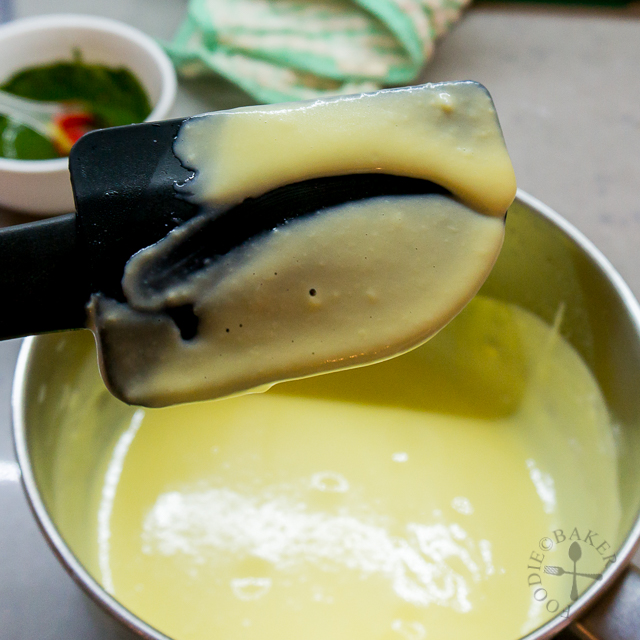 | 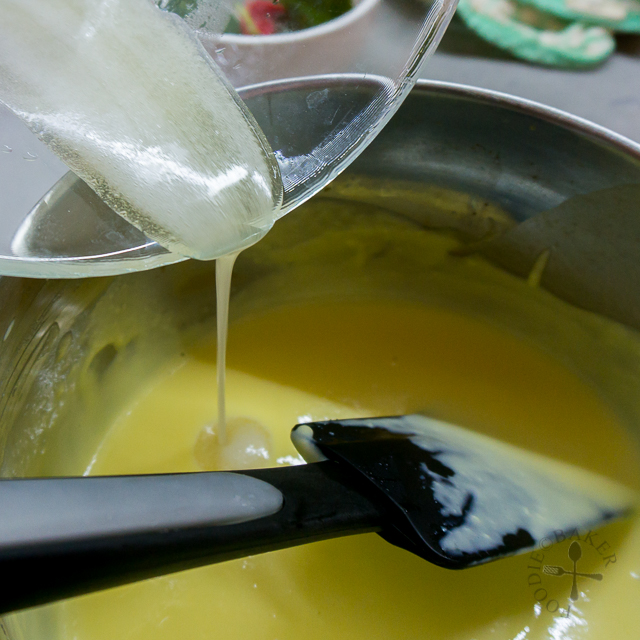 |
| 21) Until thickened - you will know it's done when the mixture can coat the back of a spoon / spatula, and when you draw a line on the back of the spoon / spatula, the line will not disappear so easily. | 22) Remove from heat immediately then stir in the gelatin mixture. |
 | 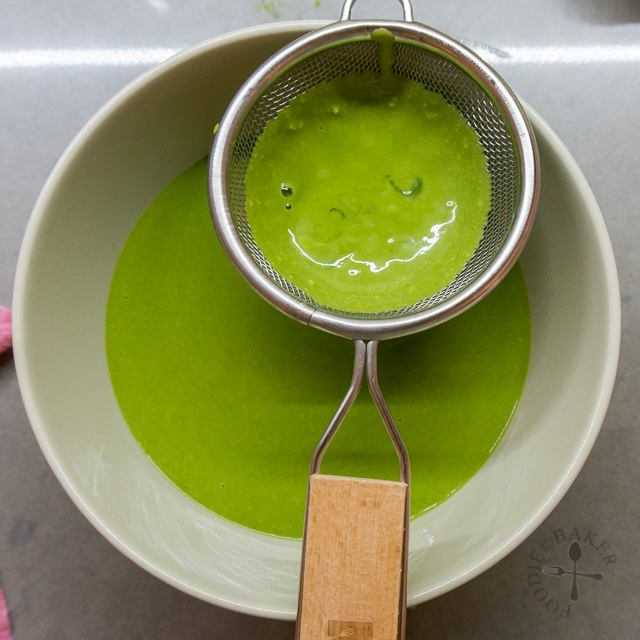 |
| 23) And matcha mixture. | 24) Strain the mixture through a sieve into a small bowl. |
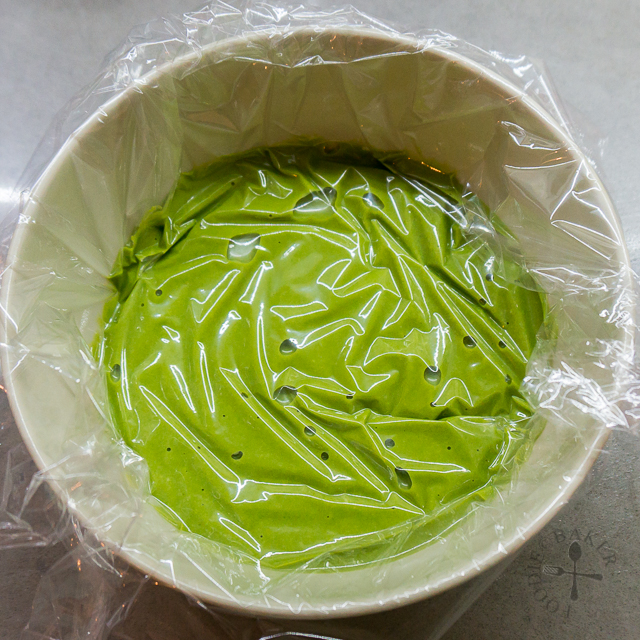 | 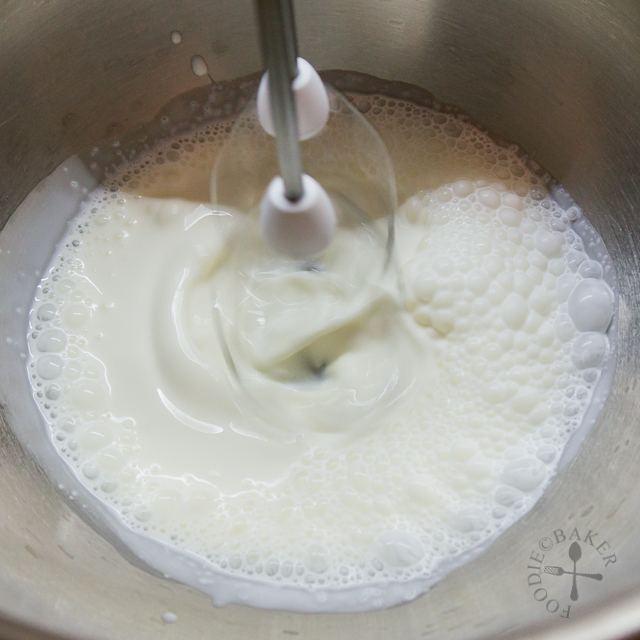 |
| 25) Press a plastic wrap directly onto the surface of the custard and set aside to cool completely. | 26) Whip the cream over high speed until soft peaks are formed. |
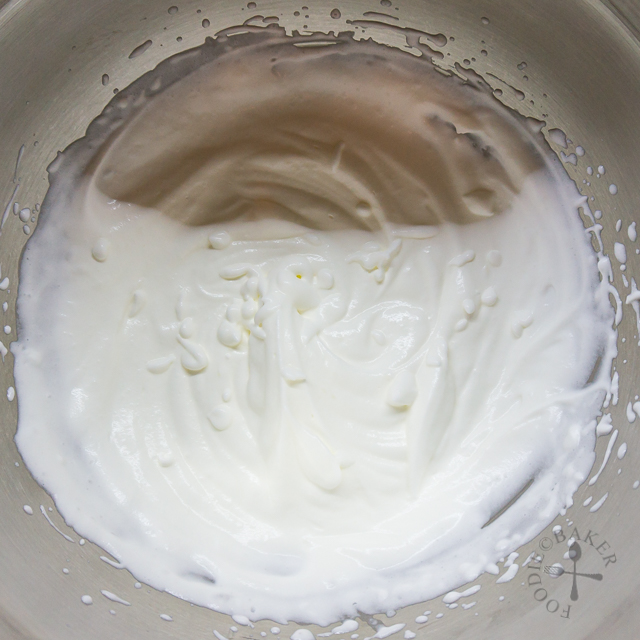 |  |
| 27) Soft peaks! | 28) Fold in 1/4 of the soft cream to lighten the mixture. |
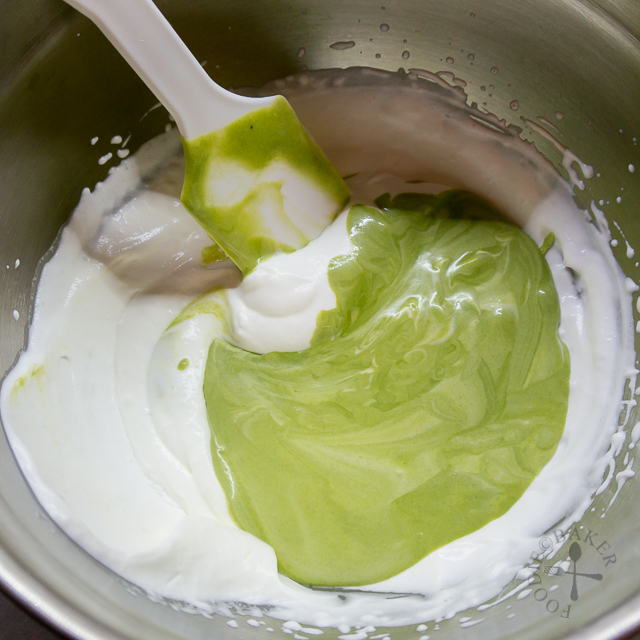 | 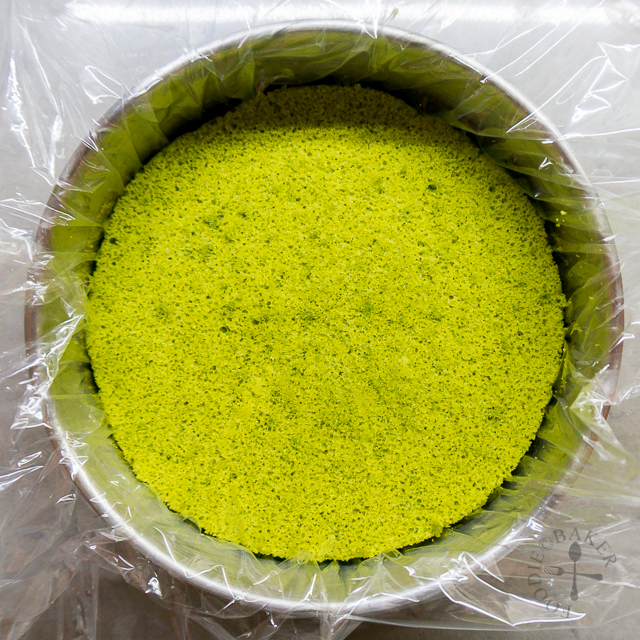 |
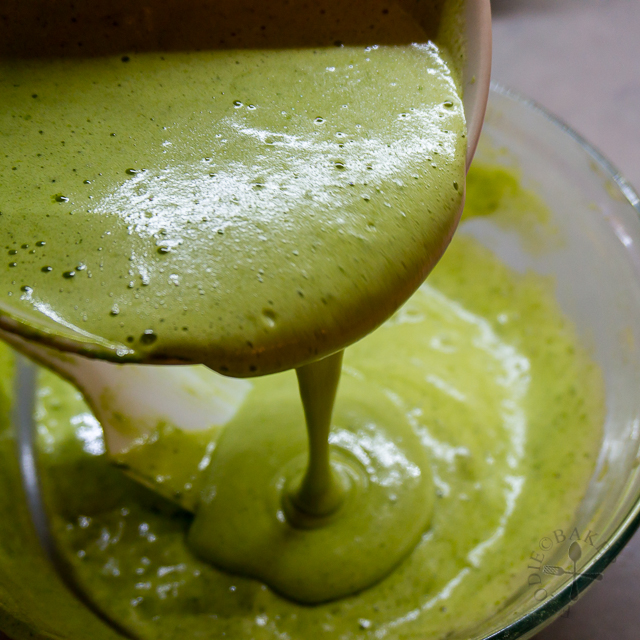
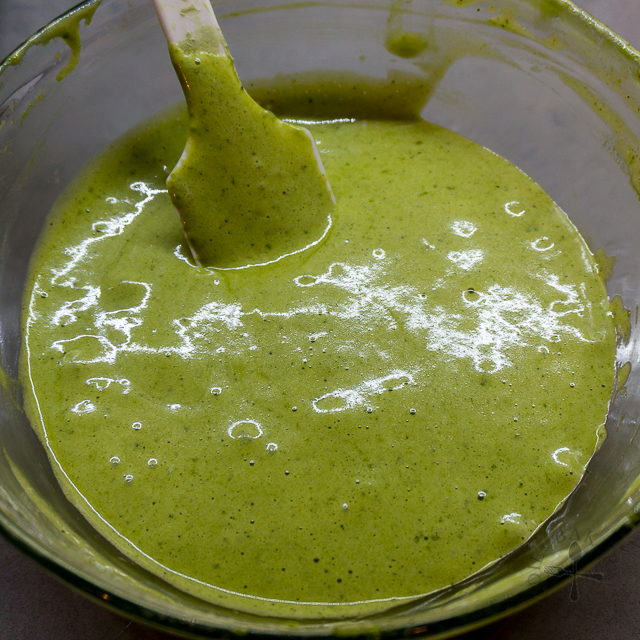
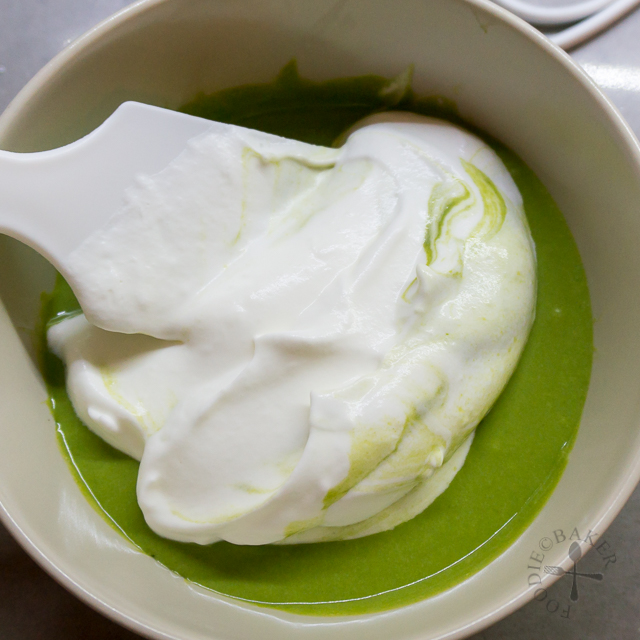
| 29) Pour the lightened custard back into the cream and fold until the mixture is homegenous. | 30) For Cake Ring method of assembly, see Recipe. Cake Tin method: Line two 5-inch cake tins with plastic wrap, making sure the plastic wrap overhang so that you can lift out the cake layers later. Place the cake layers in each of the cake tins. |
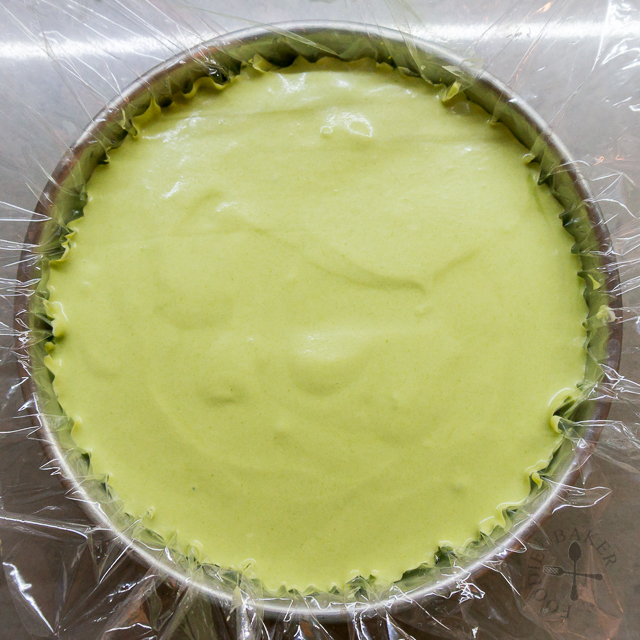 | 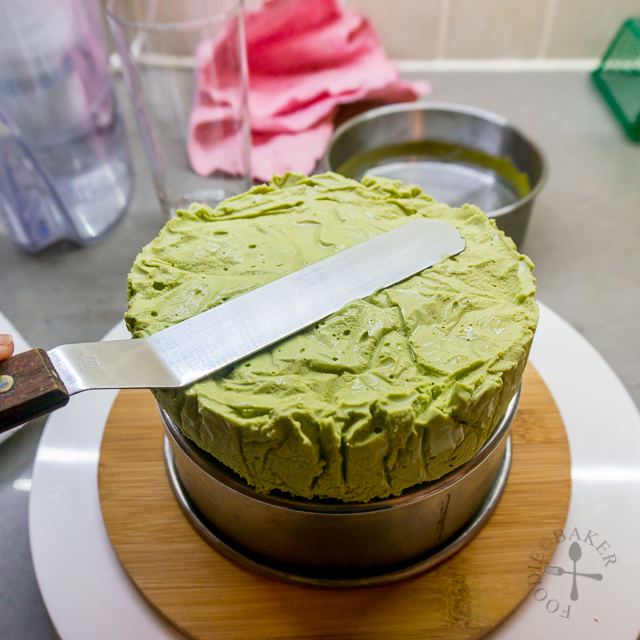 |
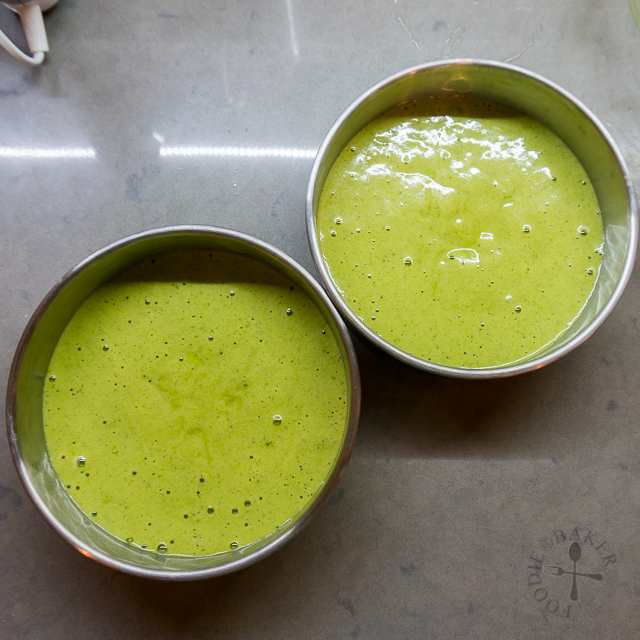
| 31) Divide the mousse between the 2 tins. Chill for at least 4 hours or overnight until set. | 32) Use the plastic wrap overhang to lift out the cake. Place one layer on the cake board. Dip a metal spatula in boiling water, wipe dry with tea towel or paper towel and smooth the top of the mousse. The aim is to melt some of the mousse on top so that the cake layers will stick together. Repeat the dipping, drying and smoothing for a few minutes until you can see that the top of the mousse is slightly melted. |
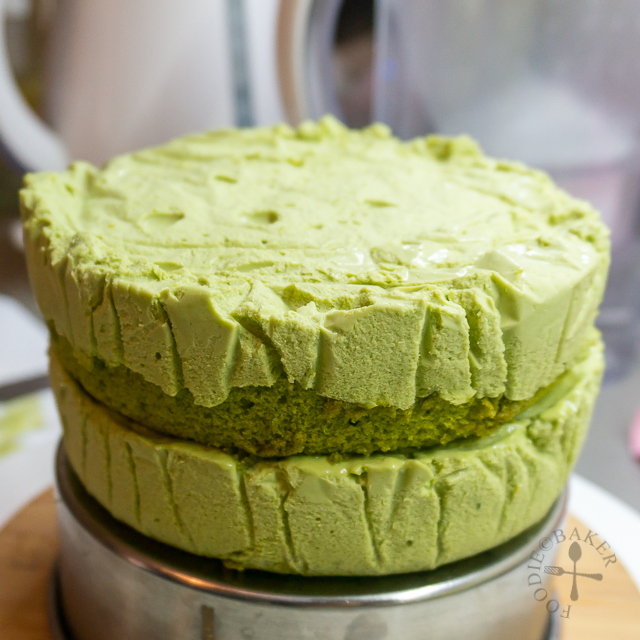 | 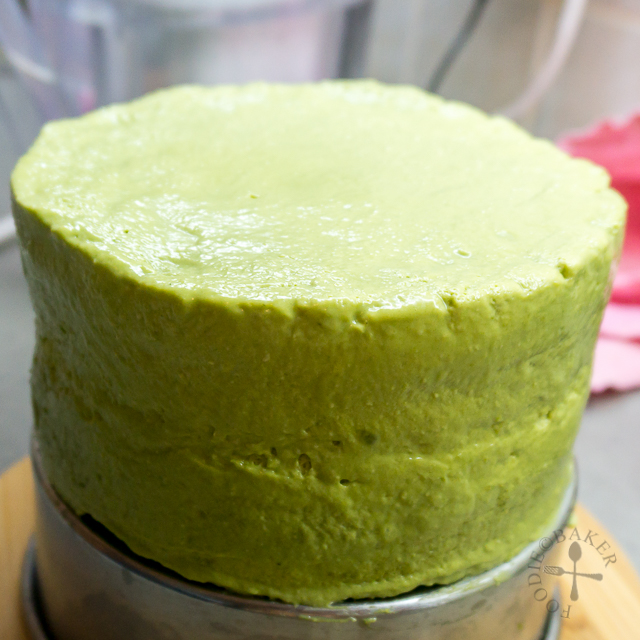 |
| 33) Place the second cake layer on top. If the edges / top of the mousse is uneven, use the dipping-drying-smoothing method to smooth out the mousse. | 34) Chill the cake again for about 30 minutes to 1 hour. |
Though this is not a Chinese New Year related post, I’m still going to wish all those who celebrate Chinese New Year out there a very happy and prosperous Chinese New Year!
Matcha Mousse Cake
INGREDIENTS
Matcha Sponge
- 50 grams plain flour
- 10 grams corn flour
- 2 teaspoon matcha powder
- 15 grams unsalted butter
- 2 tablespoons milk
- 2 large eggs
- 60 grams sugar
Matcha Mousse
- 1 tablespoon water + 2 teaspoons matcha
- 2 tablespoons water + 1/2 tablespoon powdered gelatin
- 2 egg yolks
- 2 tablespoons sugar
- Pinch of salt
- 60 grams milk + 75 grams heavy cream
- 125 grams heavy/whipping cream, minimum 30% fats
INSTRUCTIONS
Matcha Sponge
- Preheat oven to 175C / 350F (without fan assistance). Line the bottom of 2 5-inch cake tins with parchment paper, leaving the cake tins ungreased. Set aside.
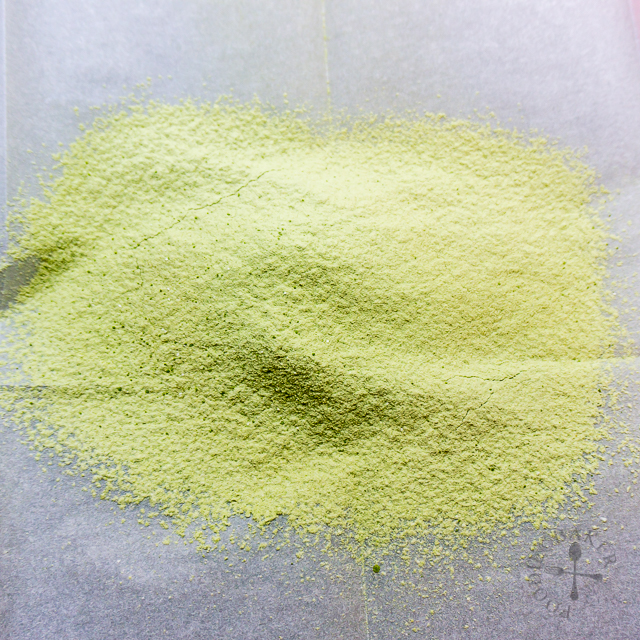
- Sift plain flour, corn flour and matcha powder together thrice. Set aside.
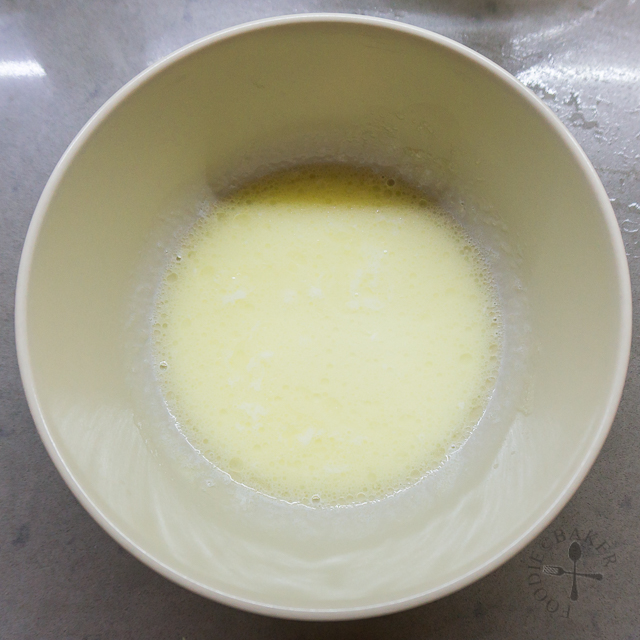
- Place butter and milk in a medium mixing bowl and melt them over a pot of simmering water or in a microwave (microwave at full power for 30 seconds. Give the mixture a stir, then microwave for 10 seconds, check the mixture and repeat until butter has melted). Set aside.
- Heat a small pot of water and place a large mixing bowl of over - the bowl should fit snugly on top of the pot and the bottom of the bowl should be 1 inch away from the water surface. Remove the mixing bowl from the pot. Bring the water to a boil then turn the heat down to a simmer.
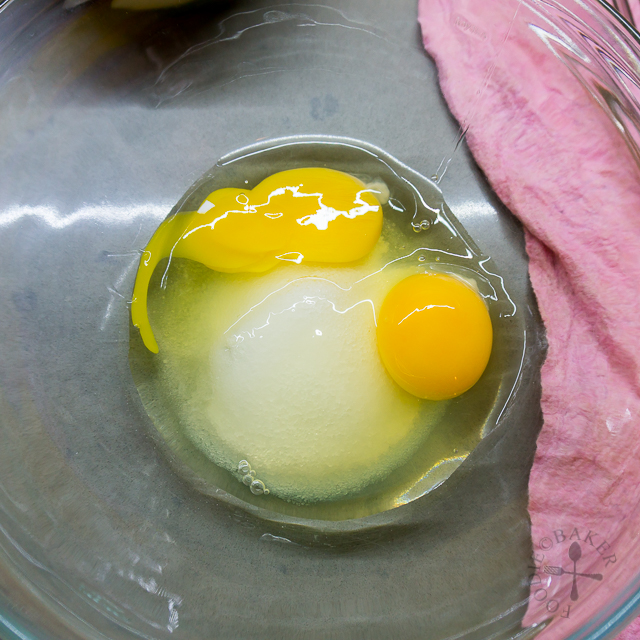
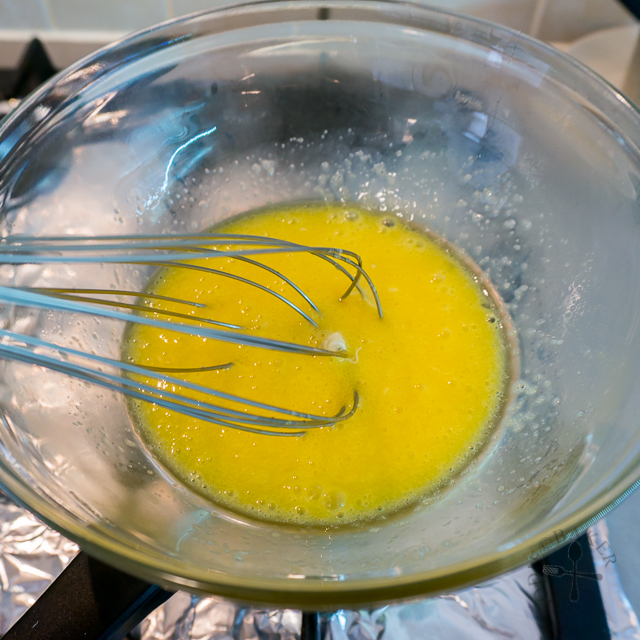
- In the large mixing bowl, add in eggs and sugar. Whisk immediately with a wire whisk to mix them together. Place the mixing bowl over the pot of simmering water and whisk constantly until the mixture is warm like baby's milk (or until the sugar has melted). Remove the mixing bowl from the pot. You can turn off the heat as you don't need the pot of water anymore.
- Change to an electric mixer and whisk the egg and sugar mixture on medium-high speed until thick and ribbony. This will take about 5 minutes. You should be able to draw an infinity symbol with the batter before the batter slowly sinks back into itself. Turn the electric mixer speed to low and beat for 1 minute to even out the air bubbles.
- Sift in ½ of the flour mixture and fold in with a rubber spatula until incorporated (never use an electric mixer for this step). Sift in the remaining flour mixture and fold until incorporated.
- Pour ⅓ of the batter into the butter-milk mixture and fold until the butter-milk has been incorporated. Pour it back into the large mixing bowl and mix until the batter is homogenous.
- Divide the batter between the 2 cake tins. Drop the cake tin once on the tabletop to remove excess air bubbles. Bake in the middle shelf for 18 to 20 minutes until a skewer inserted into the center comes out clean and the top of the cake springs back when touched lightly.
- Cool the cake in their tins completely on a wire rack before using. Run a thin spatula along the edges of the cake and invert them out.
Matcha Mousse
- Whisk 1 tablespoon water and matcha together in a small bowl. Set aside.
- Place 2 tablespoons water in a small heatproof bowl. Sprinkle in the gelatin and set aside for 5 minutes. Place the bowl of gelatin in a pan of simmering water and heat until the gelatin has dissolved. Remove from heat and set aside.
- Whisk egg yolks, sugar and salt in a medium mixing bowl with a wire whisk. Place milk and 75 grams of cream in a small pot. Heat over medium heat until the milk mixture starts to simmer. Drizzle in the milk mixture bit by bit, while whisking the egg yolks mixture constantly, tempering the egg yolks. When more than 1/4 of the milk mixture has been added, drizzle in the milk mixture in a tiny stream, whisking the egg yolks mixture constantly, until all the milk mixture has been added. (To prevent your mixing bowl from sliding around on the tabletop, place the mixing bowl on top of a damp tea towel or table cloth.)
- Pour the egg and milk mixture back into the pot. Cook over medium heat until the mixture has thickened (do not let it come to a boil), stirring constantly. You will know it's done when the mixture can coat the back of a spoon / spatula, and when you draw a line on the back of the spoon / spatula, the line will not disappear so easily. Remove from heat immediately then stir in the gelatin mixture and matcha mixture. Strain the mixture through a sieve into a small bowl. Press a plastic wrap directly onto the surface of the custard and set aside to cool completely.
- After the custard has cooled completely, chill a metal bowl and the beaters of an electric mixer in the refrigerator for 15 minutes.
- Remove the chilled bowl and beaters from the refrigerator and add in the 125 grams of cream. Whip the cream over high speed until soft peaks are formed.
- Peel off the plastic wrap on the custard and discard. Fold in 1/4 of the soft cream to lighten the mixture. Pour the lightened custard back into the cream and fold until the mixture is homegenous. Use immediately.
Assembly
- Cake Ring: Place a 5-inch or 6-inch cake ring (at least 3-inches tall) on a cake board and place 1 cake layer in the middle. Pour in half of the mousse and spread evenly. Place the second cake layer in the middle and pour in the rest of the mousse. Chill for at least 4 hours or overnight until set.
- Cake Tin: Line two 5-inch cake tins with plastic wrap, making sure the plastic wrap overhang so that you can lift out the cake layers later. Place the cake layers in each of the cake tins and divide the mousse between the 2 tins. Chill for at least 4 hours or overnight until set.
Serve
- Cake Ring: Wipe the exterior of the cake ring with a hot tea towel to loosen the cake. Remove the cake ring, garnish with Sesame Brittle (recipe below) and serve.
- Cake Tin: Use the plastic wrap overhang to lift out the cake. Place one layer on the cake board. Dip a metal spatula in boiling water, wipe dry with tea towel or paper towel and smooth the top of the mousse. The aim is to melt some of the mousse on top so that the cake layers will stick together. Repeat the dipping, drying and smoothing for a few minutes until you can see that the top of the mousse is slightly melted. Place the second cake layer on top. If the edges / top of the mousse is uneven, use the dipping-drying-smoothing method to smooth out the mousse. Chill the cake again for about 30 minutes to 1 hour. Garnish with Sesame Brittle (recipe below) and serve.
NOTES
Sesame Brittle
INGREDIENTS
- 1/2 tablespoon black sesame seeds
- 1/2 tablespoon white sesame seeds
- 100 grams caster sugar
- 2 tablespoons water
- 1/2 tablespoon salted butter
INSTRUCTIONS
- Preheat oven to 175C / 350F (with or without fan assistance is fine). Toast the black and white sesame seeds for 5 to 10 minutes until fragrant. Alternative, toast them in a small frying pan until fragrant. Remove from heat and set aside to cool completely.
- Turn over a baking sheet (minimum 9-inch big) and place a baking parchment or silpat on top. Lightly oil the baking parchment or silpat. Set aside.
- Place sugar in a small pot. Add in water. Do not stir. Place the pot over medium heat and heat until the sugar has dissolved, swirling the pan occasionally. Allow the mixture to boil and bubble for 5 minutes, until it turns a light amber colour - do not stir the mixture!
- Once the caramel is light amber in colour, remove from heat and working quickly, stir in the butter with a silicone spatula until mixture is smooth and any frothing has subsided. Stir in the sesame seeds and immediately pour the mixture onto the baking parchment / silpat, spreading it out as thinly as possible.
- Let the brittle cool and harden completely, then break into small pieces. Store them in an airtight container at room temperature.
Lorena says
Hello, I tried making this cake but my sponge cake came out really dense, not at all soft and moist. Do I need to put in baking powder.
Jasline N. says
Hi Lorena, no baking powder is needed as this cake is leavened by the beaten eggs. Perhaps you deflated the eggs too much when you fold in the flour – did the volume of the cake batter reduced by a lot after you mix in the flour mixture?
Jenny says
Hi. I like your cake. Can I substite the heavy cream with milk? I can’t find heavy cream in my place.
Jasline N. says
Hi Jenny! It’s not possible to substitute cream with milk. The heavy cream may be named something else where you are at, try searching for thickened cream, double cream etc.
Nagi@RecipeTinEats says
Wow! It looks so perfect! Can I please have a slice now? It looks so soft and spongy. And the sesame brittle on top looks great!
Raymund says
Wow that looks so moist! I would love to have a slice now
Juliana says
Wow Jasline, this cake looks so pretty, all matcha…I love it!
ChgoJohn says
I had to google matcha, Jasline, and I bet it makes a very tasty cake. Yours here is a real beauty.
Susan says
What a gorgeous creation, Jasline! I love the sound of the sesame brittle on top. Sadly, I don’t even know if I like Matcha as I haven’t tried it yet but love most other teas. Need to look for some so I can answer that question 🙂
gloria says
Love matcha and this look beautiful @!
Heather @ Sweet Precision says
I’ve never cooked or baked with matcha before but you make it very tempting Jasline! This cake looks absolutely divine 🙂