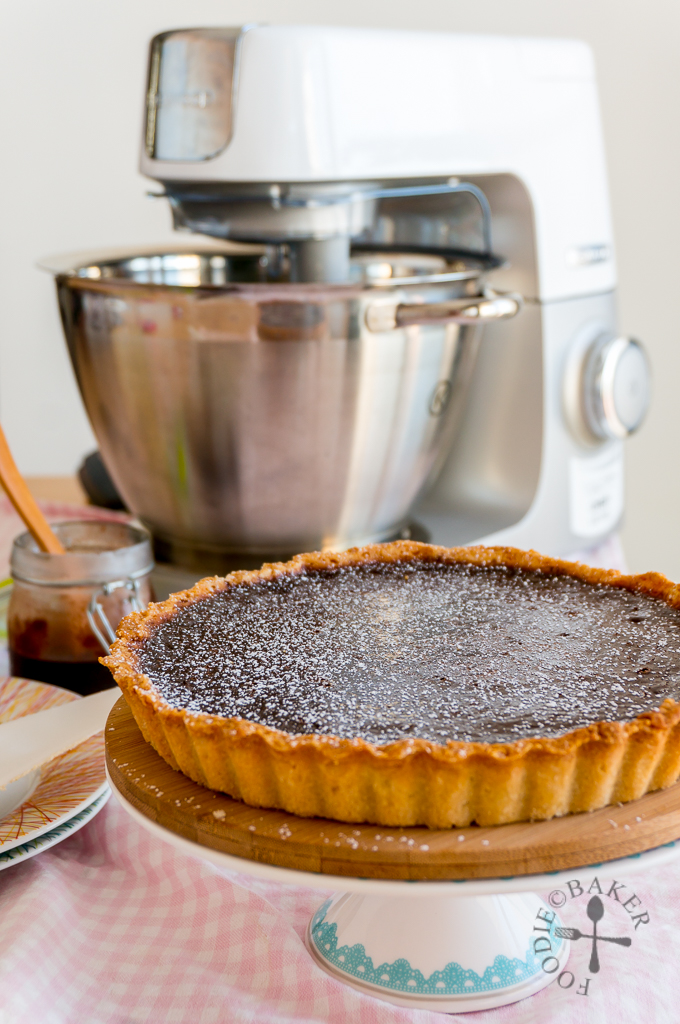
I love tarts – give me anything with a tart crust and I will devour it immediately and probably go for a second serving. But tart making can be quite a chore because of the tart base – I don’t own a food processor yet so all the rubbing/cutting of butter into the flour has to be done manually… and this just doesn’t entice me to make tarts more often. When I received the free Kenwood Chef Recipe Book (comes with every purchase of the Kenwood Chef Sense, just need to go online and order it!), I was surprised by a chocolate tart recipe whereby the tart crust was made using the K attachment (beater attachment). And of course I got to try it out!
And guess what, it takes only 90 seconds for the tart crust ingredients (flour, sugar, cold butter and egg) to come together into a dough! Call me a mountain tortoise, but I never knew that a mixer can be used to make tart crust. This is definitely a game changer for me (which hopefully means more pies and tarts to come!)
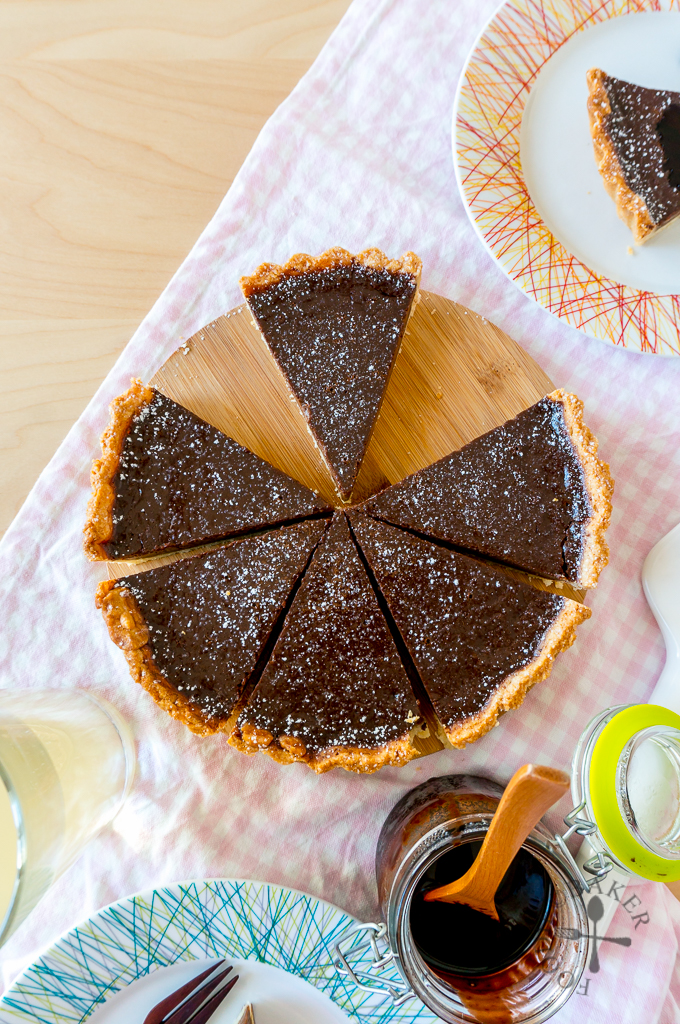
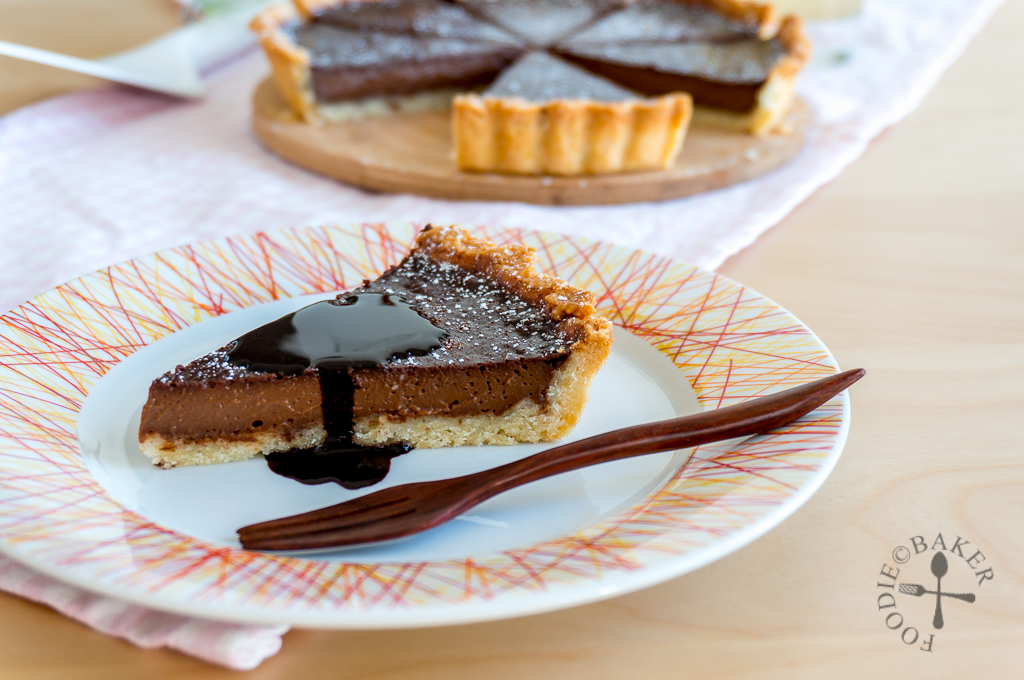
I made the chocolate tart twice and played around with the filling ingredients. In general, the amount of cream and milk can be adjusted, as long as the total liquid amount is 300 ml. More cream will yield a richer tart, but I prefer a lighter tart (and less fat but still taste good) so I used more milk instead. I used a mix of chocolate – dark, white and milk – as long as it’s good-quality chocolate, your chocolate tart will definitely taste good.
No step-by-step photos today for the chocolate tart but a video instead! I speed up the video to 4x the speed in most parts so the video won’t be so draggy, hope it will be useful when you made your own tarts and pies at home! 🙂
A major thank you to Kenwood for sponsoring me the Kenwood Chef Sense, which has enabled me to try out recipes that I normally wouldn’t attempt, like the Opera Cake and the TangZhong bread! We all know that Christmas season is coming, so if you have a special person who loves to experiment in the kitchen, this Kenwood Chef Sense has got to be the best present ever. It’s also the best investment for your tummy as well 😉 The Kenwood Chef Sense is available at leading electrical retailers and department stores, at promotional prices of S$749 for Chef Sense (4.6 litres) and S$899 for Chef Sense XL (6.7 litres)!
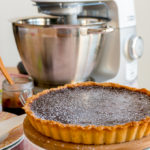
Classic Chocolate Tart
INGREDIENTS
Tart Base
- 250 grams all-purpose flour
- 125 grams unsalted butter, chilled and cut into small cubes
- 125 grams caster sugar
- 1 large egg, cold
Chocolate Filling
- 100 ml cream
- 200 ml milk
- 200 grams good-quality chocolate, chopped (can use a mix of milk, dark, semisweet and white)
- 2 large eggs, at room temperature
INSTRUCTIONS
Tart Base
- Place flour, butter, sugar and egg in the mixing bowl. Attach the K beater and beat on Speed 1 to 2 (low speed) until the mixture comes together to form lumps.
- Scrape the batter onto the table counter and knead gently, just enough for the lumps to come together into a dough. Flatten the dough into a disc, then wrap with clingwrap and chill for 30 minutes in the refrigerator.
- Preheat oven to to 200C / 400F (non-fan-assisted). Grease and flour a 20-cm (8-inch) tart tin.
- Remove the dough from the refrigerator. Roll out the dough between 2 sheets of clingwrap / parchment paper / silpat until it's 5mm thick. If the dough is too hard, set aside for 5 minutes before rolling it out.
- Transfer the dough into the tart tin, lifting the edges slightly so that it sits snugly into the tart tin. Trim off the excess edges.
- Line the dough with parchment paper then fill with baking beans (mine is 500 grams worth of beans). Bake for 10 minutes.
- Remove the tart from the oven and reduce the heat to 180C / 355F. Remove the baking beans and parchment paper. Bake the tart for another 10 minutes.
- Remove the tart from the oven and set on a wire rack to cool while you make the Chocolate Filling. (Leave the oven on at 180C / 355F)
Chocolate Filling
- Place cream and milk in a small pot and the chocolate in a mixing bowl. Heat the cream and milk over high heat, stirring constantly, until simmering - small bubbles will appear on the edges of the pot.
- Pour the cream and milk over the chocolate and set aside for 5 minutes. Whisk until the chocolate has melted and mixture is smooth. Set aside to cool slightly for 15 minutes.
- Attach the whisk attachment in the mixer. Add in the eggs and whisk for 30 seconds on Speed 4 (medium speed). Add in the chocolate mixture and whisk on Speed 4 (medium speed) until chocolate mixture is incorporated.
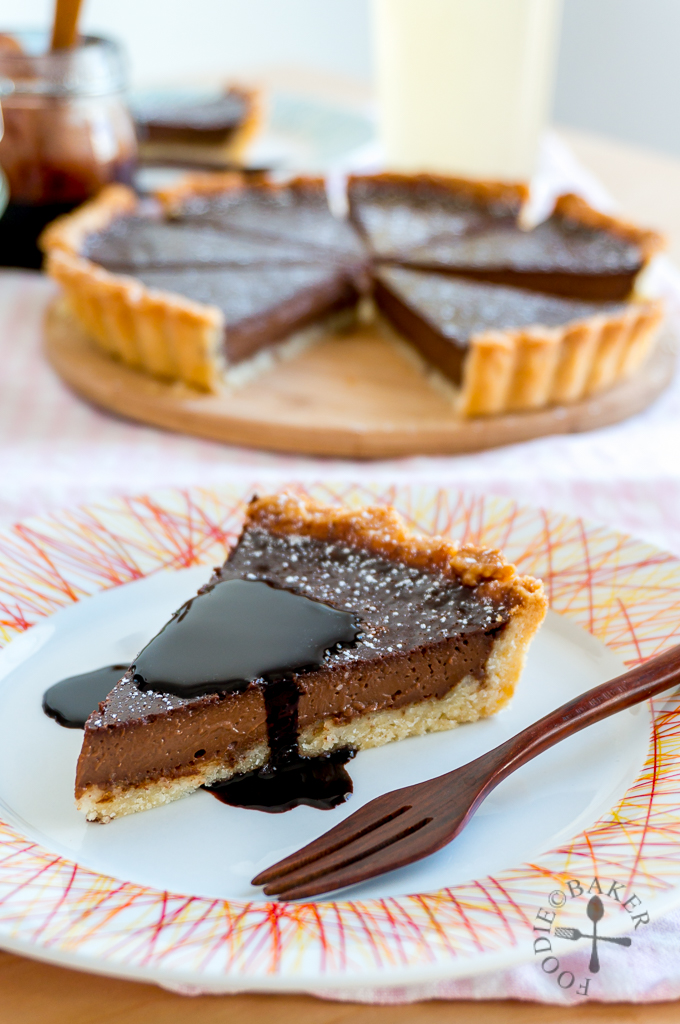
- Pour the chocolate mixture into the Tart Base, making sure not to overfill (otherwise the chocolate mixture will burn and cause the tart to stick to the tart tin).
- Bake for 30 to 35 minutes until the tart is set but with a slight wobble in the middle.
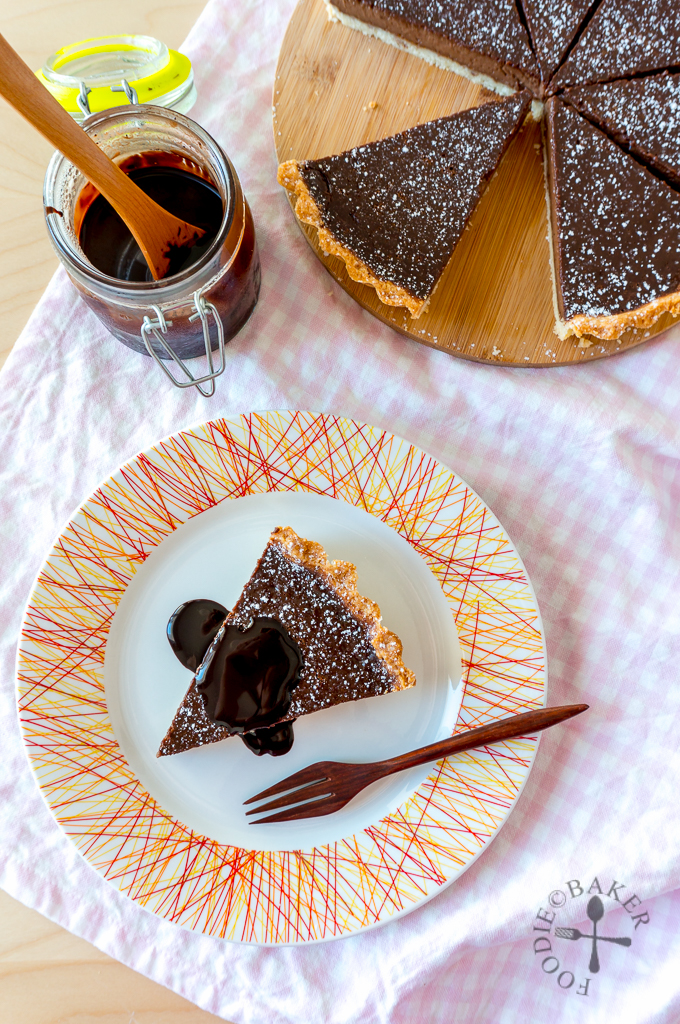
Serving
- Cool the tart completely on the wire rack before unmoulding it from the tin.
- Dust with icing sugar and serve with chocolate sauce, icing sugar, whipped cream or ice cream!
NOTES
- Recipe adapted from Recipe Book for the Kenwood Chef
Full Disclosure: I was gifted with the Kenwood Chef Sense – no other monetary compensation is received. All opinions, recipe and photos are my own!
Inger @ Art of Natural Living says
This is beautiful–and I love how easily it came together! I only wish I’d seen it before the holidays (now I’m on a diet 😉 )
Jasline N. says
Thank you Inger! Give this a try and let me know how it goes after your diet ends! 😉
ChgoJohn says
That’s one beautiful tart, Jasline. Enjoy your new Kenwood. It looks like a great appliance and find addition to any kitchen.
apuginthekitchen says
Jasline that tart is gorgeous and delicious and your photo’s are amazing!!
canelakitchen says
absolutely beautiful tart Jasline !!
The Hungry Mum says
This tart is beyond perfect! I love how just a few ingredients yields a restaurant quality dessert. 10/10 x