Sponge cakes… I definitely have the longest and strongest love-hate relationships with them. They’re not like macarons – macarons already have that level of difficulty there, so it’s kind of expected to not get them right the first time. On the other hand, sponge cakes look so easy to bake, don’t they? Just beat everything up, fold them together, send them to the oven and you will get a soft, light and fluffy cake, perfect paired with tea or coffee.
But sadly, no, they just love to make life difficult for me. And to me, getting them right and tasty at the same time is a hell lot more difficult than getting macarons to stand on their feet. (Yes, I’m very frustrated with sponge cakes…)
Looking back, I think I’ve probably flopped more than 10 recipes of sponge cakes – chiffon, victoria sponge, plain sponge… you name it – most of them probably made that list. However, I did bake a successful sponge, a delicious and delectable chocolate genoise, but that’s it. The chocolate genoise was the only recipe that I got right, but I knew I had to learn how to bake a plain sponge cake in the future, so the opportunity arrives when Mimi from MiMi Bakery House chose an Orange Sponge Cake recipe for The Home Bakers this time round.
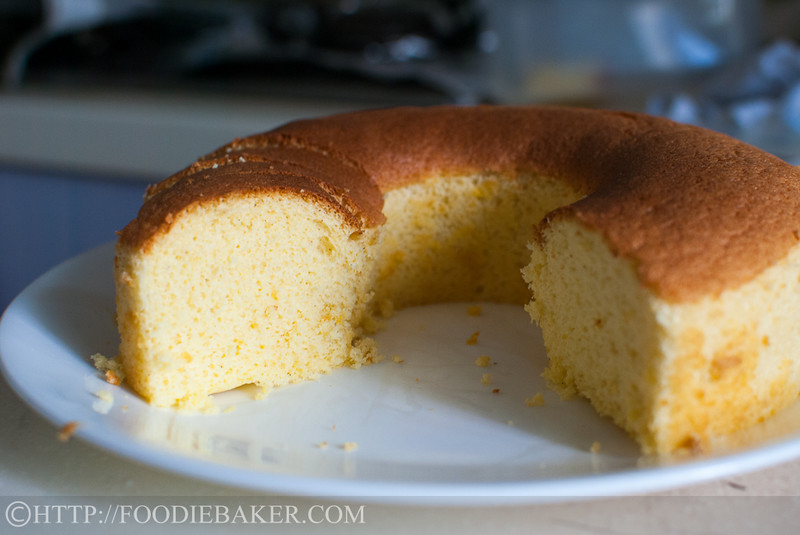
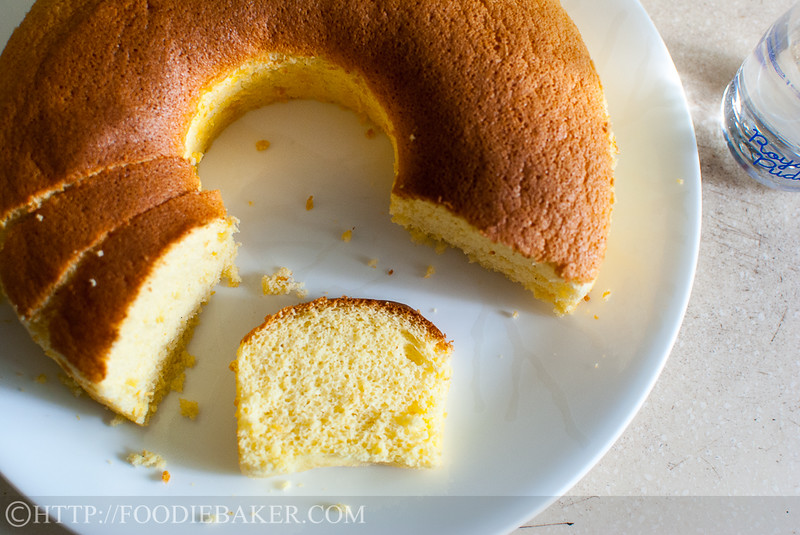
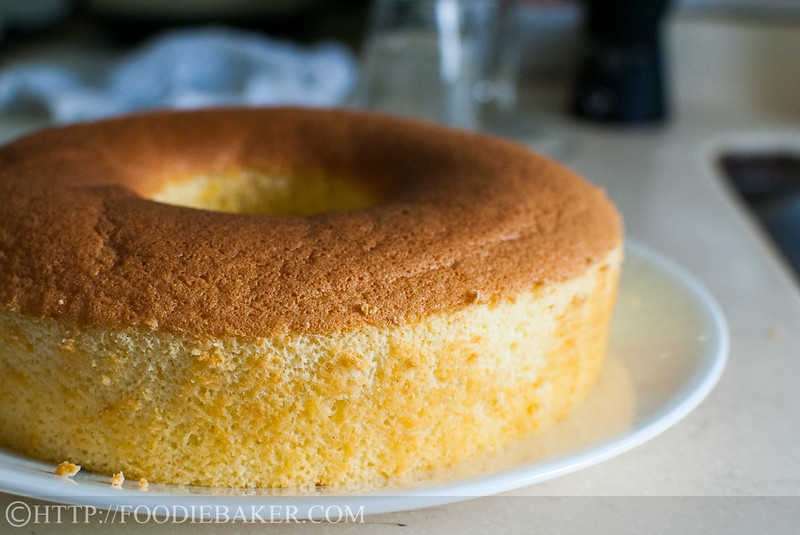
To be perfectly honest, when I knew that the theme is a sponge cake, I cringed and was pondering really hard whether to skip this bake. But that’s not very nice and I would just be giving myself excuses. So I tried and tried, and after 3 attempts, I got it – a soft, light and fluffy with a very teeny weeny hint of orange. When I saw it rose in the oven, I was dancing and twirling around the whole kitchen (just like when I saw my macarons grew feet); and when I sank my teeth into the cake – I closed my eyes and I swooned.
It may not be the perfect sponge cake yet as I definitely have more to learn, but it’s damn close to the one I’m trying to achieve, so I’m pretty much happy and satisfied right now 😉
Let’s move on to the step-by-step photos, shall we?
Step-by-step Photos | |
|---|---|
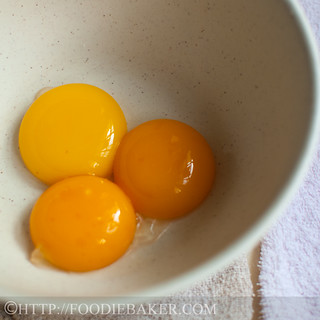 | 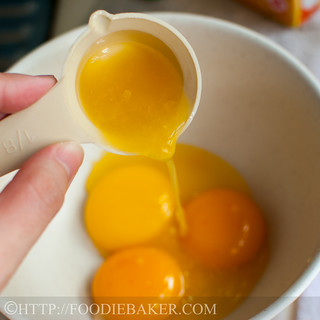 |
| 1) Grab 3 egg yolks | 2) Add in some orange juice. |
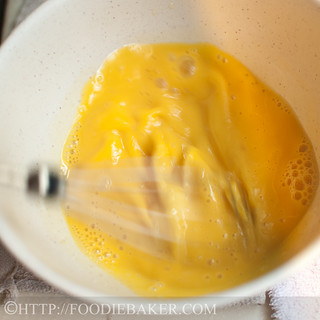 | 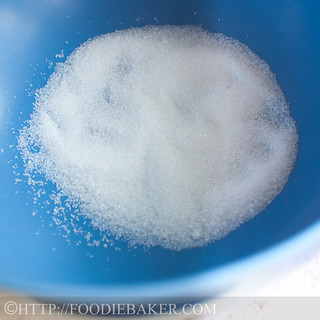 |
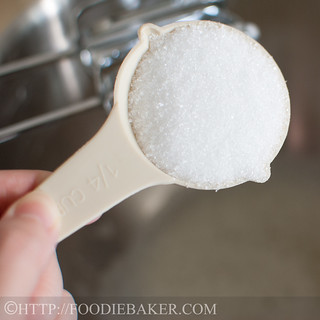
| 3) Whisk them together! | 4) Weigh the sugar in a large bowl. |
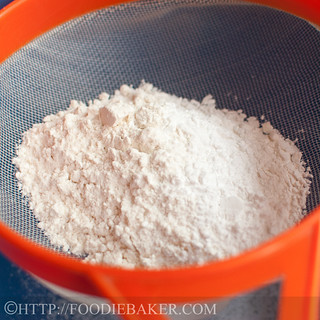 |  |
| 5) Weigh the flour, baking powder and salt and tip them into a sieve. | 6) Sift the mixture over the sugar. |
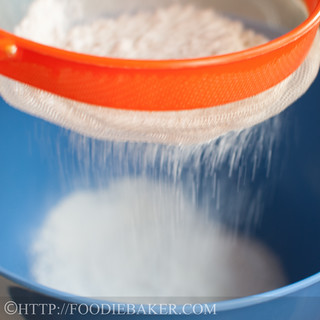
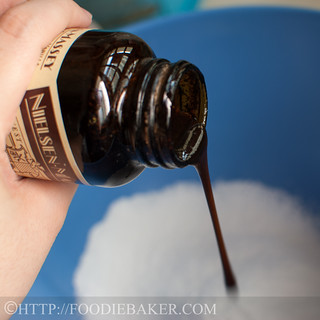 |  |
| 7) Add in a little vanilla extract / vanilla paste. | 8) Pour in the egg yolks-orange juice mixture. |
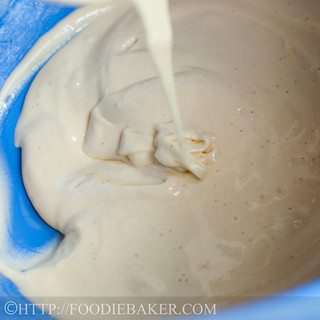 | 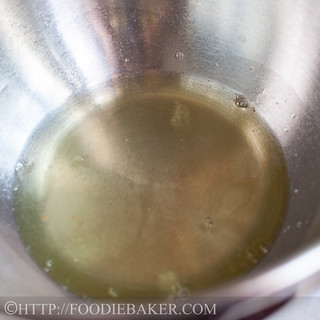 |
| 9) Whisk until the mixture is pale and thickened. | 10) Place the egg whites in another separate bowl. |
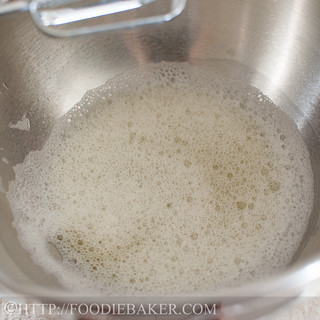 |  |
| 11) Beat with an electric mixer on medium-low speed until foamy. | 12) Add in sugar gradually. |
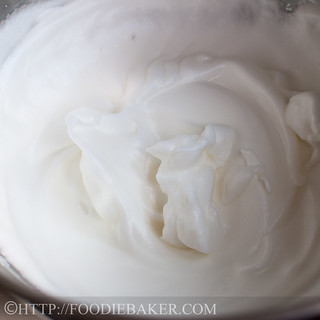 | 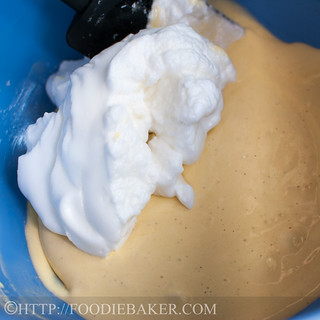 |
| 13) Until the egg whites form stiff peaks and are glossy. | 14) Fold in the egg whites gently until fully incorporated. |
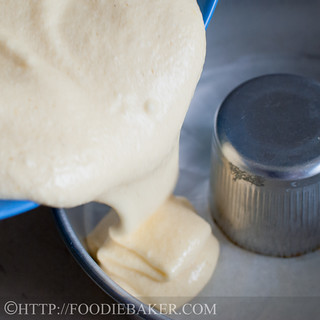 |  |
| 15) Pour it into a cake tin. | 16) When the cake is done, invert the tin and let cool completely. |
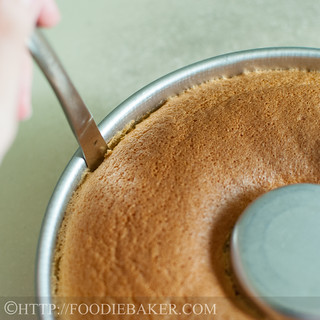 |  |
| 17) Run a knife along the edges of the cake. | 18) Invert the cake out and peel off the parchment paper. |
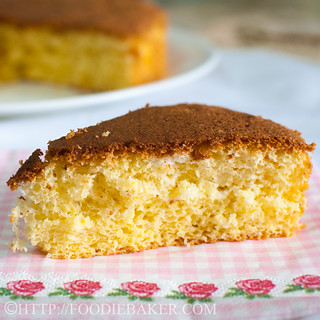
And serve!

I am submitting this to The Home Bakers, hosted by Mimi from MiMi Bakery House. Do check out all the other members’ bakes here!
Orange Sponge Cake (makes one 9-inch chiffon tin, 2.5-inch in height)
adapted from Coffee Cakes by Lou Seibert Pappas
Egg yolk batter
60 grams plain flour (1/2 cup)
15 grams corn starch (1/8 cup)
Scant 1/4 teaspoon salt
1/4 teaspoon baking powder
3 egg yolks, at room temperature
30 ml orange juice, at room temperature (1/8 cup)
55 grams sugar (1/4 cup)
1/2 teaspoon vanilla extract / vanilla paste
Zest of an orange
Egg white batter
3 egg whites, at room temperature
55 grams sugar (1/4 cup)
As part of the house rules for The Home Bakers, I’m not allowed to post the full recipe, so, for the steps on the recipe, please refer to Mimi Bakery House!
Since I cannot post the steps, I shall share some tips and notes that I’ve learned from my sponge cake making journey. Do note that these tips are mainly for beginners and those who have never attempted baking a sponge cake before. If you’re already an expert, you probably wouldn’t need all these!
A little note for those new in baking chiffon cakes – you may or may not get it right the first time, but don’t give up! Most of the time the problem lies with the beating and folding of the egg whites, so work on them! Watch lots of YouTube videos on how to make chiffon/sponge cakes (a useful one for me is this) so you know what the texture of the batter should be like / how to fold / how to whip egg whites etc. I personally have failed probably more than 10 times! I would bake one, failed, sulked and swore never to bake sponge cakes again, only to find myself attempting it again a few months later. So… never give up! 🙂
Note #1 – The Baking Pans
An 8-inch chiffon pans can range from 3-inch tall to about 6-inch tall. My chiffon pan is only 3-inch tall, hence I can only make 1/2 the original recipe. My chiffon pan is not those removable kind, so I lined the bottom (bottom only!) with parchment paper, but leaving the bottom and sides ungreased. If you don’t have chiffon cake pans, you can also bake the cake in a normal cake pan, making sure they are at least 3-inch tall, and line the bottom with parchment paper.
Note #2 – The Batter
The cake will rise a lot during baking, so if you are baking them into individual cakes, fill the cake pans / moulds only up to 2/3 tall so that the batter will not overflow during baking.
Note #3 – The Flour
The original recipe uses cake flour – which yields a softer and lighter cake as compared to plain flour. Since I never have any on hand, I substituted it with a mixture of plain flour and corn flour.
Note #4 – The Orange
I omitted the orange zest (no oranges on hand) and used bottled orange juice instead of fresh one. There was a slight hint of orange taste that very few people can detect, so I guess adding the zest will help boosting the orange flavour more.
Note #5 – The Egg Whites
This is probably the nightmare for a lot of bakers – the egg whites will determine whether your cake will rise or not; fluffy or dense; velvety smooth or hole-y. I shall break down the explanation to several parts:
Note #5a – The Bowl Part 1
The most preferred bowl to use when beating egg whites are copper bowls. But honestly, how many of us out there own a copper bowl? A metal bowl works best (mine is a stainless steel bowl) but glass or ceramic bowl can be used too. Plastic bowls are not preferred as they retain grease easily – which prevents the eggs from beating up and achieving maximum volume.
Note #5b – The Bowl Part 2
Once you have gotten the bowl, make sure that the bowl is dry and free of grease before you add in the egg whites. Any liquid or grease in the egg whites will prevent the whites from achieving maximum volume..
Note #5c – The Egg Whites, Again
The egg whites should be at room temperature to attain maximum volume. There should also not be any trace of egg yolks in them as they will prevent the whites from beating up. I like to separate my eggs when the eggs are cold as it is easier. Then I’ll let the eggs come to room temperature before using them.
Note #5d – The Beating
With an electric mixer, start beating the egg whites on medium-low speed until the egg whites are foamy. Low speed is preferred so that the air bubbles created in the egg whites are small, so that the cake will rise evenly during baking and there won’t be any huge gaping holes in the cake (imagine cheese).
Once the egg whites are foamy, increase the speed to medium and start to add in sugar gradually, 1 tablespoon at a time, beating constantly until all the sugar is added.
After adding all the sugar, increase the speed to medium-high and beat until the egg whites formed stiff peaks and are glossy. The egg whites will not slip when you turned the bowl over.
Note #5e – The Cream of Tartar and/or Salt
In some other recipes, cream of tartar and/or salt are also listed as ingredients. They to stabilize the egg whites and increase their volume. I often omit the cream of tartar as I don’t have it on hand, but I will add the salt if it is stated. The cream of tartar and/or salt can be added after the egg whites are foamy.
|
|
|
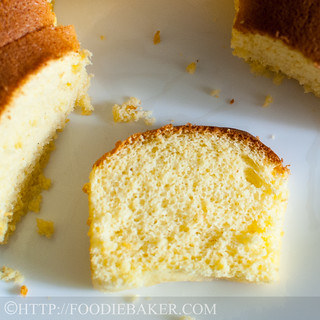
| The failure – see the large, uneven air pockets? | Soft and very fluffy! |
Note #6 – The Folding
This is yet another headache for me as I have no idea how to fold it properly so that it is fully incorporated and so that I will not deflate the egg whites too much. After much experiment, the method that works best for me is to use a wire whisk to fold in the egg whites (and will probably be the method I use in the future). Here is a YouTube video on folding egg whites in using a wire whisk: here (starting at 1:49). After folding in all the egg whites with the wire whisk, I like to use my spatula to scrape the bottom and fold it a couple more times to ensure the batter is even. If it is not even, some parts of the cake may collapse / may not rise as much.
Edit 6/8/2015: Sadly, the video is no longer available. I’ll see if I can video down my attempt in folding the egg whites, then upload it here!
Note #7 – The Baking
After transferring the batter into the cake pan, smooth the surface with the back of a spoon and rap the pan twice on the table counter to get rid of excess and large air bubbles so that the cake will rise evenly. Bake until the top is browned, the cake well-risen and a skewer inserted into the centre of the cake comes out clean.
Note #8 – The Cooling
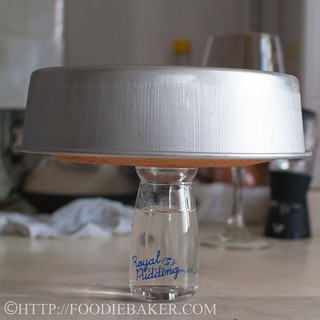
If you are using a chiffon cake pan, after removing the cake pan from the oven, invert the whole pan and place it over a glass / bottle etc. This prevents the cake from collapsing. If you use a normal pan, invert the cake pan onto a wire rack. The sides of the cake will cling on to the cake pan so that it doesn’t fall out (the reason why you shouldn’t grease your pan!) If your cake rose so high way over the cake pan, simply let the cake cool in the pan completely before removing, it may shrink a little.
Note #9 – The Removal
Use a knife or a spatula with a thin blade and run it along the edges of the cake carefully. Invert and it should pop right out, peel the parchment paper off and invert the cake back up again. And it’s done!
Happy baking! (Remember, don’t give up!)
小食代 says
Hi there!
It is nice to having your tips. folding egg white did give me headache but could not resist the attempt to bake again..
Jasline N. says
Hi! I know exactly how you feel! I have a serious love-hate relationship with sponge cakes. I hope the notes are useful! I still refer to them whenever I make sponge cakes…! 🙂 happy baking!
The Charmed Cupcake says
What a beautiful bake Jasline. 3rd time lucky 😉 it looks so lovely and fluffy.
Our Letitia Cropley Baking Group | The Great Dorset Vegetable Experiment says
[…] The Home Bakers #15: Orange Sponge Cake (foodismylife.wordpress.com) […]
lena says
wow, you made three times! i probably deflated my egg whites during the folding process, although it was still soft but i find mine was a little dry 🙁
Janine says
as always, i love your very helpful notes, and not sure if it’s because I’ve been viewing your website through my rss, but i like the new step-by-step format pictures!
Bam's Kitchen (@bamskitchen) says
Wow look how bright orange your eggs are…. You are a little pro with the whisk. Gorgeous cake and with the orange I am sure it tastes just like spring.
Emily says
Wonderful!
jothetartqueen says
the chiffon sponge looks light and beautiful like how it should be! looks like third time is the charm.
it’s great that you have a never-give-up attitude!
yummychunklet says
What a delicate looking cake!
johnnysenough hepburn says
That looks perfect to me. Nice and light and slightly fluffy. Do like the hint of orange as well as I’m not overly fond of sponge.
ChgoJohn says
Now *that*, Jasline, is the way to answer a challenge! You didn’t let a failure or two stop you and you ended up with a beautiful sponge cake. i don’t know if I’ll ever be brave enough to attempt a sponge cake but, if I do, I’ll surely come back here. Thank you for taking the time to document not just the steps but your tips for success.
Karen (Back Road Journal) says
Wow…I admire your determination in creating a perfect sponge cake. The orange sponge cake looks beautiful.
Suzanne says
Congratulations on the beautiful sponge cake. It looks perfect. I know and sympathize at your plight after quite a few mishaps of my own but when you do get it right it’s a wonderful sense of accomplishment.
kitchen flavours says
Hi Jasline,
Your sponge cake bakes up gorgeous! Looks so spongy and fluffy! I’m glad that you did not give up so easily! Yay!