
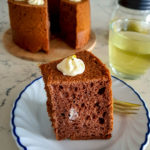
Chocolate chiffon cake is a classic favourite. Made with simple ingredients without leavening agents, it is soft, moist and tender. Jazz it up with some surprise cream cheese whipped cream for a special treat.

I love chiffon cakes. They are so soft and tender, and I always tell myself that it’s not as guilty if I reach for a second slice… (please just let me delude myself for a moment).
But honestly I do not love baking them. Firstly, they are always gone a tad too soon because they are so light and easy to eat! Secondly, there are certain techniques required to get it right, even though they are made with simple ingredients like eggs, flour, sugar, oil, water/milk.

I learned the techniques over the years through lots of failed cakes, reading plenty of recipe books and watching YouTube videos. I personally like learning from Japanese recipe books (translated into Chinese) because they focus on the techniques instead of just giving you the recipe and the steps. They tend to highlight key points to take note in their recipe books.
So the step-by-step photos for this recipe will include detailed explanations on why I do a particular step a certain way, as well as things to take note of when making chiffon cakes. There are 10 sections (yes 10!). You can easy toggle back and forth with links included below. Without further ado, let’s go!
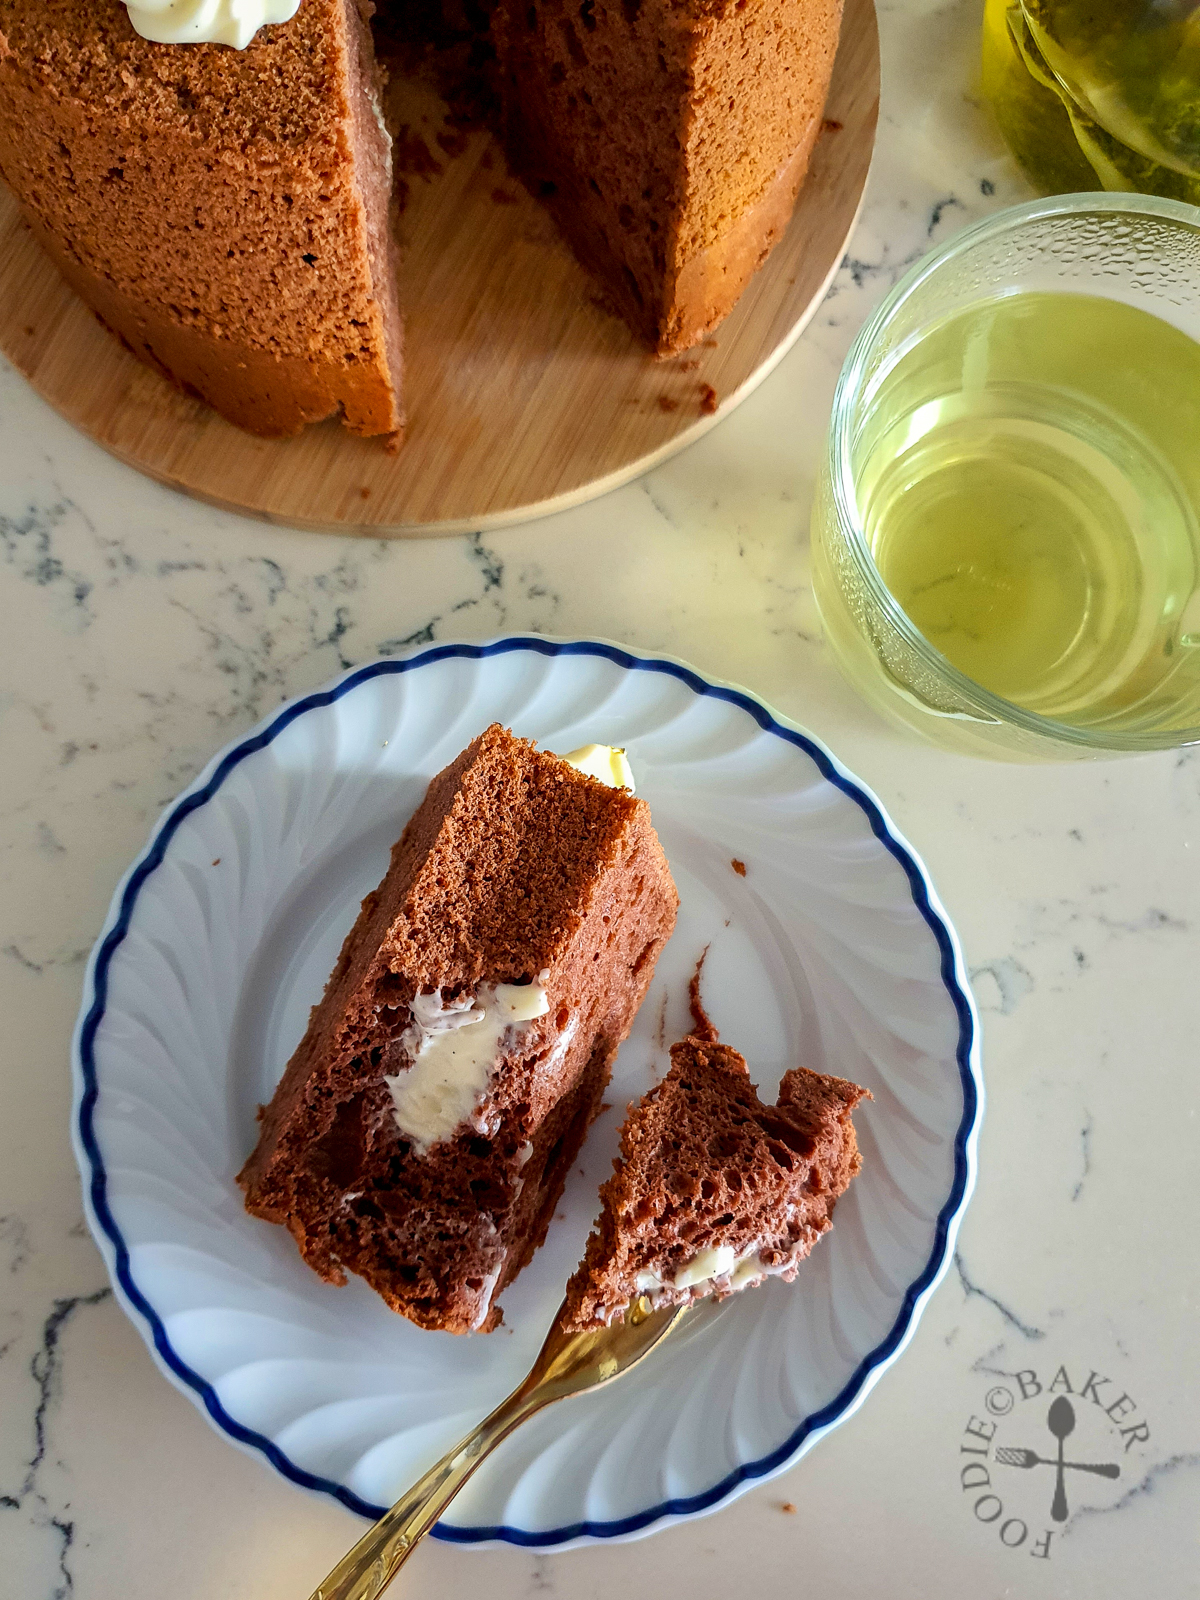
Table of Contents
1. Sifting the dry ingredients

Flour. Almost all chiffon cake recipe calls for cake flour. Cake flour has a lower protein content (between 7-9%) as compared to all-purpose flour (9-12%). The lower the protein content, the lesser gluten formation, meaning you will get a more tender and softer baked good. I don’t typically stock up cake flour in my pantry, hence I’ve always been using a substitution by combining all-purpose flour and cornstarch together. It’s not exactly the same as using cake flour, but so far this substitution has worked well for me every time.
Sift. Start by first sifting the dry ingredients twice. This does three things:
- Remove lumps, especially in the cocoa powder, so that your batter will not have lumpy flour pockets.
- Mix the ingredients together evenly so that they can be incorporated evenly into the batter.
- Aerate the mixture which makes them lighter and easier to be incorporated into the batter.
Do not compact the dry ingredients after they have been sifted, otherwise they will lose the lightness.
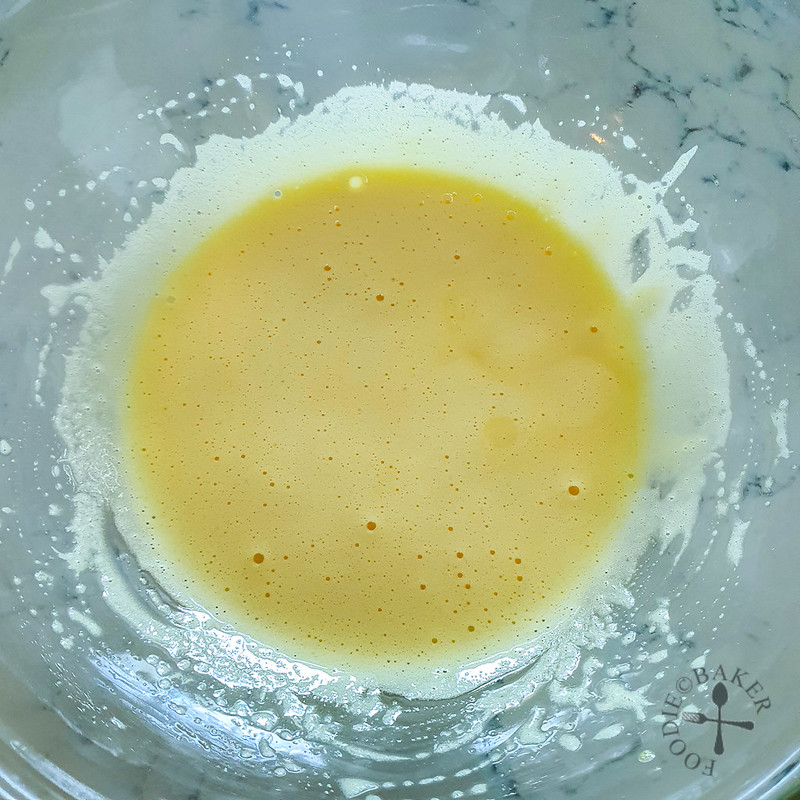
2. Whisking the egg yolks
 |  |
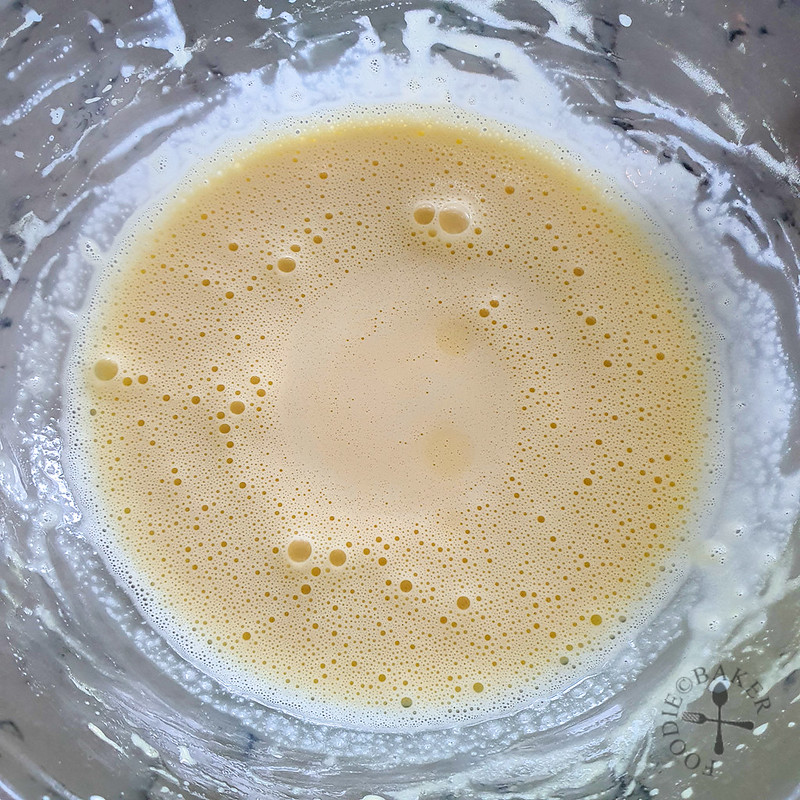
| Place egg yolks and caster sugar in a heatproof bowl. | Whisk with a wire whisk until combined (the sugar doesn't have to dissolve). |
 | 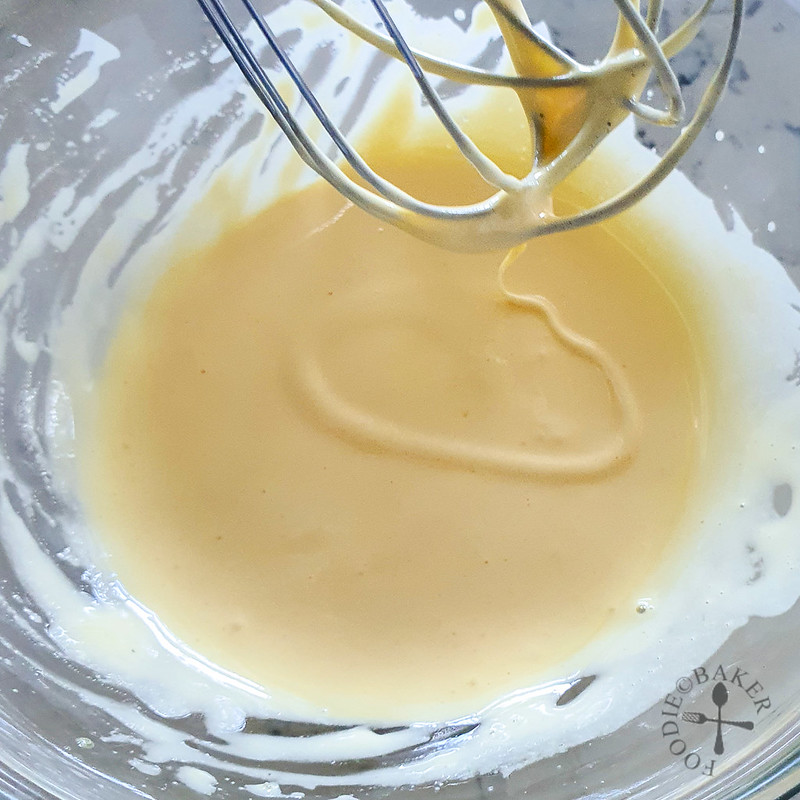 |
| Whisk over a double boiler until the mixture reaches 45°C. Immediately remove from heat. | Whisk constantly and more vigorously until the mixture lightens in colour, thickens, and leaves a trail when the wire whisk is lifted. |
Separate egg yolks and egg whites. The egg yolks and egg whites are often whisked separately when making chiffon cakes. It is possible to make a chiffon cake / sponge cake by whisking eggs whole. However, whisking egg whites on their own can be beaten to greater volume. This means more air and the cake should rise better. This is especially important as we are not using any leavening, hence any extra air is welcomed.
One thing to note is after adding the sugar into the yolks, whisk it immediately to prevent lumps from forming.
45°C. The egg yolk and sugar mixture is whisked constantly over a double boiler until it reaches 45°C. This does two things: i) dissolves the sugar; and ii) warm the mixture to allow more volume to be developed later on. I use an infrared thermometer but if you do not have one, you can use your fingers to touch the mixture. There should not be anymore gritty sugar texture and it should be warmer than a hot shower.
Bigger batch. If making a bigger batch, consider using an electric mixer to whip the egg yolks so that it’s quicker. But make sure the same beaters are not used to whisk the egg whites later on.
Colour. As you whip, do rotate the bowl once in a while and ensure that the whisk also mixes in the batter that may be stuck to the sides of the bowl. The batter will gradually turn from a orangey-yellow colour to a pale yellow colour. The mixture will also thicken in texture. That’s when you know that it is ready for the next step.
3. Adding the liquids
 |  |
| Whisk in the oil in two batches, whisking vigorously each time to ensure the oil is completely emulsified with the batter. | Add in the milk and whisk (less vigorously as the batter will splatter out) until incorporated and foamy. |
Oil makes the chiffon cake light. Use a neutral-tasting oil like vegetable, canola or light olive oil unless you want your cake to pick up some of the oil’s flavours. It is important to ensure that the oil is completely emulsified into the batter before adding the milk. Hence add the oil in two batches.
4. Adding the dry ingredients
 | 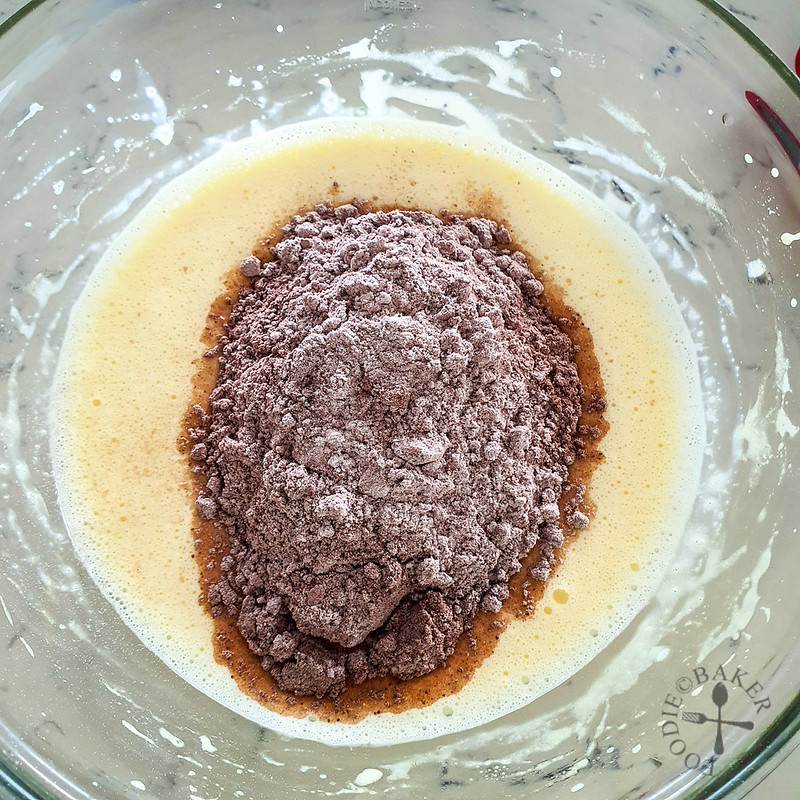 |
| This is how the batter will look like after whisking in the milk. | Add in the flour mixture. |
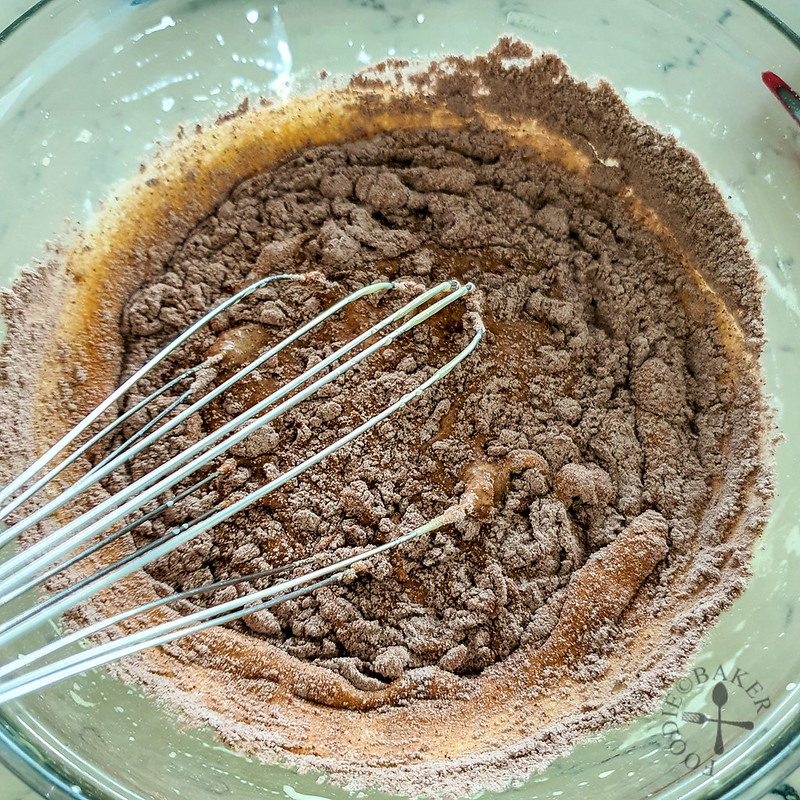 |  |
| Whisk gently until just incorporated. | Use a spatula and fold a few times, scrapping the bottom of the bowl to ensure the batter is mixed together. |
Similarly, whisk in the dry ingredients once they are added into the egg yolk batter. I always like to use a spatula to scrape the sides and bottom of the bowl to ensure the batter is well-mixed. Start on your egg whites immediately!
5. Whipping the egg whites
 |  |
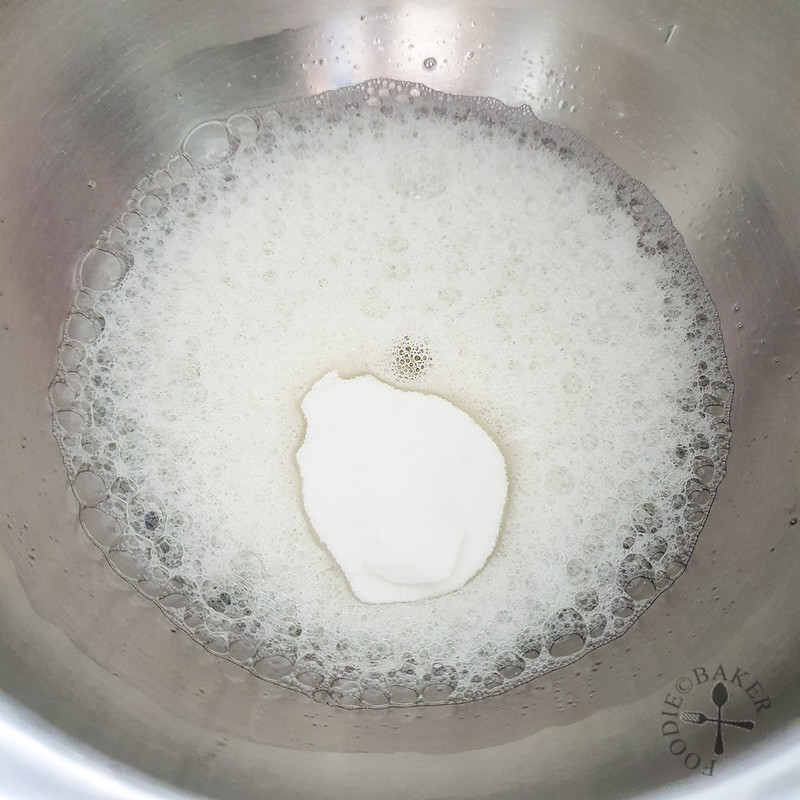
| Add salt into the chilled egg whites. | Beat on med-low speed until the egg whites are foamy. |
 | 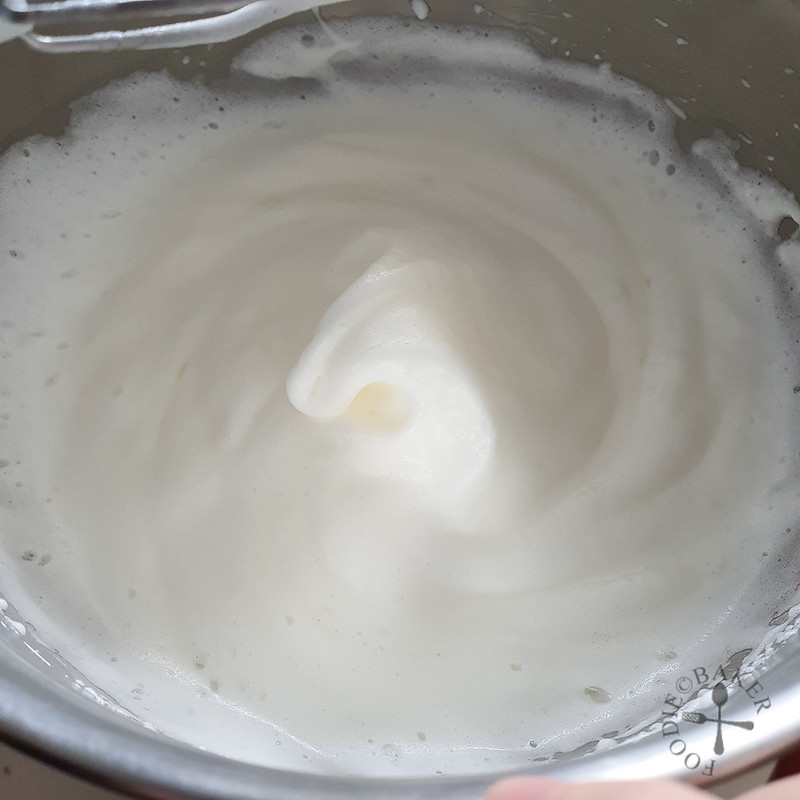 |
| Add in the sugar all at one go and beat immediately on medium-high speed with the electric mixer. | Beat the egg whites until they can be lifted but the tip flop and fold over. |

This whipped egg white technique is pretty different from the usual ones. I still cannot fully explain why it works, but it just works for me. I do hope that it works for you too!
Clean, dry and grease-free bowl. This remains true in all cases when whipping egg whites. Any single bit of oil may result in the egg whites unable to be whipped up into a meringue. Some people wipe the bowl and beaters with vinegar but I don’t. At most, I will just use a dry kitchen towel to wipe the bowl down.
Chilled egg whites. Yes, you read correctly, the egg whites are chilled instead of letting them come to room temperature. Apparently whipping cold egg whites is more stable with smaller, stronger and more uniform bubbles.
Adding sugar all at one go. I’m sure at some point we have all learnt that we should be adding sugar one spoonful at a time when whipping egg whites. We all read that the meringue will not be able to whip up to full volume if the sugar is added all at once. However, my pastry chef teacher taught that “full volume” is not required: i) as long as we have the right technique to not over-fold in the egg whites; and ii) we are not making piped meringue. Even if you go for “full volume”, the cake may not have the structure to support the rise, which may result in the cake collapsing or shrinking back after baking. In addition, this method will likely give more consistent results over time as you don’t have to test how gradual to add the sugar.
You don’t need high speed to whip egg whites. There are two risks when using high speed: i) creation of large air bubbles; and ii) over-whipping of the egg whites. You want the air bubbles created in the egg whites to be small and uniform, so that your cake texture will be even throughout. Large air bubbles may result in crater-like looking holes in the chiffon cake. I always use low speed at the end to eliminate large air bubbles, for better control, and also to mix in the egg whites on the sides of the mixing bowl.
Semi-stiff egg whites. In the past, all my recipes call for stiff peaks for chiffon cakes, but I realised that i) it is harder to incorporate the egg whites into the egg yolk batter; and ii) resulting chiffon is a bit drier. If the egg whites are too stiff, there is also a risk of me over-deflating it when trying to fold in the egg whites completely. So now I go for semi-stiff egg whites. When the beaters are lifted up straight, the egg whites will be lifted but the tip will fold over. Then manually whisk the egg whites by hand to make sure the whites are all mixed well together with an even consistency. The egg whites are still quite soft so that it’s easier to fold into the egg yolks. I also don’t see a significant drop in the rise of the chiffon cake.
Use the whipped egg whites immediately. If you walk away for too long, the whipped egg whites will deflate and your cake is likely to fail.
6. Folding in the egg whites
 |  |
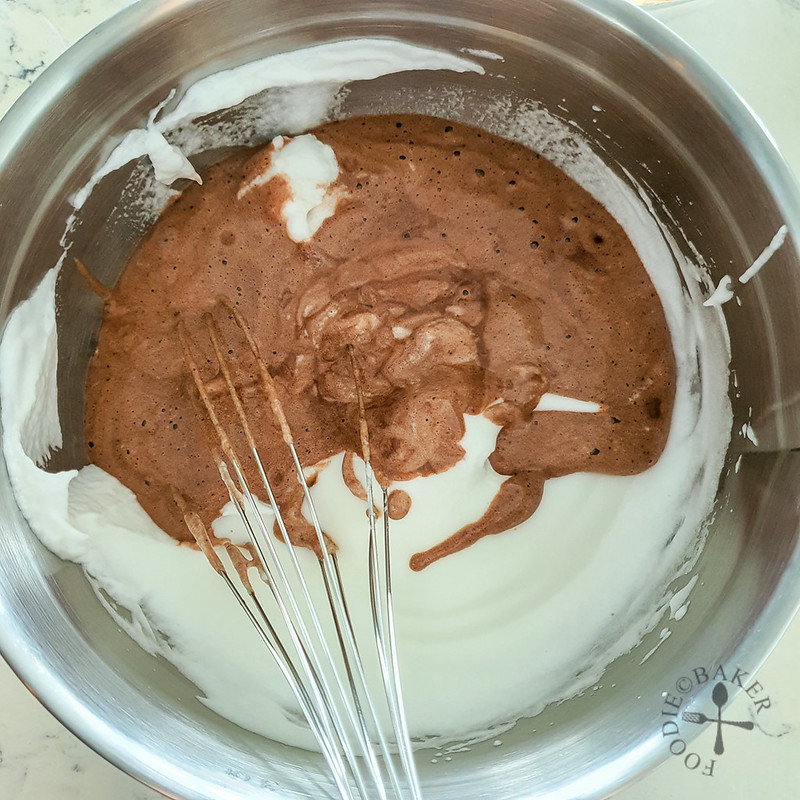
| Scoop one-third of the egg whites into the egg yolk batter. | Fold gently with a wire whisk. |
 | 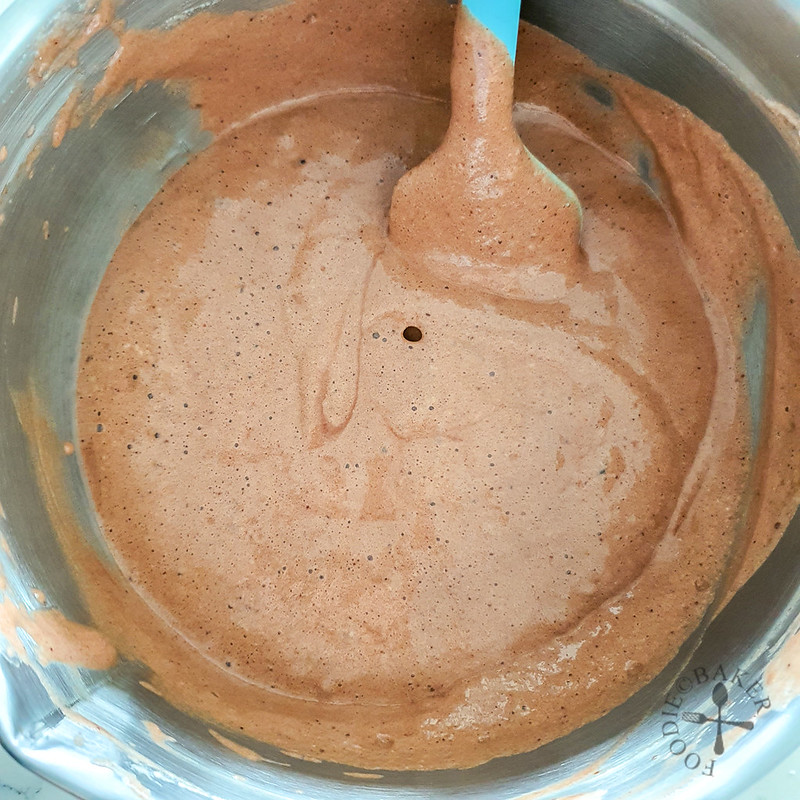 |
| Pour the egg yolk batter into the remaining egg whites. | Fold the batters together. |
Whisk method. I still prefer using a whisk than a spatula to fold in the whipped egg whites. It’s a much gentler technique in my opinion. The gist is to i) use the whisk to cut through the middle of the batter; ii) twist your wrist towards you to lift up the whisk and batter; and iii) allow the batter to dollop back on top. Rotate the bowl and repeat. From the gif above, I actually over-beat the egg whites a little so it’s a bit tougher to fold in the egg whites evenly. But the technique remains the same.
Fold in 1/3 first. If all the whipped egg whites are dumped into the egg yolk batter, it will be very difficult to fold the batter properly and evenly. This will result in over-deflation of the batter. Hence 1/3 of the egg whites are first added to loosen the egg yolk batter.
Pouring egg yolk batter into whipped egg whites. I pour the egg yolk batter into the remaining egg whites after 2/3 of the whipped egg whites have been folded in. It serves two purposes for me:
- Unmixed batter at the bottom. By pouring the egg yolk batter in, the bottom batter is now at the top, which will make it easier to fold and get an even batter.
- My egg yolk batter is usually in a glass bowl (heavier). Hence if the resulting cake batter is in a metal bowl (lighter), it will be easier for me later on when transferring the batter into the baking tin.
7. Baking the chiffon cake

 |  |
| Bake until a skewer inserted into the centre of the cake comes out clean. Drop a few times on the countertop. | Immediately invert the chiffon tin and let cool completely. |
Work quickly. Once the batter is mixed, you will see bubbles rising to the surface and popping. This means the air that you have worked hard to incorporate in are disappearing! Hence it is very important to transfer the batter into the baking tin immediately.
Pouring in low. Air bubbles will continue to pop as you transfer the batter to the tin. Position the mixing bowl just above the cake tin while pouring in the batter so that you don’t lose too much of the air bubbles. By rotating the tin as you pour, the batter should fill up more evenly. Given that the batter is quite liquid, the surface should smooth out on its own.
Release giant air bubbles. So with the new whipping egg white technique above, there should be fewer giant air bubbles. Nevertheless, banging the tin just before baking may help release any other giant air bubbles so that you don’t get crater-like looking holes in the chiffon cake.
Banging after baking. This is a new technique which apparently helps to prevent the cake from shrinking. This may not be required for tube pans (those with a hollow tube in the center) but it is best to do this for other regular pans. I couldn’t find much evidence on this yet so I will leave this here and update again if I can do more testing on this.
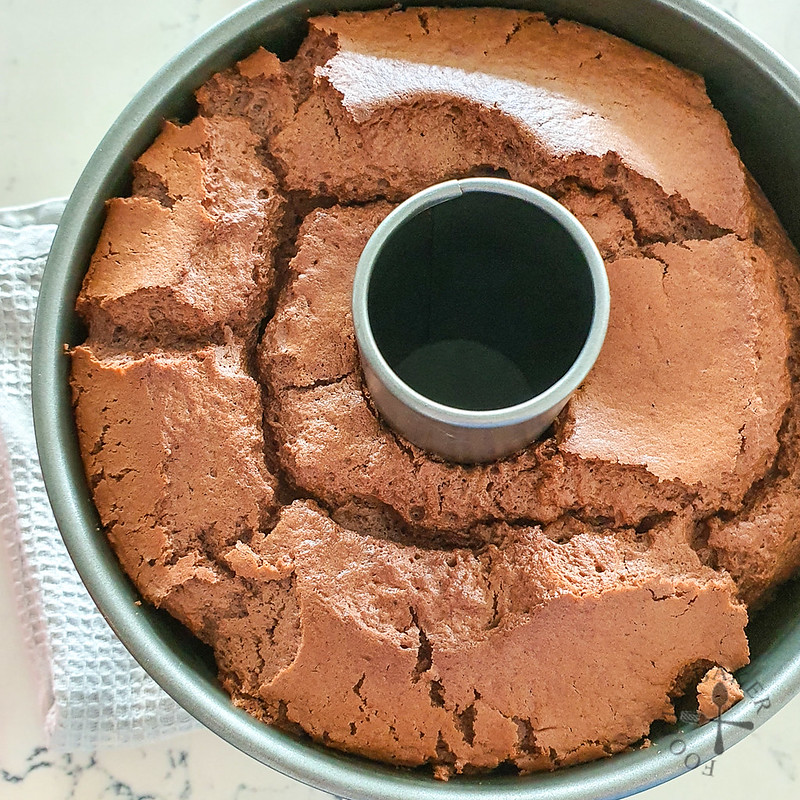
Cooling upside down. It is very important to cool the cake upside down immediately. You can put the tin on a rack, a bottle, a ramekin etc, as long as it does not touch the surface of the cake.
8. Unmoulding the chiffon cake
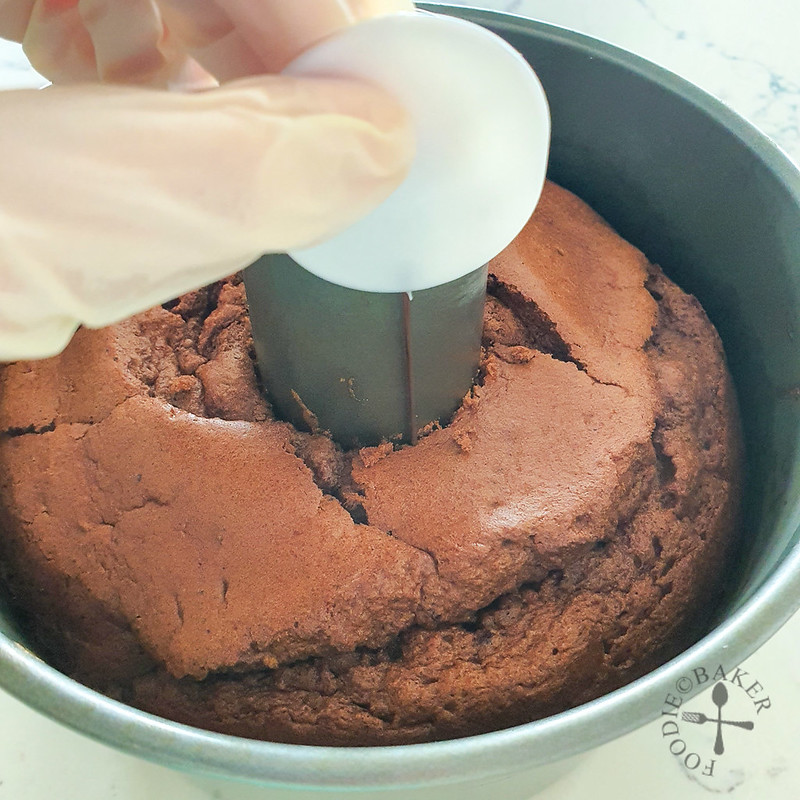 | 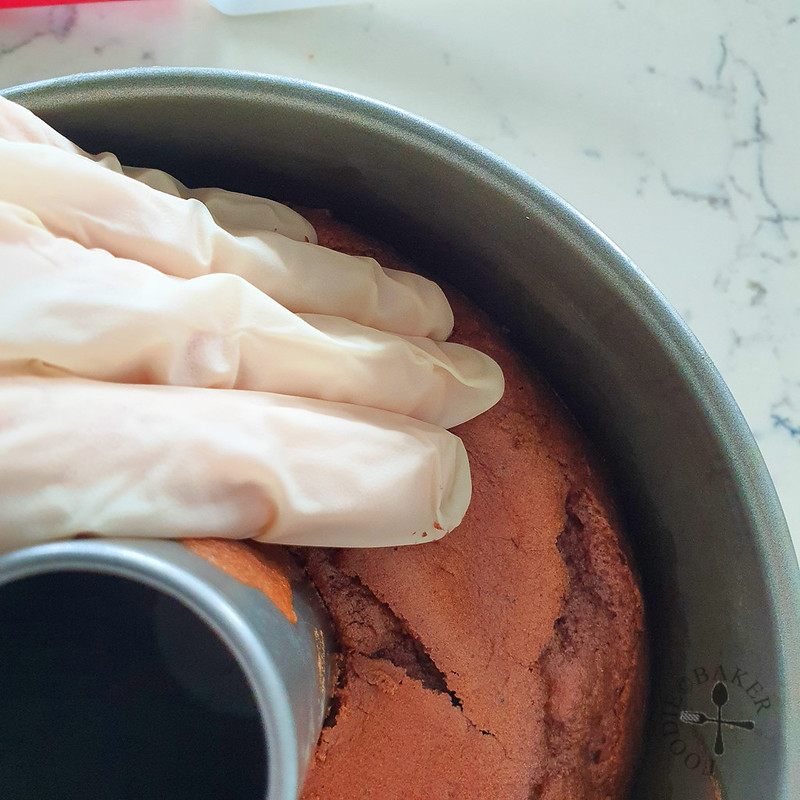 |
| Use a thin spatula to loosen the centre of the cake. I'm using my cake tester here. | Using your fingers, gently pull the cake a little bit away from the tin. |
 | 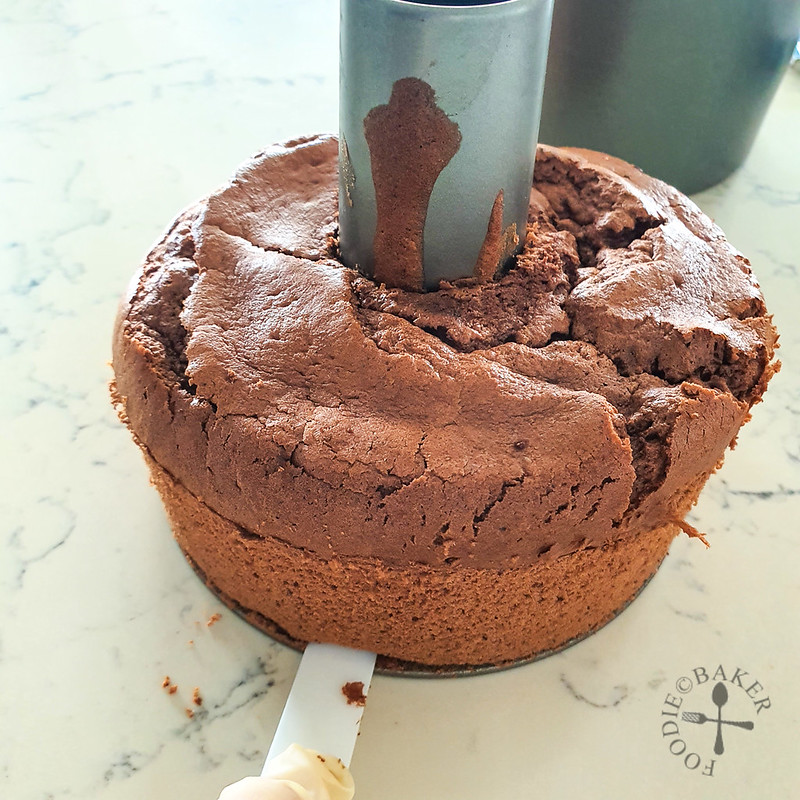 |
| Place the tin on its side on the countertop. Slide a thin spatula between the tin and the cake. Using one hand to hold the spatula firmly downwards, rotate the tin to loosen the cake. | Use the same technique to unmould the base of the chiffon cake. |
To be honest, this is the part I dislike the most. (I actually prefer the washing up!) There were days when I slid the spatula off-angle and result in a huge cut in the cake. It’s such a painful moment, even though the cake still tastes great.
These days I kept seeing a lot of people using bare hands to unmould the chiffon cake. There’s nothing wrong with it but personally I feel rather uncomfortable touching the cake so much, unless I’m wearing gloves. I learnt to unmould the chiffon cake using an offset spatula on its side from YouTube videos. Though I tried my best to put it in words, I think it’s still much easier to learn from the YouTube videos directly: outer-circumference; inner-circumference; bottom.
9. Making the cream cheese whipped cream (optional)
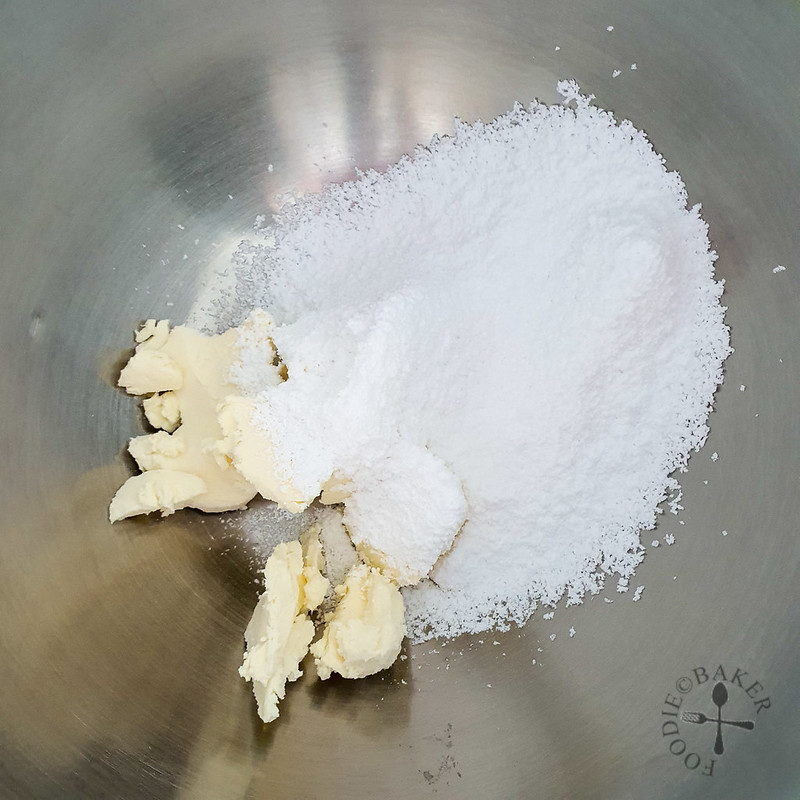 |  |
| Place cream cheese and icing sugar in a mixing bowl. | Mix with a spatula until the icing sugar is no longer visible. |
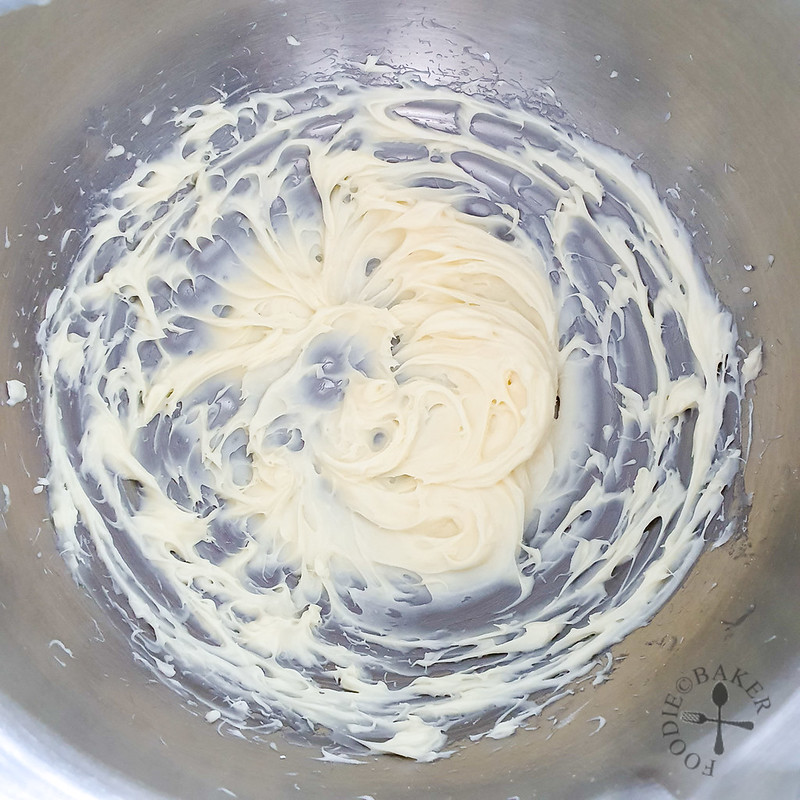 | 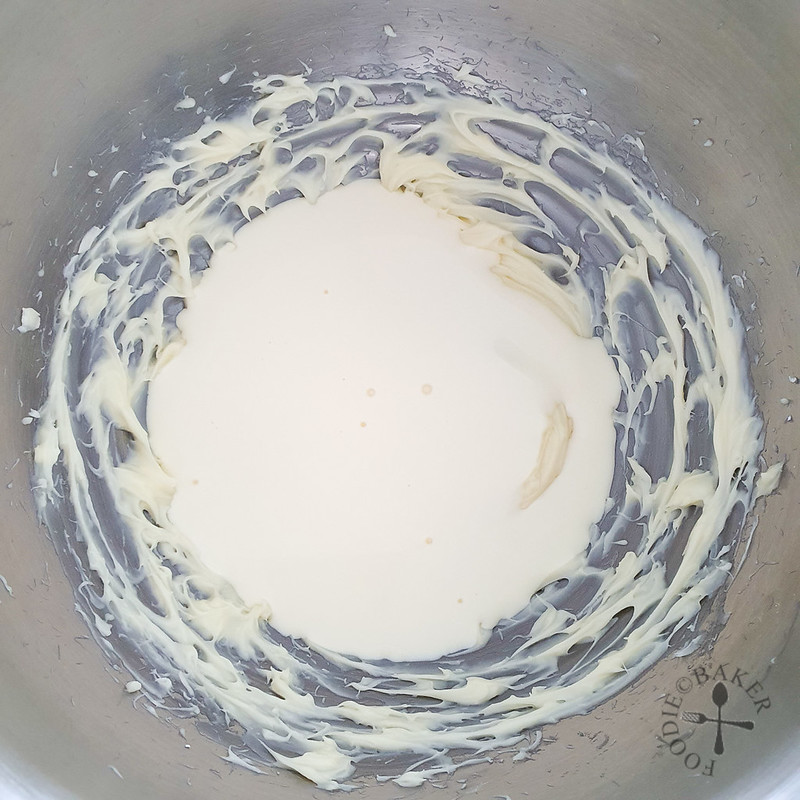 |
| Beat with a mixer on medium speed until the cream cheese mixture is very smooth and fluffy. | Pour in the very cold cream and beat on medium-high speed until stiff peaks are formed. |
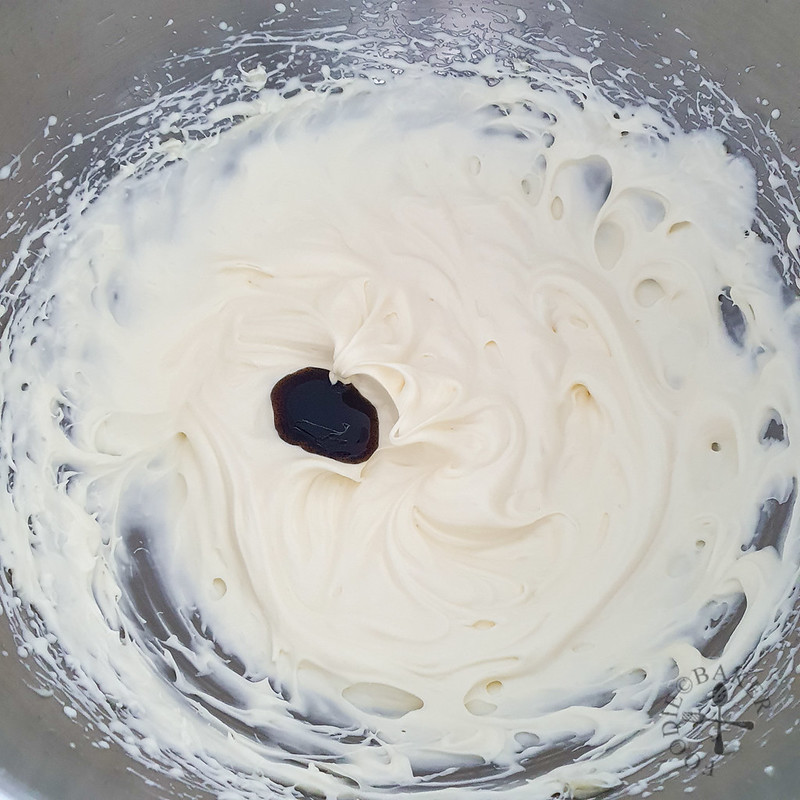 |  |
| Add in vanilla. | Beat on low speed until incorporated. Use immediately. |
Technically you can already start eating the chiffon cake, but I learned from YouTube on how to jazz up the chiffon cake, which makes it a little bit more fanciful. As we nowadays prefer lighter cakes, this jazzed up chiffon cake is great for gatherings. I also like the additional surprise that people get when they cut into the cake.
Mixing cream cheese with whipped cream apparently stabilises the whipped cream. It is soft yet firm enough to be piped. This makes it a perfect filling and frosting. Cream cheese also has a slight tang, which I think goes well with the chiffon cake.
10. Filling the chiffon cake (optional)
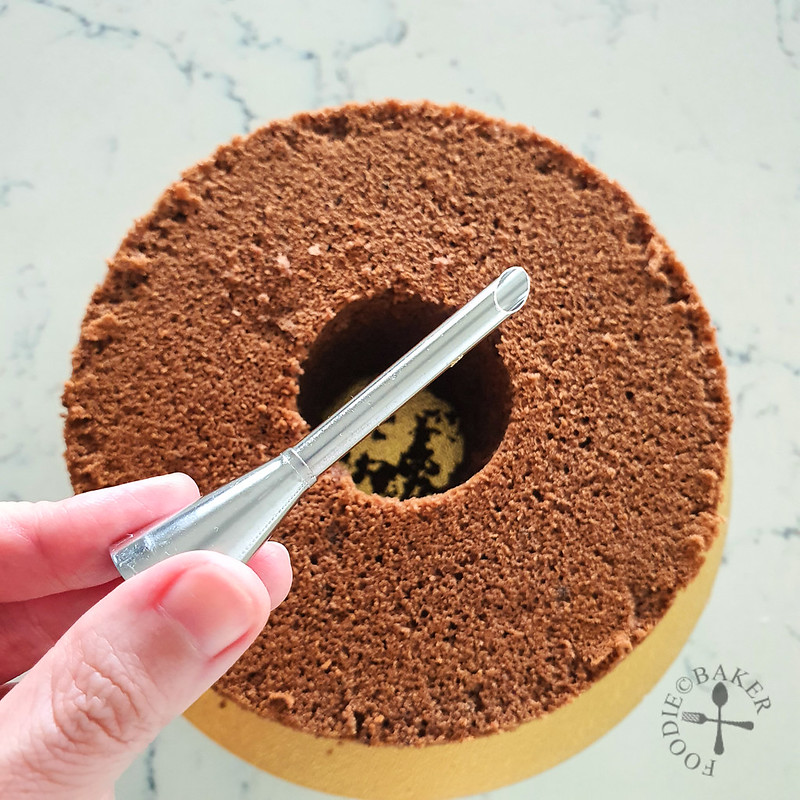 | 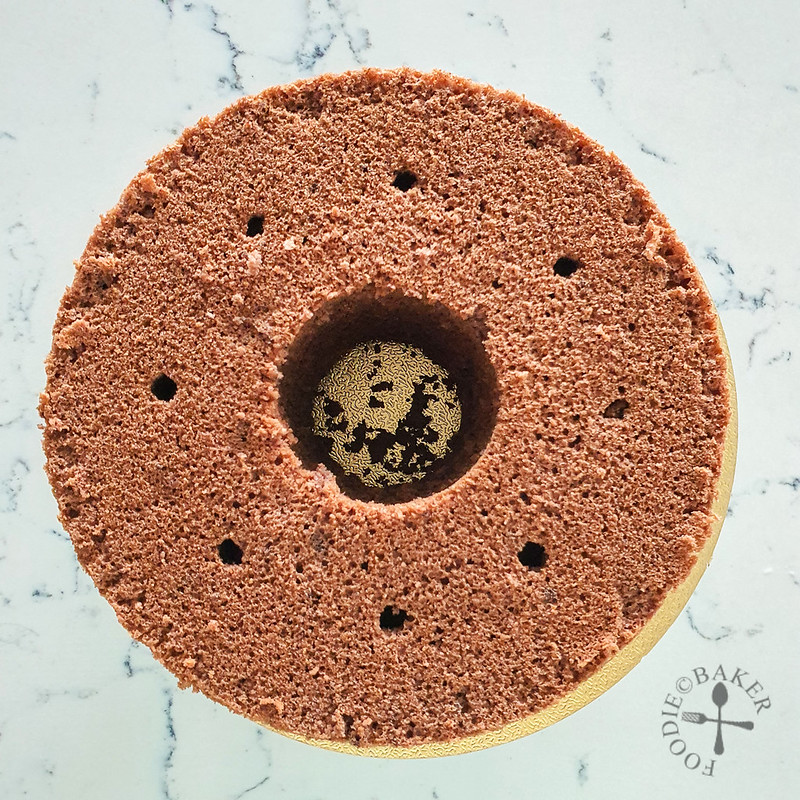 |
| Grab a piping tip used to fill cream puffs. | Poke 8 holes into the chiffon cake. Alternatively, use a straw to poke the holes. |
 |  |
| Fit the same piping tip onto a piping bag with a coupler. | Fill the piping bag with the cream cheese whipped cream. |
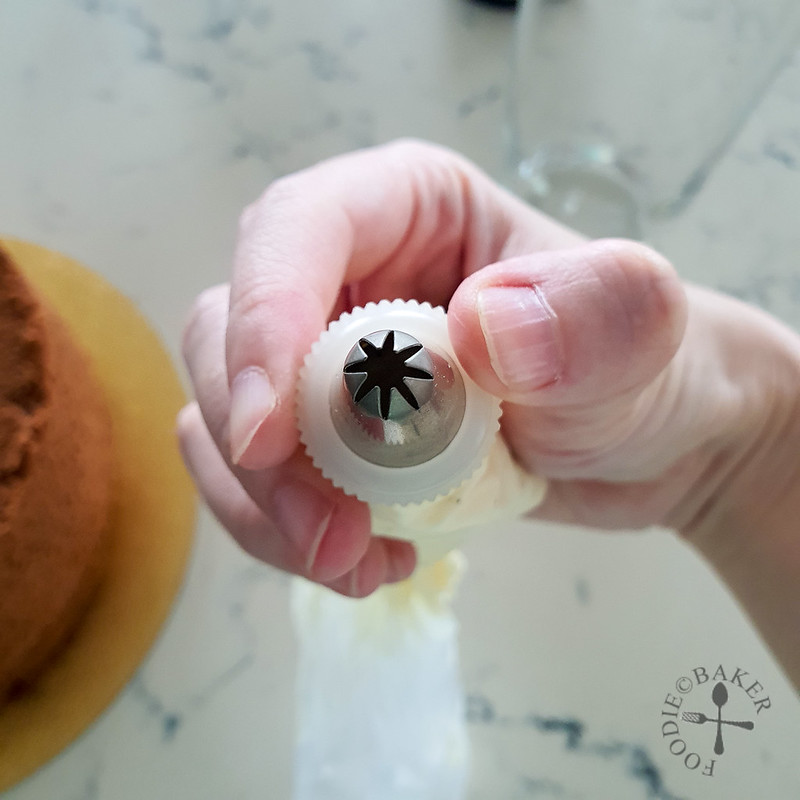 | 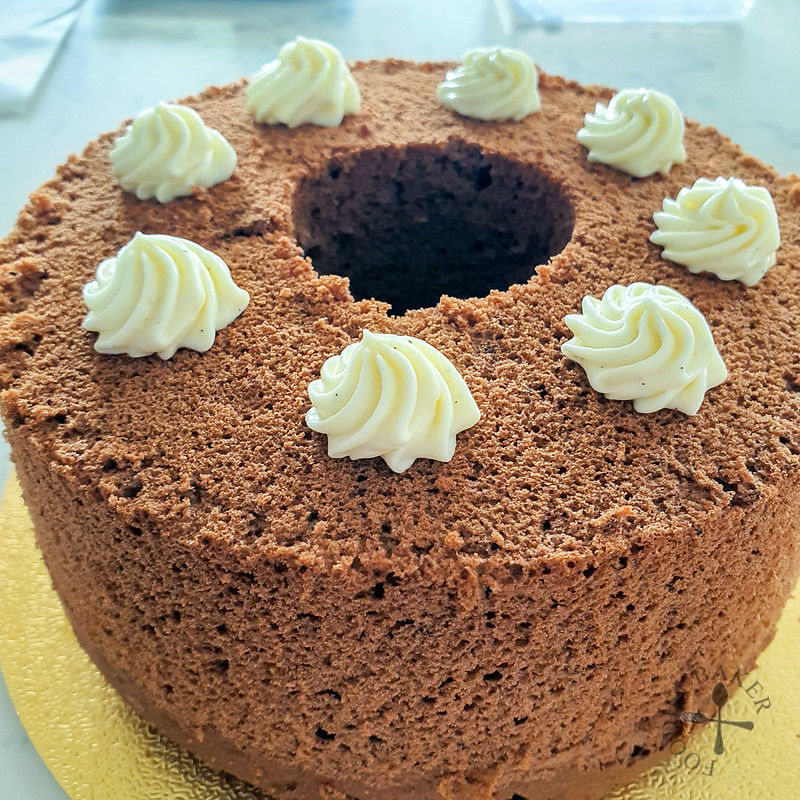 |
| Change the piping tip to a star tip. | Pipe swirls to cover the holes. |
I got the piping tip for cream puffs online (you can try Lazada / Shopee / Ebay etc). Fitting the piping bag with a coupler allows me to change just the piping tip instead of grabbing another piping bag.

And there you have it! My step-by-step guide on my chiffon cake. I have to admit I am not perfect yet when it comes to making these. There will be some days it will be really good, but some days it may come out a little dry. But overall I have been very pleased with these techniques and I hope they are useful if you are new to chiffon cakes. Happy baking!
Chocolate Chiffon Cake
INGREDIENTS
Egg Yolk Batter
- 50 grams all-purpose flour
- 10 grams cornstarch
- 20 grams cocoa powder
- 50 grams egg yolks
- 15 grams caster sugar
- 40 grams vegetable oil
- 80 grams milk
Egg White Batter
- 150 grams egg whites, cracked into a clean, dry, and grease-free mixing bowl and chilled in the refrigerator
- Pinch salt
- 40 grams caster sugar
Cream Cheese Whipped Cream (optional)
- 50 grams cream cheese, full-fat and from a block
- 30 grams icing sugar, sifted
- 100 grams whipping cream, minimum 30% fat content and chilled
- 1 teaspoon vanilla
INSTRUCTIONS
- Preheat oven to 190°C (conventional) / 180°C (convectional) – please note that the oven temperature will be lowered when the cake is baking.
- Get ready a 17-cm chiffon tin – do not grease it.
Egg Yolk Batter
- Sift flour, cornstarch and cocoa powder together twice. Set aside.50 grams all-purpose flour, 10 grams cornstarch, 20 grams cocoa powder
- Bring a small pot of water to boil and turn off the heat.
- Place egg yolks and caster sugar in a heatproof bowl and whisk with a wire whisk until combined (the sugar doesn't have to dissolve).50 grams egg yolks, 15 grams caster sugar
- Place the bowl above the pot of water (the hot water should not be touching the base of the heatproof bowl). Whisk constantly until the mixture reaches 45°C. Remove the heatproof bowl from heat immediately.
- Whisk constantly and more vigorously with the wire whisk for 3 to 5 minutes until the mixture lightens in colour, thickens, and leaves a trail when the wire whisk is lifted from the batter.
- Whisk in the oil in two batches, whisking vigorously for about 30 seconds each time to ensure the oil is completely emulsified with the batter.40 grams vegetable oil
- Add in the milk and whisk (less vigorously as the batter will splatter out) until incorporated and foamy.80 grams milk
- Add in the flour mixture and whisk gently until just incorporated. Use a spatula and fold a few times, scrapping the bottom of the bowl to ensure the batter is mixed together.
Egg White Batter
- Get ready an electric mixer. Take out the chilled egg whites from the refrigerator and add in the salt. Beat on med-low speed until the egg whites are foamy.150 grams egg whites, Pinch salt
- Add in the sugar all at one go and beat immediately on medium-high speed with the electric mixer.40 grams caster sugar
- When the egg whites become white in colour (opaque) and forming streaks, stop and assess the egg whites.
- Lift up the egg whites, if the egg whites are still liquid-y and cannot hold any shape, continue beating on med-high speed for 30 seconds to 1 minute and assess again.
- If the egg whites can be lifted but the tip flop and fold over, beat on low speed, checking every 30 seconds, until the egg whites can be lifted but the tip will bend slightly. The egg white mixture should be shiny, airy yet still soft. Do not beat until the egg whites form stiff peaks.
- Remove the electric mixer's beaters. Manually use the beaters to whisk through the egg whites, combing the sides especially, for 30 seconds to mix them altogether.
Mixing the Batters Together
- Scoop one-third of the egg whites into the egg yolk batter. Fold gently with a wire whisk. Scoop another third of the egg whites and fold into the egg egg yolk batter.
- Pour the egg yolk batter into the remaining egg whites. Fold the batters together.
- Once all the egg whites are folded in, use a rubber spatula and fold a few more times, scraping the sides and bottom of the mixing bowl to ensure the batter is mixed together.
Baking the Chiffon Cake
- Position the mixing bowl just above the cake tin and pour in the batter slowly, rotating the tin so that it fills up evenly. Use a spatula and scrape in remaining batter. Lift up the chiffon tin about 3 to 5-cm from the countertop and drop it 3 times to get rid of large air bubbles.
- Lower the oven temperature to 180°C (conventional) / 170°C (convectional). Bake for 30 to 35 minutes in the centre of the oven until a skewer inserted into the centre of the chiffon comes out clean.
- Lift up the chiffon tin about 3 to 5-cm from the countertop and drop it 3 times, then immediately invert the chiffon tin and balance the tin on a rack or small ramekin, as long as the rack / ramekin does not touch the surface of the cake. Let the chiffon cake cool completely upside down.
Unmould the Chiffon Cake
- Using your fingers, gently pull the cake a little bit away from the tin. This will allow the spatula to slide in more easily.
- Slide a thin spatula between the tin and the inner circumference of the cake. Use a zig zag motion to loosen the cake.
- Place the tin on its side on the countertop. Slide the spatula between the tin and the outer circumference of the cake. Using one hand to hold the spatula firmly downwards, rotate the tin to loosen the cake.
- Lift out the cake. Use your fingers and gently pull the base of the cake away from the base of the tin to allow the spatula to slide in more easily.
- Place the cake on the countertop. Slide the spatula between the tin and the base of the cake. Using one hand to hold the spatula firmly downwards, rotate the tin to loosen the cake.
- Invert the cake onto a cake board. It should slide out easily.
Cream Cheese Whipped Cream (optional)
- Place cream cheese and icing sugar in a mixing bowl. Mix with a spatula until the icing sugar is no longer visible.50 grams cream cheese, 30 grams icing sugar
- Beat with a mixer on medium speed until the cream cheese mixture is very smooth and fluffy.
- Pour in the very cold cream and beat on medium-high speed until stiff peaks are formed. Beat in the vanilla at low speed until incorporated. Use immediately.100 grams whipping cream, 1 teaspoon vanilla
Filling the Chiffon Cake (optional)
- Fit a piping bag with a coupler – this makes it easier to change piping tips later on.
- Using the piping tip used to fill cream puffs, poke 8 holes into the chiffon cake. Alternatively, use a straw to poke the holes. Fit this piping tip onto the piping bag.
- Fill the piping bag with the cream cheese whipped cream. Fill the holes with the filling, reserving some for decoration.
- Change the piping tip to a star tip and pipe swirls over the holes to cover them.
- Decorate with gold foil or with fruits as desired. Chill the cake for about 15 to 30 minutes for the filling to firm up slightly before serving.
NOTES
- Please go through the step-by-step above for the full details and explanations on why certain steps are done in a certain way.
What are you thinking?