
If you make your own homemade soy milk, you will always end up with a by-product – the soy pulp, also known as tofu dregs or okara. Okara is an extremely nutritious by-product, containing proteins, soluble and non-soluble fibre and isoflavones. However, okara has a slightly gritty texture that I don’t enjoy with my soy milk, so I always strain it through a cheesecloth and most of the time, I ended up throwing away the okara.
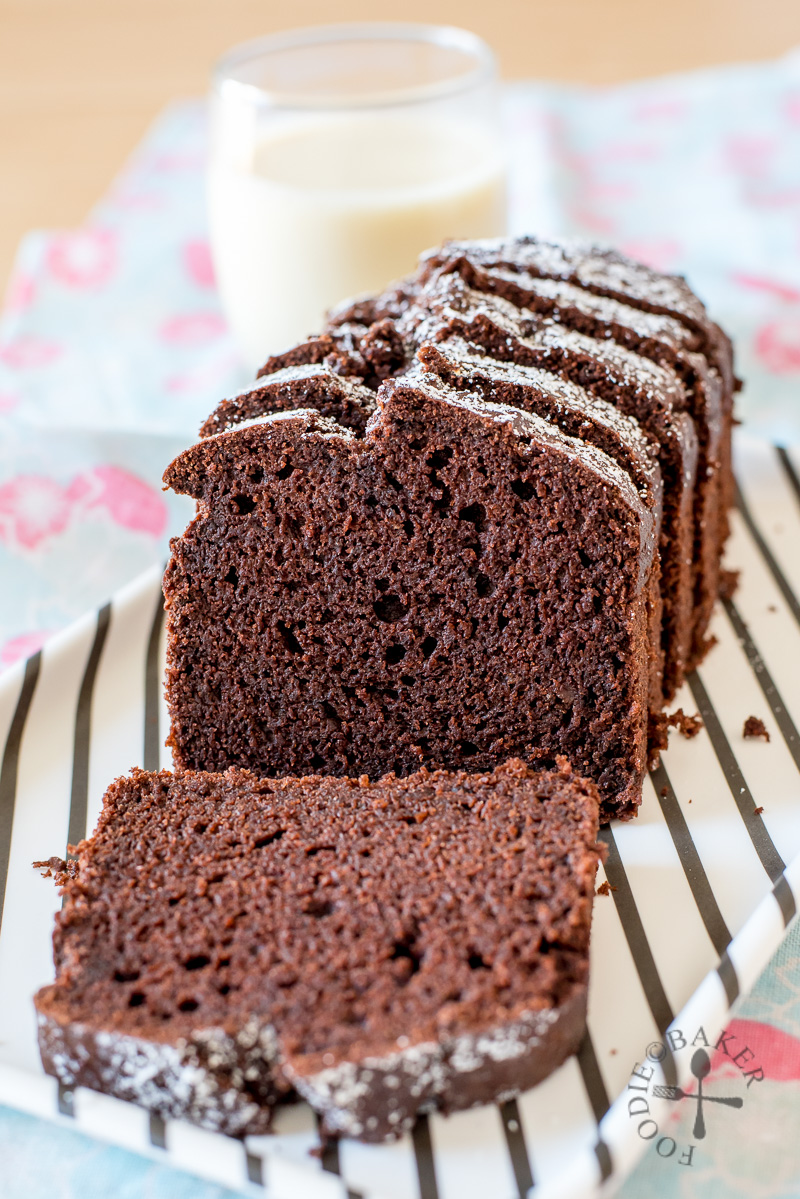
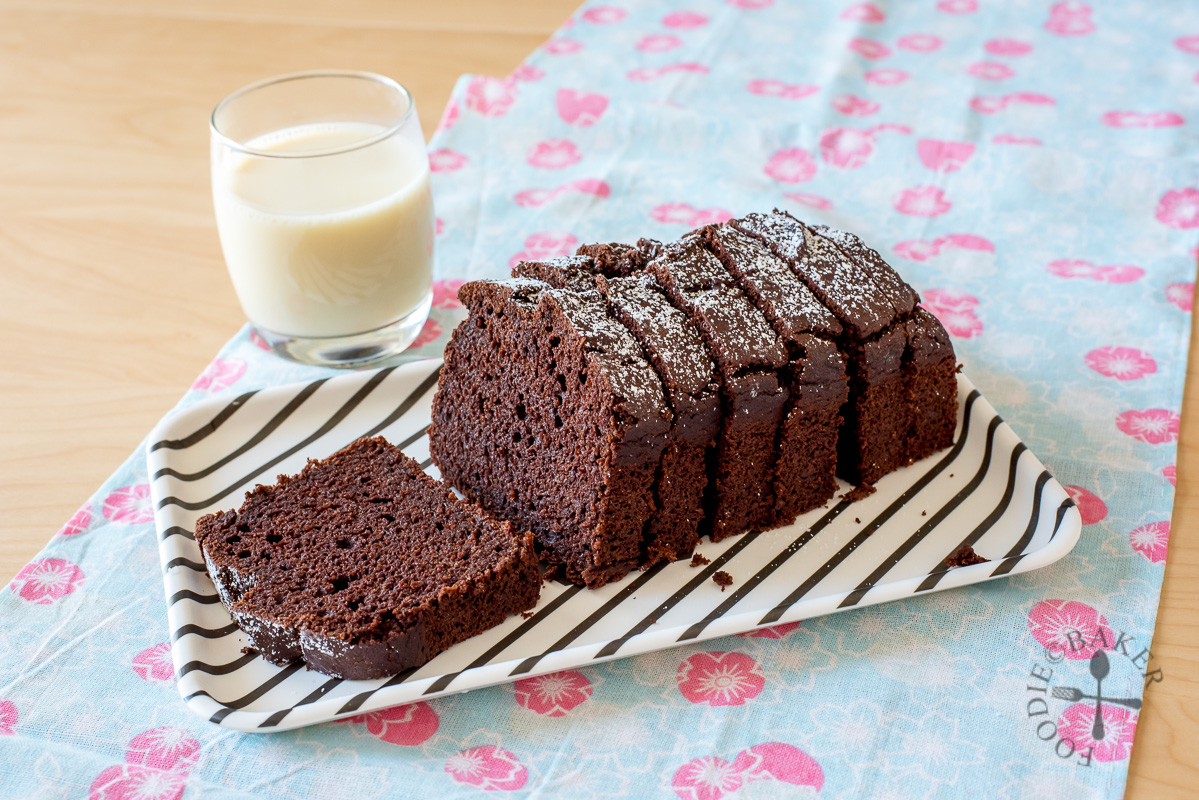
I recently watched a Japanese documentary that consuming isoflavones-rich food may help increase bone strength, and since I don’t drink milk, I felt that I should find ways to consume this valuable by-product. And I must say this okara chocolate cake is perhaps the best way – the cake is moist, soft, light, chocolatey, eggless, dairy-free (it can be vegan if you use dairy-free chocolate), and you can never tell that there’s okara inside!
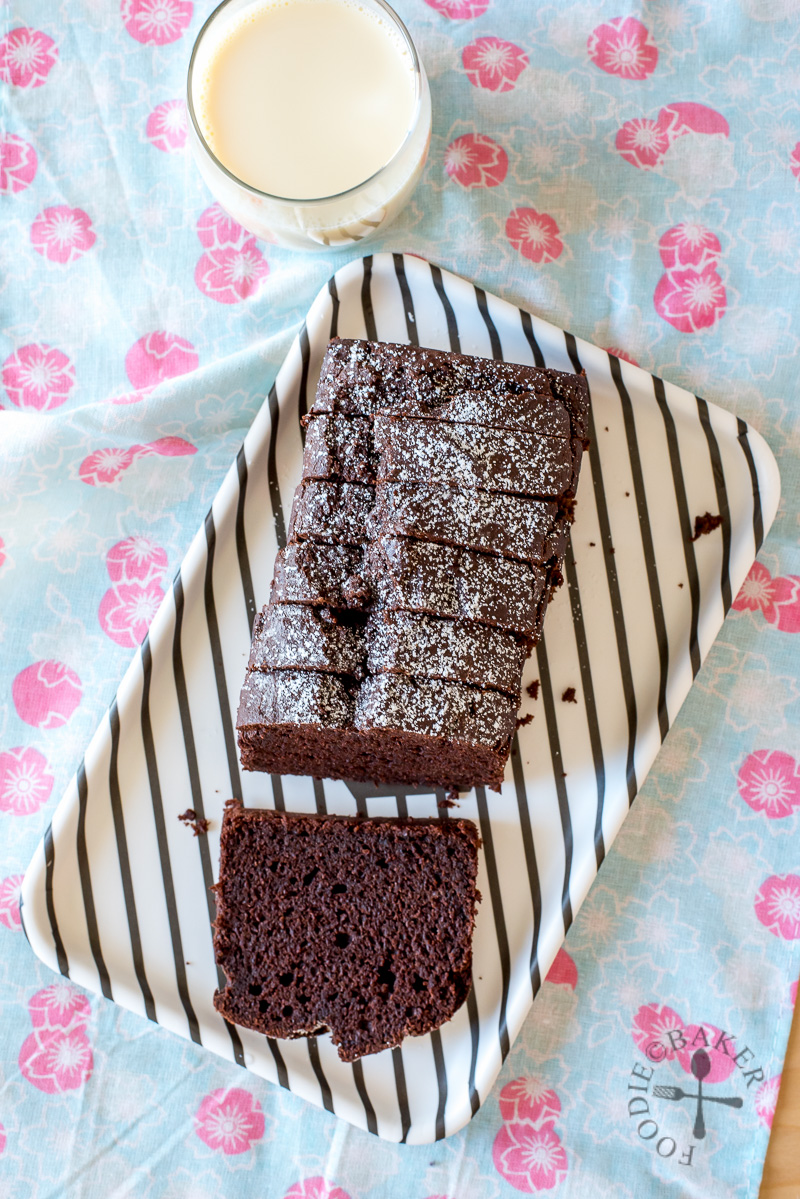
I found the recipe online from Okara Project (who has lots of other okara recipes!) and it was a super easy cake to put together – no mixer needed is definitely a bonus! Be sure to use a really good quality dark chocolate and cocoa powder (I swear by Valrhona) to intensify the chocolate flavours in the cake. Okara is pretty bland on its own hence there’s no worry that it will impart any flavour into the cake.
The okara I used is fresh okara that I’ve squeezed as much soy milk out as possible with a cheesecloth – damp but not dripping wet. If you don’t have enough or have extra okara, you can freeze them in small portions until you have enough / need them again in the future. Alternatively, you can also dry them in a low oven completely and pack into airtight containers. When needed, simply soak the okara in hot milk/water and strain to get rid of excess moisture before using.
Personally I would prefer using the okara all at one go when it’s still fresh so I don’t have leftovers here and there, and since this okara chocolate cake recipe does not have any eggs, it’s pretty easy to scale the recipe up/down based on the amount of okara I have.
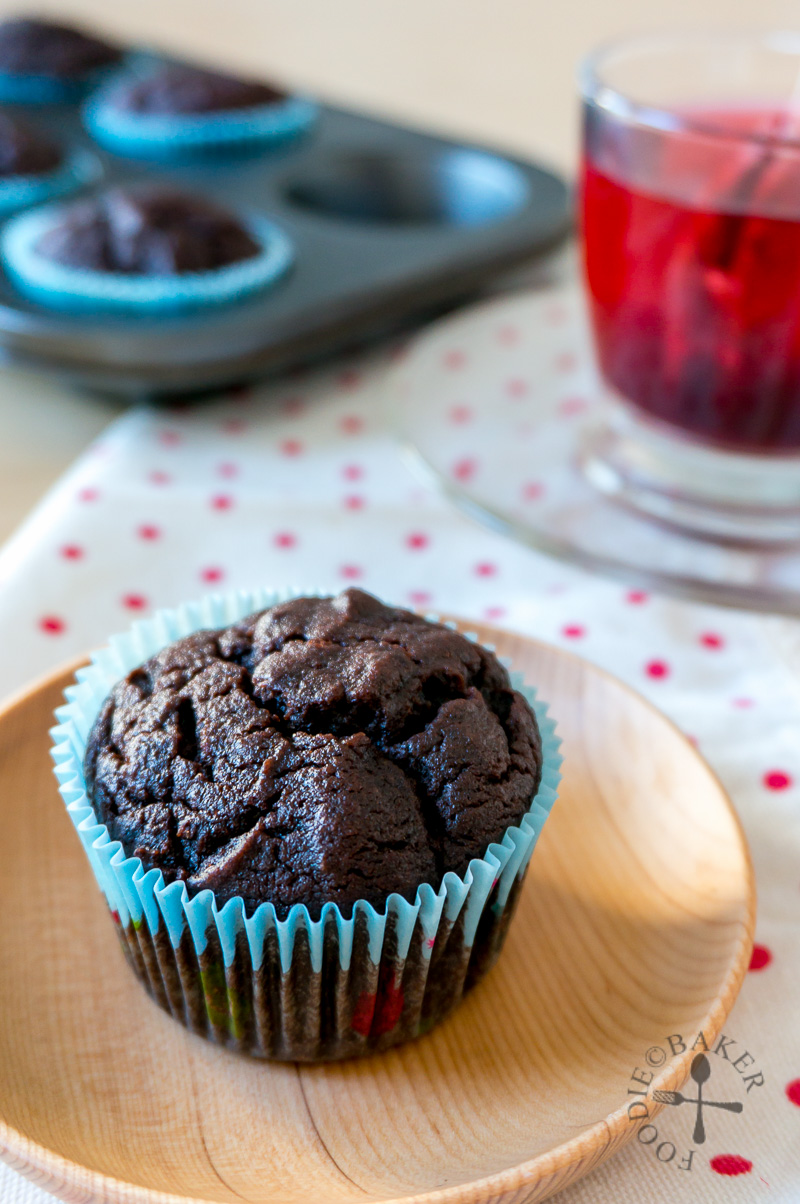
Besides making a loaf cake, I have also made them into individual muffins – both are equally delicious! Here are the step-by-step photos and the recipe – will be experimenting with more okara recipes and hopefully more will appear on the blog!
Step-by-step Photos | |
|---|---|
 | 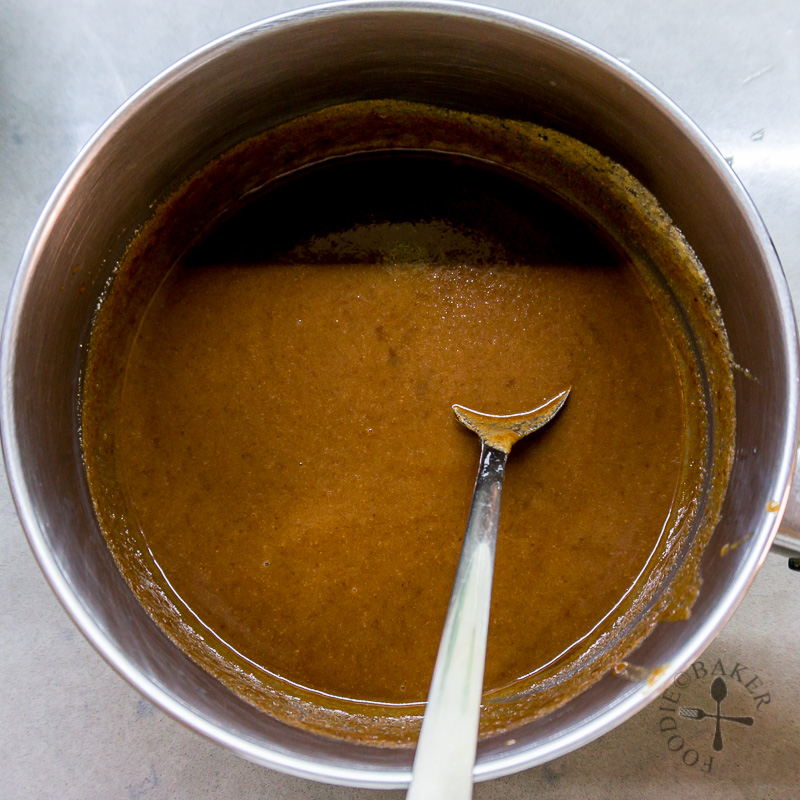 |
| 1) In a small pot, combine okara, sugar, chocolate and soy milk. | 2) Heat over medium heat, whisking constantly until the chocolate has completely melted and the mixture is smooth. |
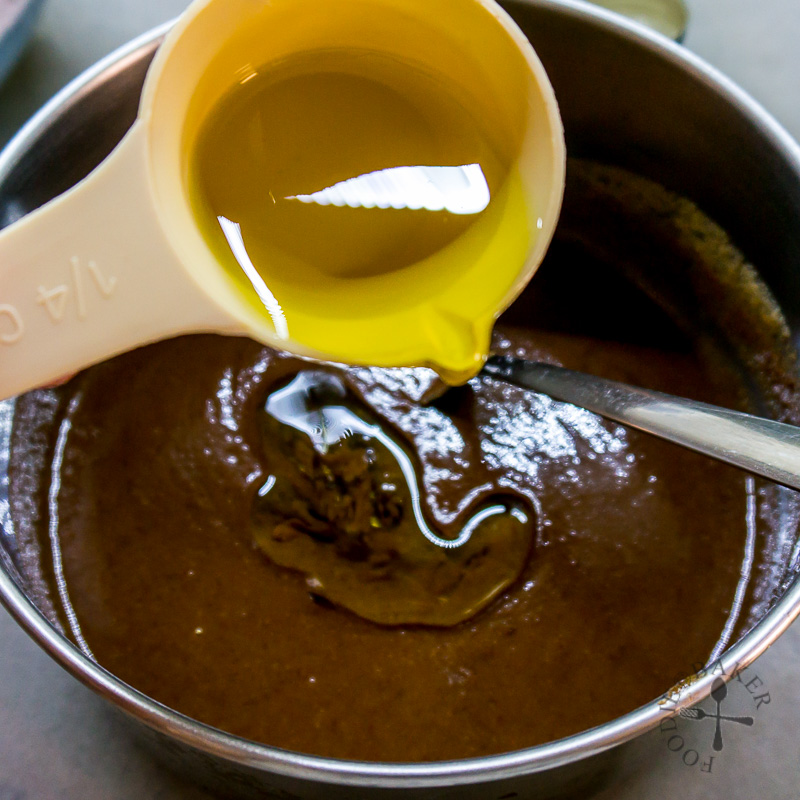 | 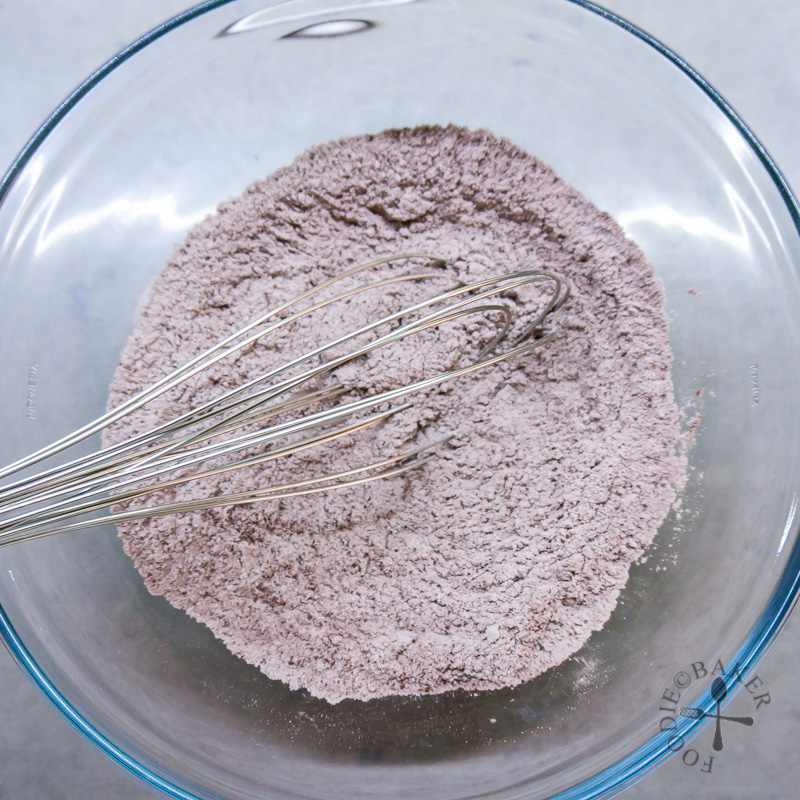 |
| 3) Remove from heat and whisk in oil, vanilla and and vinegar. | 4) In a mixing bowl, whisk together flour, cocoa powder, baking powder, baking soda and salt. |
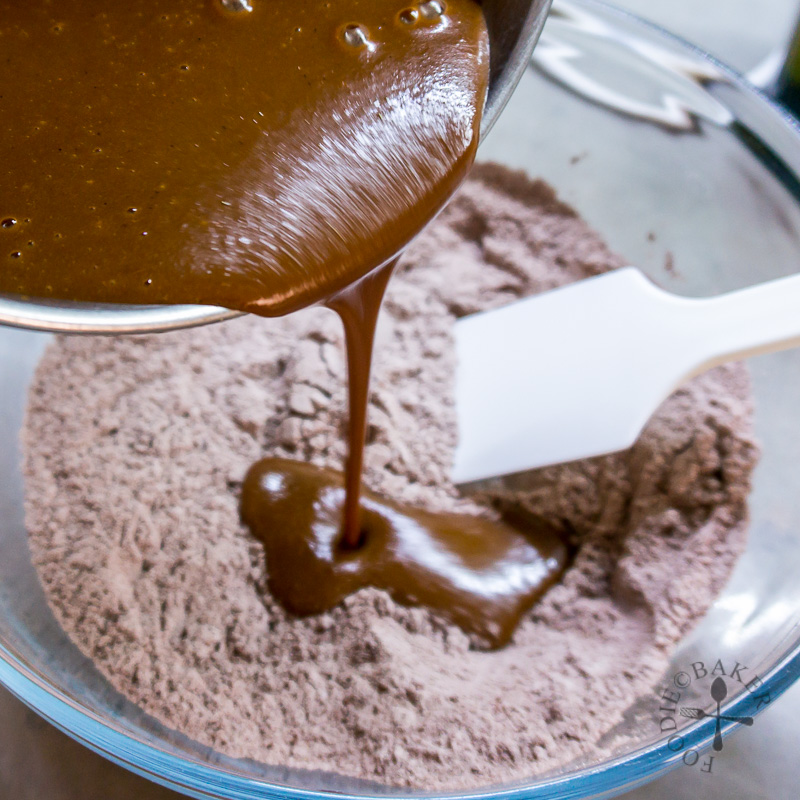 | 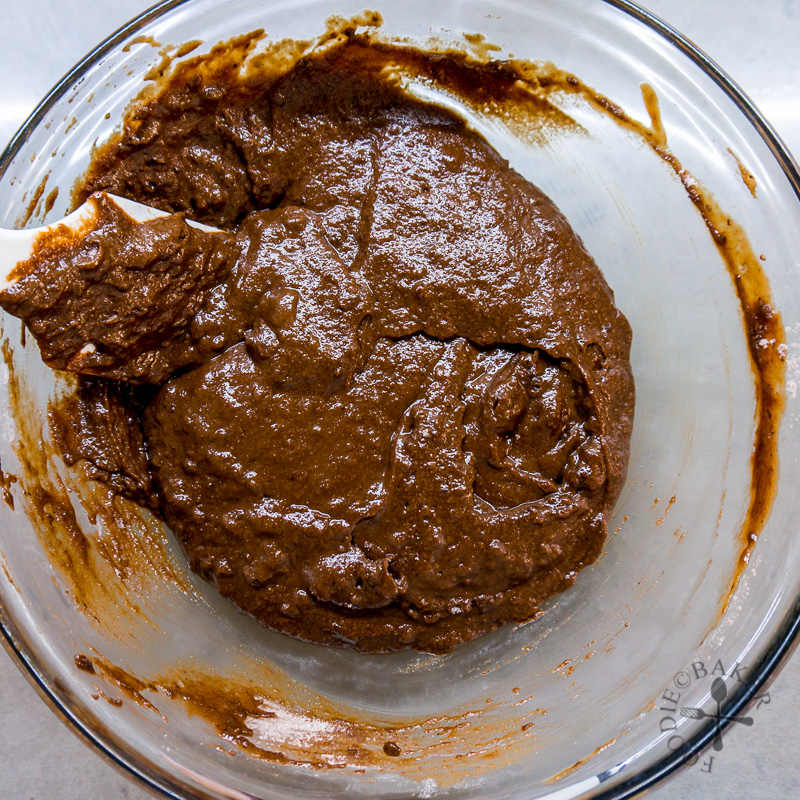 |
| 5) Pour in the wet okara mixture. | 6) Use a large wooden spoon or spatula and fold gently until just combined. |
No-Mixer Okara Chocolate Cake
INGREDIENTS
- 150 grams okara, damp
- 150 grams sugar, can use a mix of caster and brown
- 60 grams dark chocolate, minimum 60% cocoa solids, chopped into small pieces
- 150 grams soy milk
- 90 ml vegetable / canola oil
- 1 1/2 teaspoon vanilla
- 1/2 tablespoon white vinegar
- 150 grams all-purpose flour
- 30 grams Dutch-processed cocoa powder, sifted if there are huge lumps
- 1 teaspoon baking powder
- 1/2 teaspoon baking soda
- 1/4 teaspoon salt
INSTRUCTIONS
- Preheat oven to 160C/320F. Butter an 8x4-inch loaf tin and line the bottom with parchment paper. Set aside.
- In a small pot, combine okara, sugar, chocolate and soy milk. Heat over medium heat, whisking constantly until the chocolate has completely melted and the mixture is smooth. Remove from heat and whisk in oil, vanilla and vinegar.
- In a mixing bowl, whisk together flour, cocoa powder, baking powder, baking soda and salt. Pour in the wet okara mixture and use a large wooden spoon or spatula and fold gently until just combined - don't overmix but there shouldn't be any streak of dry ingredients either.
- Scrape the batter into the loaf tin and spread it evenly with the spatula. Bake for 40 to 45 minutes until a skewer inserted into the center comes out clean. Let the cake cool in the tin on a wire rack.
Irina says
Thank you for this recipe
I am absolutely convinced and my friends are always happy when I bake the cake for them.
today I experimented with a refined sugar free version. It came out almost as good as the regular (which I already reduced in sugar).
I took 200g of Dates and soaked/cooked them in the vegan milk (oat here). Pureed it with a immersion blender and put in Okara and chocolate (85%). I had to add 50ml more milk as it was to thick.
also used approx. 1/4-1/2 TSP more baking powder because the thicker batter.
cool sh*t!!!
Menkit says
I’m confused about your measurements. Is 150g okara equivalent to 5.2oz? etc. I find measurements in cups and spoons a lot easier and saves me time in measuring each item. Thank you.
Foodie Baker says
Hi Menkit, yes 150g is equivalent to 5.2oz. Unfortunately I seldom use cups as measurements so I’m unable to offer a conversion for the amount of okara.
Debbie says
I prefer this way, even thought I’m an American. Weighting it is much better. And grams is more precise, than cups. Thank you for this recipe.
Foodie Baker says
You are welcome Debbie! I hope you enjoy the cake! 🙂
Lee Grosberg says
Thank you for this fabulous recipe, we’re loving it…delish!
Jasline (FoodieBaker) says
I’m glad you like it Lee! 🙂
Mingchien Ng says
Tried this recipe, moist and taste as good as the usual chocolate cake! No one would know it is eggless and dairy free. It’s one of the best vegan cake I’ve tasted so far. Thanks for sharing!
Note: Knew it will be a sweet cake, I have reduced 50 gram of brown sugar which I think can be reduced further a little bit more. Will try again later for my parents since I have plenty of Okara in the freezer!
Jasline N. says
I’m very happy you enjoy this cake 🙂
Stephanie Goodchild says
I have made this cake several times now. I halve sugar and use 50 ml oil and nothing terrible happens. Its a great use for okara and really satisfies the inner chocolate demon. Its very easy to add some orange peel or ginger or a dash of brandy to ring the changes. Like you i first found on Okara Project, but im most grateful to your version in metric measurements.
Jasline N. says
Thanks Stephanie for your feedback! I will try cutting the sugar and oil next time too. 🙂
Kelly @ Kelly Lynn's Sweets and Treats says
How interesting the use of okra in this! I would have never thought to use okra in baking! Your chocolate cake is drool worthy for sure! XOXO
Hannah Kaminsky says
Fabulous recipe! It’s great to see okara getting some love here since so few people think to put it to good use- or even know what it is in the first place.
Raymund says
Hahaha! At first I thought it was Okra cake, it certainly grabbed my attention but as I search what okara is it became way much more interesting! now I need to try one of these
Emma says
I am certainly intrigued by this cake it look delicious. I have never used okara before, but it makes this cake look lovely.
Amanda Brar says
This recipe is absolutely delicious! I adjusted it to be gluten free using half oat flour and half quinoa flour. The okara added such a delicious flavour and the result was so moist! I recently started making my own soy milk, so will deffinitly be trying this again, a great way to use up okara. It was also give 2 thumbs up by a 4 year old which is by praise, haha.
Jasline (FoodieBaker) says
Hi Amanda, I am glad you and your 4 year old like this cake 🙂 And thank you for sharing your gluten-free version!