
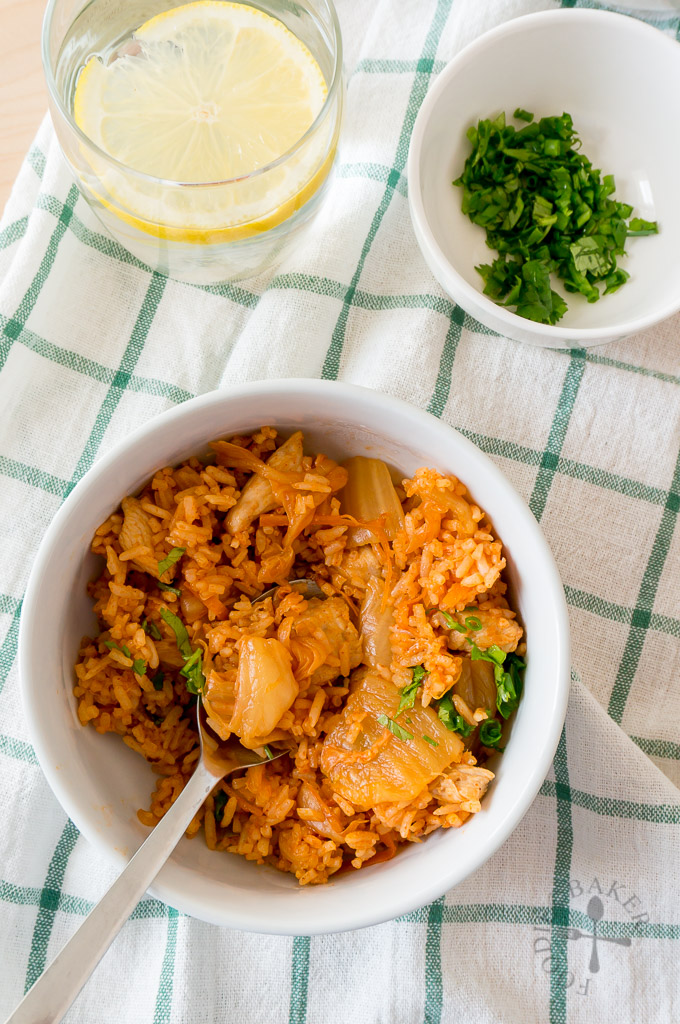
This is my third time making kimchi from scratch at home (without gochugaru some more!) and one dish that I’ll always make with them is kimchi fried rice. I like to incorporate plenty of vegetables in my fried rice but chopping up cabbage, carrots, onion etc can be a chore sometimes, making fried rice a bit more time-consuming to make (even though it’s supposed to be quick and easy). With kimchi fried rice, however, I don’t have to worry about the vegetables because kimchi itself is already a delicious and flavourful mix of vegetables!
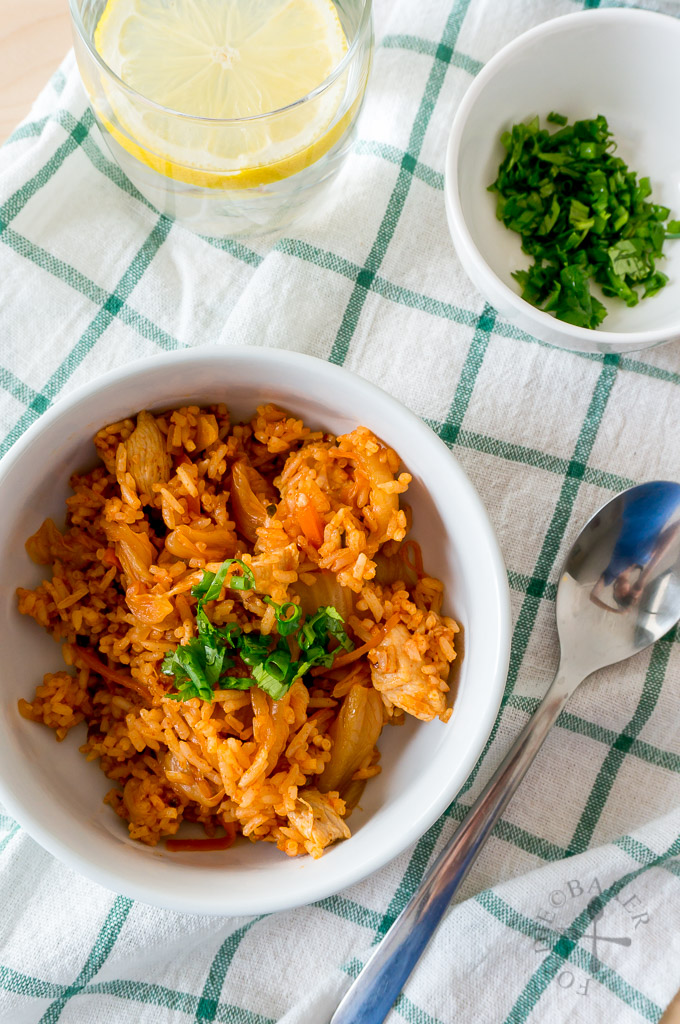
The key to making a brilliantly red kimchi fried rice lies in the kimchi juice – kimchi juice is amazing because it’s packed full of flavour! With homemade kimchi, I have an abundance of kimchi juice so I have no problem getting the 1/2 cup of juice needed for this fried rice. But if I never remember wrongly, commercial kimchi bought from supermarkets in Singapore do not have a lot of kimchi juice. So if you are using commercial kimchi and realised there’s not much kimchi juice in the packet, you can replace the kimchi juice by mixing 1 tablespoon of gochujang with 1/2 cup of water.
Being a meat lover, I cannot help but add sautéed chicken breast cubes into the kimchi fried rice. As long as you marinate the chicken breast beforehand and don’t overcook it, the meat will stay moist and not dry and stringy. It also helps to remove them from the frying pan after they are cooked and then stirred back in when the kimchi fried rice is done so you won’t have the risk of overcooking the meat. If you just don’t like chicken breast, you can use chicken thigh instead. Or if you just don’t like chicken, use thinly sliced lean pork or for an ultimate sinful treat – pork belly or bacon!
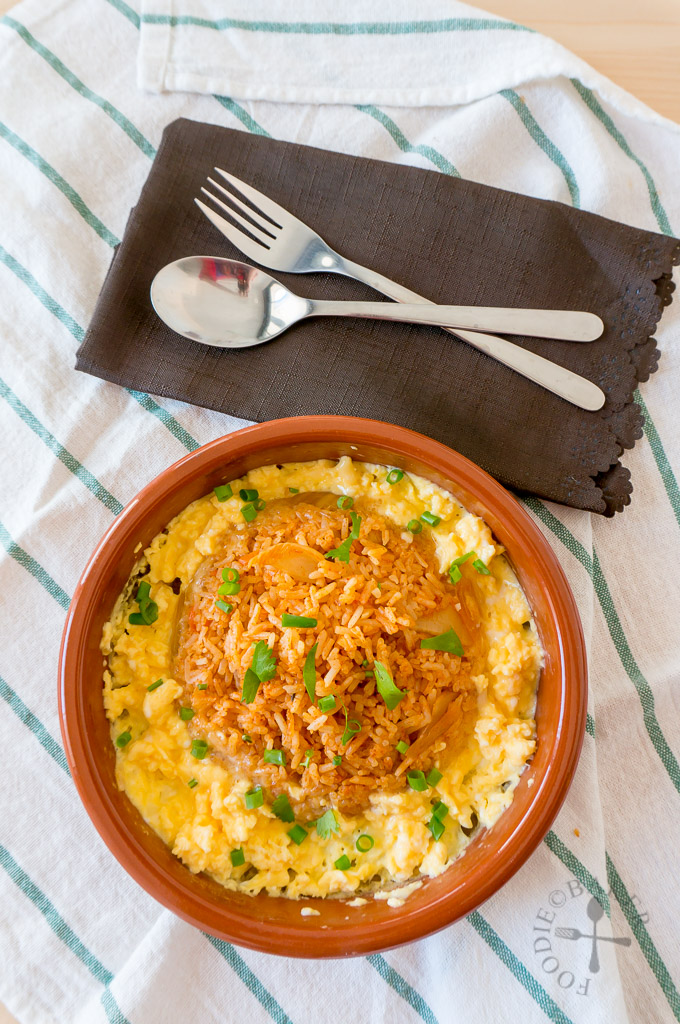
I usually top my kimchi fried rice with a sunny side up egg, but just because I saw a video on social media the night before that shows the kimchi fried rice being surrounded by beautiful and glorious scrambled eggs, I decided to try that out instead. Though the scrambled eggs “river” looks really pretty in the photos, I think I still prefer a sunny side up because it’s easier to make (no need to pack the cooked rice and invert it out) and I love oozy egg yolk more.
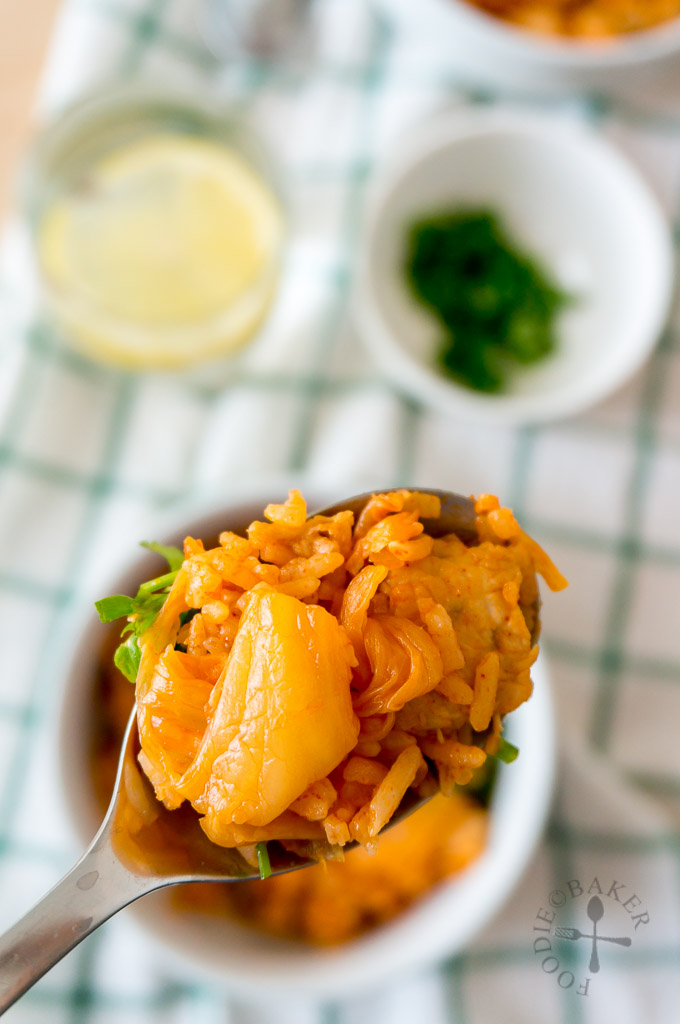
Anyway, whether it’s scrambled or sunny side, chicken or pork, your kimchi fried rice will still taste delicious as the kimchi will already add tremendous flavour to the rice. It takes only about 30 minutes to whip up the whole dish, making it the perfect weeknight dinner or a simple lunch on lazy days. And here’s how to make it!
Step-by-step Photos | |
|---|---|
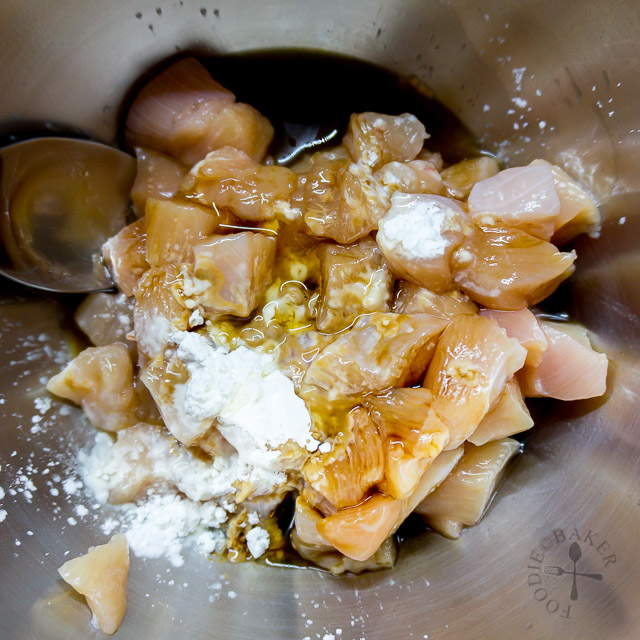 |  |
| 1) Butterfly the chicken breast and cut into 3/4-inch cubes. Mix with the Chicken Marinade and set aside for 15 minutes. | 2) Heat a large frying pan over medium-high heat and add in 1 tablespoon of canola oil. Add in the chicken cubes in a single layer and sear the chicken until browned. |
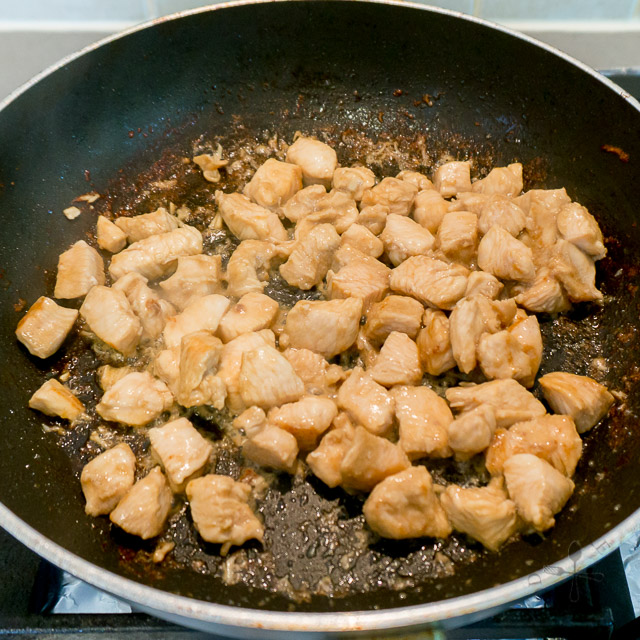 | 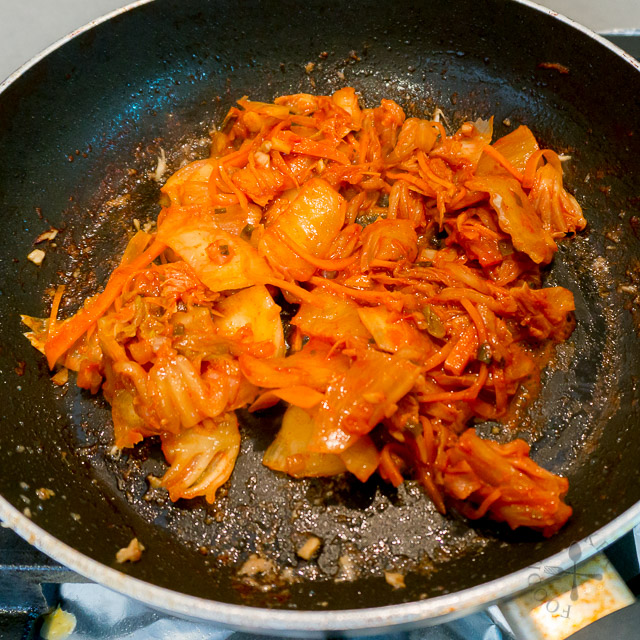 |
| 3) Flip the chicken and cook on the other side until the chicken is fully cooked. Remove the chicken into a bowl and set aside. | 4) Heat the remaining 1 tablespoon of canola oil in the frying pan. Turn the heat down to medium and add in the kimchi. Stir-fry for a few minutes until the kimchi is frarant. |
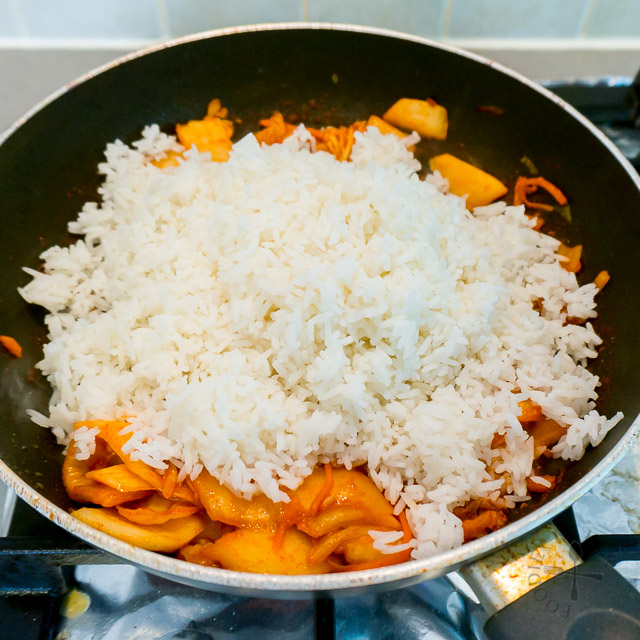 | 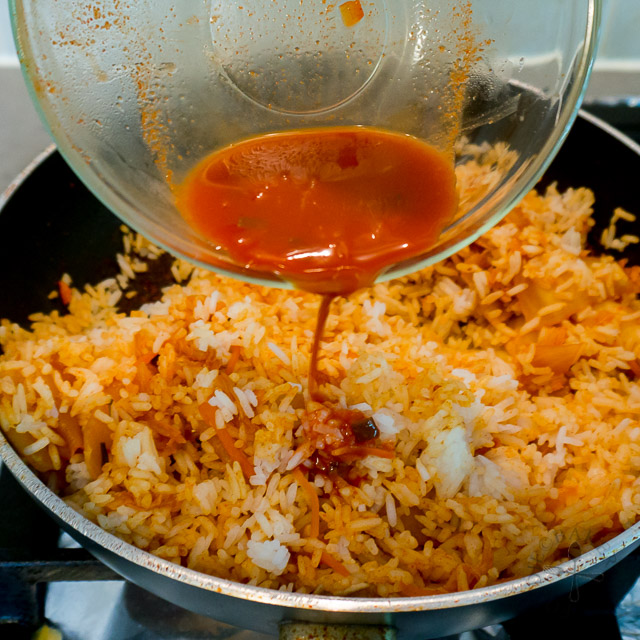 |
| 5) Add in the cooked rice. | 6) Add in the kimchi juice, soy sauce, sugar (if using) and ketchup (if using). |
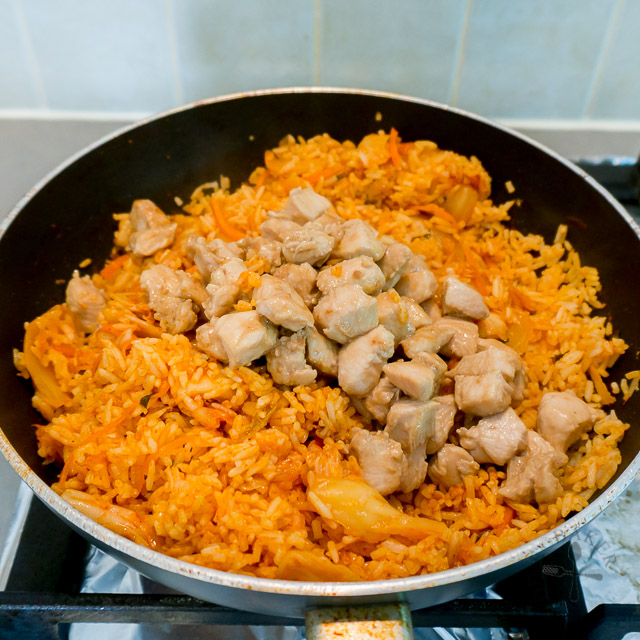 | 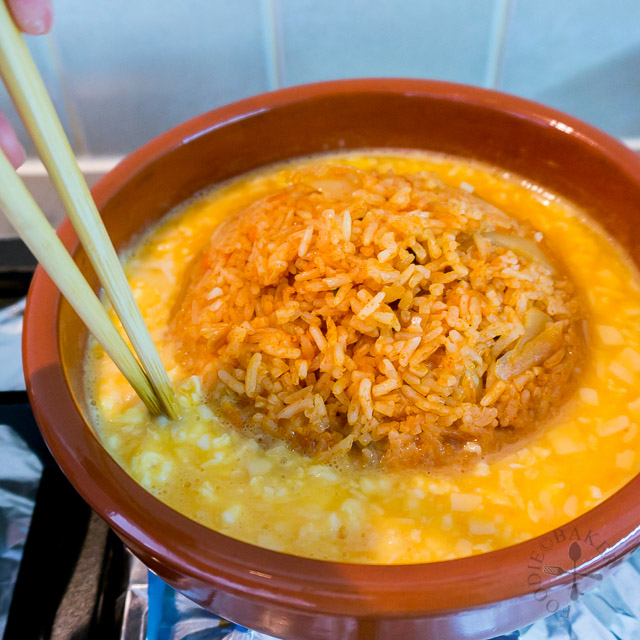 |
| 7) Stir to coat the rice until all the rice are coated with the sauce and heated through. Stir in the cooked chicken breast cubes. | 8) Turn a bowl of the cooked kimchi fried rice out onto a frying pan. Pour in beaten eggs, sprinkle with cheese and use a pair of chopsticks to whisk the eggs constantly until the eggs are set. |

Kimchi Fried Rice
INGREDIENTS
- 1 chicken breast, about 200 grams
- 3 tablespoons canola oil
- 2 eggs
- 125 ml kimchi juice, 1/2 cup
- 1 tablespoon light soy sauce
- 1 tablespoon sugar, optional
- 225 grams kimchi, about 1 cup, chopped into small pieces
- 500 to 600 grams overnight cooked rice, about 3 cups
- Chopped spring onion, as garnish
Chicken Marinade
- 1 tablespoon corn starch
- 1 tablespoon light soy sauce
- 1 tablespoon sake
- 1/2 tablespoon sesame oil
INSTRUCTIONS
- Rinse and pat-dry chicken breast. Butterfly the chicken breast and cut into 3/4-inch cubes. Mix with the Chicken Marinade and set aside for 15 minutes.
- Heat 1 tablespoon of canola oil in a frying pan and cook the eggs - either sunny side up or scrambled. Set them aside.
- Mix the kimchi juice, light soy sauce, sugar (if using) and ketchup (if using) in a small bowl. Set aside.
- Heat a large frying pan (the best will be a wok) over medium-high heat and add in 1 tablespoon of canola oil. Add in the chicken cubes in a single layer and sear the chicken until browned. Flip the chicken and cook on the other side until the chicken is fully cooked. Remove the chicken into a bowl and set aside.
- Heat the remaining 1 tablespoon of canola oil in the frying pan. Turn the heat down to medium and add in the kimchi. Stir-fry for a few minutes until the kimchi is frarant.
- Add in the cooked rice and kimchi juice mixture. Stir to coat the rice until all the rice are coated with the sauce and heated through. Stir in the cooked chicken breast cubes.
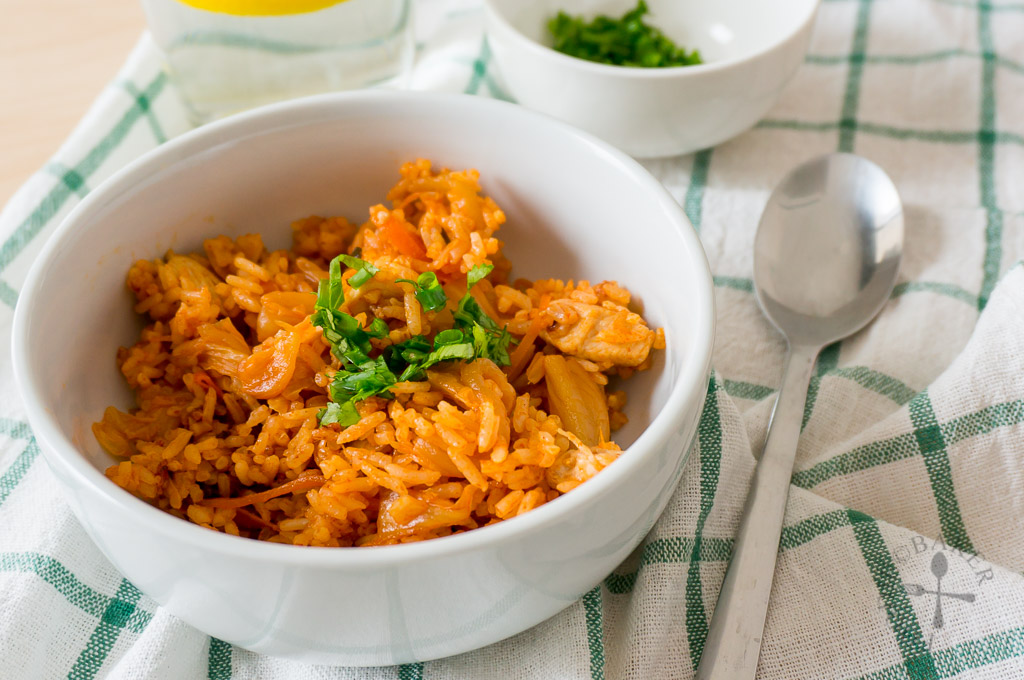
- Divide between 2 serving plates, place the sunny side up or scrambled eggs on top, sprinkle with chopped spring onion and serve immediately.
Cheesy "Egg River" Style
- Omit the scrambled and sunny side up eggs in Step 2 above and follow the above steps until Step 6.
- Lightly oil a bowl and transfer the cooked kimchi fried rice into the bowl. Pack the rice down relatively tightly.
- Heat a clean frying pan over medium heat. Add in a bit of oil then turn the bowl of rice out onto the frying pan.
- Crack and beat 2 to 3 eggs and season with a little bit of salt. Pour into the frying pan and sprinkle cheese on top. Use a pair of chopsticks to whisk the eggs constantly until the eggs are just set - they should be soft and creamy curds. Sprinkle with chopped spring onion and serve immediately.
NOTES
- Sometimes I will also add a bit of ketchup (1 to 2 tablespoons) to the fried rice for an additional flavour.
Melissa | Bless this Mess says
Yum! That scrambled egg river looks great!
Jasline N. says
Thank you Melissa! 🙂
joleencuisine says
I’m drooling!! So happy to have found your blog-love all of the food and travel posts you have. I LOVE kimchi fried rice, but just have never attempted to make my own! That’s so cool that you make your own kimchi too 🙂
Jasline N. says
Hi Joleen, thank you for dropping by! I guess when you are away from home and can’t find the ingredients / food you are used to, it will motivate you to make them from scratch – and that’s what happened with kimchi! And surprisingly, it’s quite easy to make it! Hope you will give kimchi fried rice a try at home next time, it’s super delicious and easy!
Raymund says
I never wanted to make this before as I dont know how would it turn out for me, but looks like you did a great job and definitely inspired me on making one my own.
Sharon D. says
This has got to be the most gorgeous looking fried rice I have ever seen, Jasline! The cheesy egg looks so yum too. ^.^
Nagi@RecipeTinEats says
The bright color of your kimchi fried rice looks so inviting. It makes me love kimchi fried rice even more! 🙂
Angie says
I really love kimchi fried rice and everything with kimchi. I made sure to bookmark it. :)))
kushigalu says
Thank you for sharing such a beautiful and delicious rice recipe. Can’t wait to try this out!
Jasline N. says
You are so welcome! I hope you will love it as much as I do!
Amy l worthyoursalt says
I love kimchi fried rice and your take on it sounds amazing! to me, the oozy yolk with the rice is one of the best parts of the dish too, but the ‘egg river’ looks so good that I may have to try making it.. 🙂
Jasline N. says
Thanks Amy! the egg river is perhaps for those who doesn’t like sunny side up… but then again, who doesn’t like sunny side up?!
Cecilia says
What a great recipe. I would like to try it. Thanks for sharing.
Jasline N. says
Thank you Cecilia, hope you will like it!
Bam's Kitchen says
Love kimchi fried rice. That is so fun that you actually cook the eggs with the rice in the wok. However, I am with you, who can resist a runny egg. A delicious meal Jasline and love that first photo- just gorgeous for pinning!
Jasline N. says
I think cooking the egg river makes them look more presentable? But runny egg is definitely better 😉 Thank you for sharing!
Veronica Ng says
Cheese in kimchi fried rice, so delicious! The colour of your rice looks so beautiful and tempting.
Jasline N. says
Thank you Veronica! The kimchi juice makes the fried rice super pretty!