
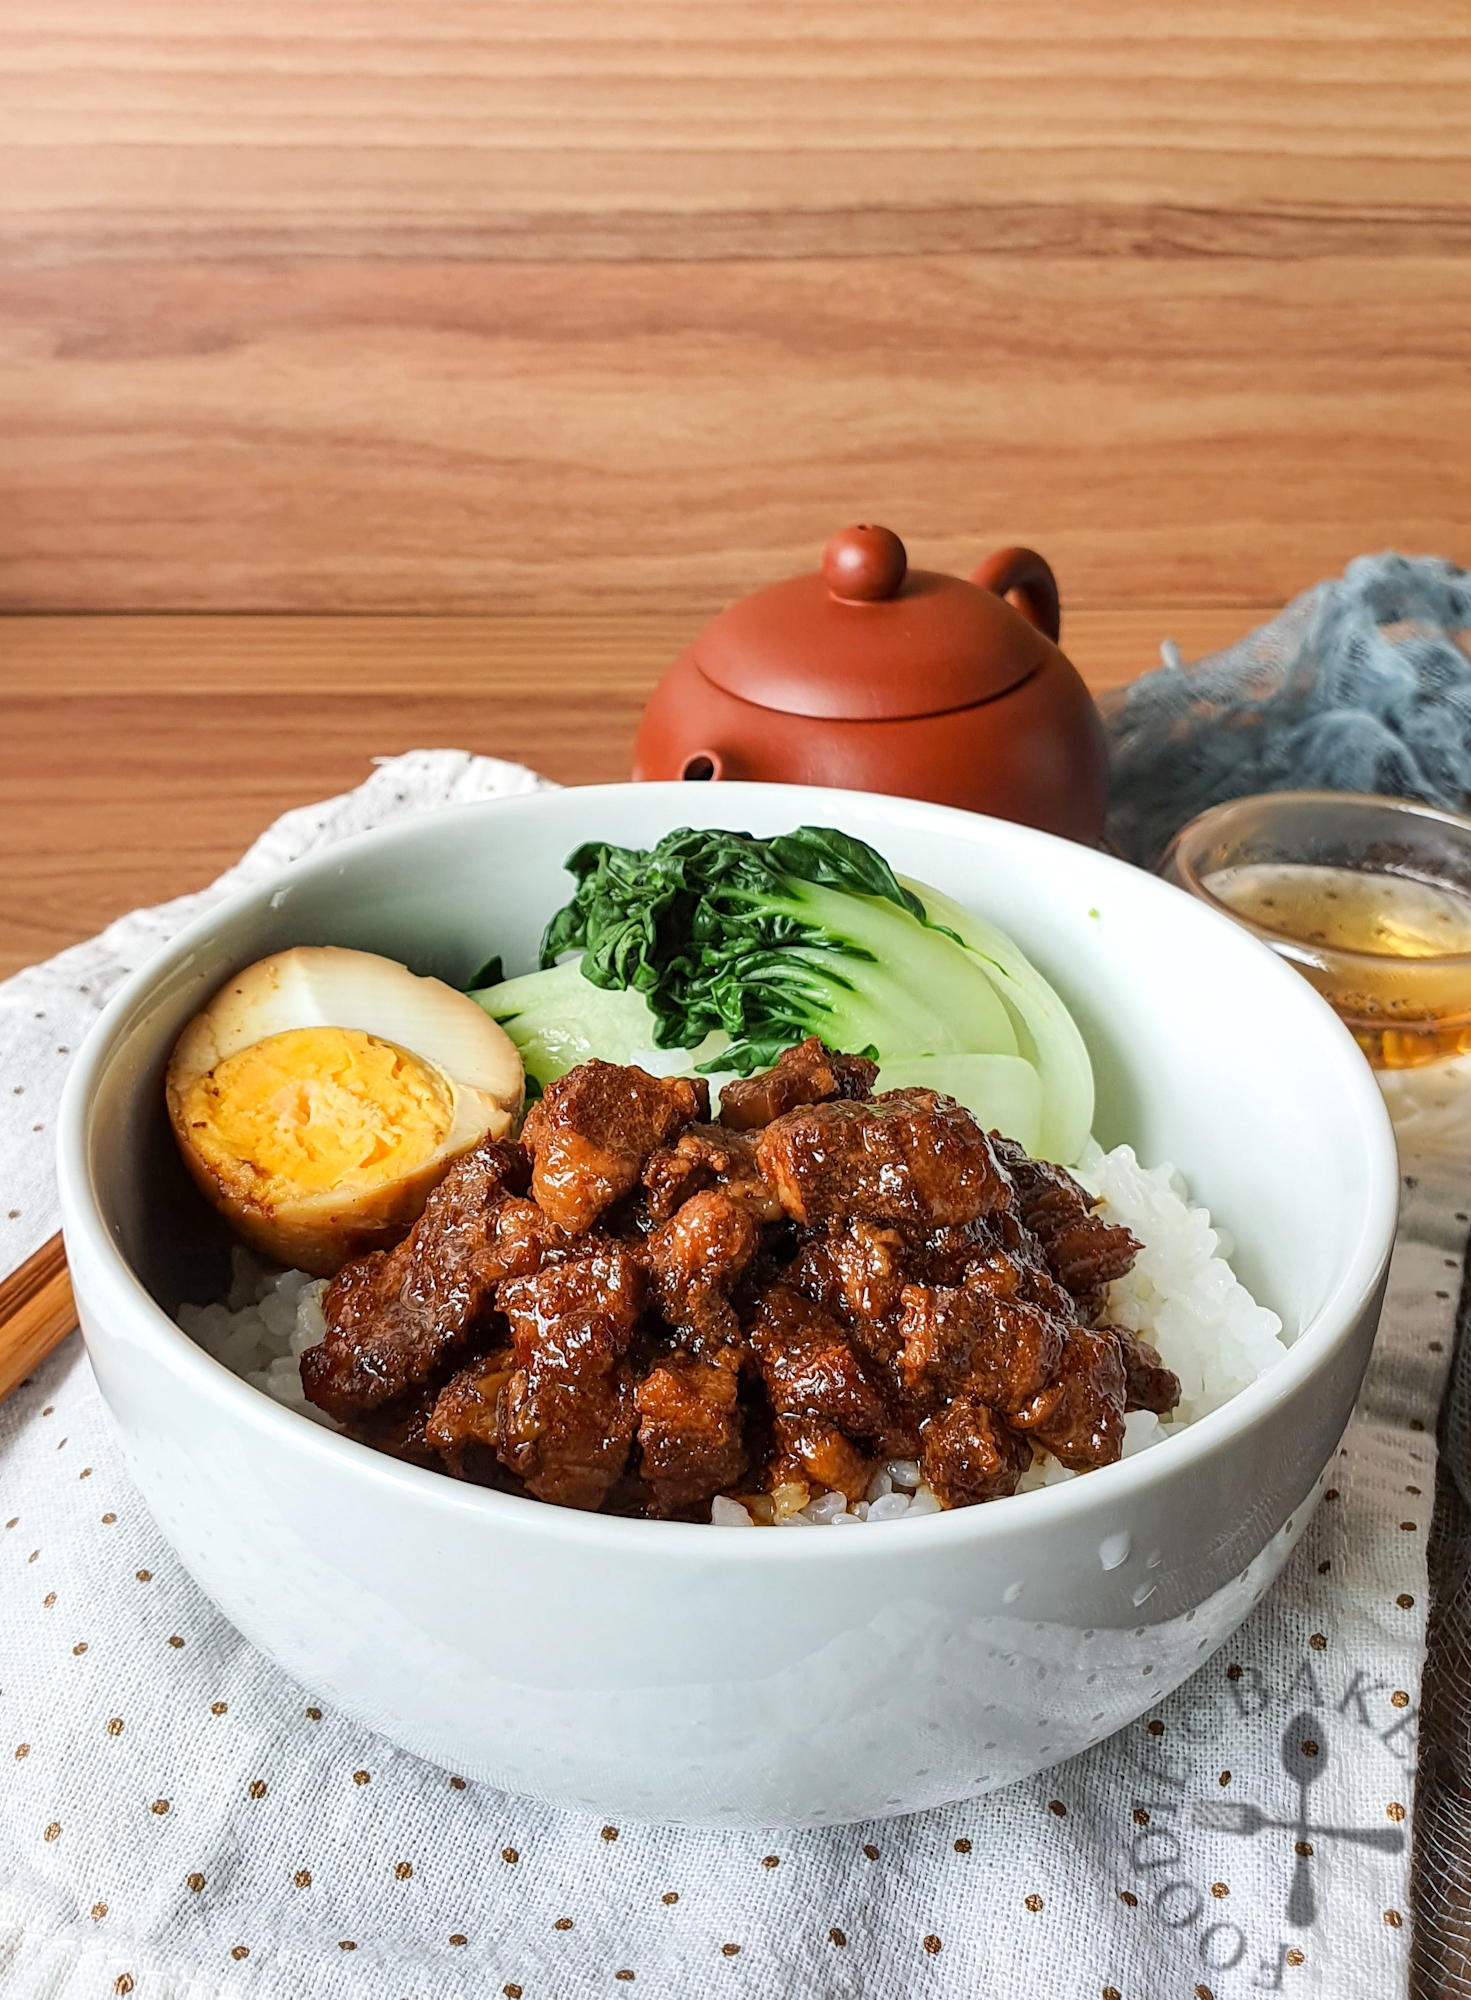
Lu Rou Fan (卤肉饭) is one of my favourite comfort food. I like making it in bulk in a pressure cooker – it reduces cooking time by half, and can be frozen into individual portions for future quick meals.
Versatile
The braised pork is also extremely versatile. It is usually eaten with steamed rice; but I also like to toss it with noodles; or scooped on top of Chinese steamed egg or tofu to make a special and delicious side dish.
Reduced Cooking Time
Traditional lu rou fan is made by braising the meat mixture over the stove for 1.5 to 2 hours. I use my pressure cooker (Instant Pot) which cuts the braising time to just 25 minutes, and I still get fall-apart tender meat and melt-in-the-mouth fats. Using a pressure cooker also removes the need for me to stir the mixture every now and then to prevent the bottom from burning. Nowadays I’m try to find ways to make meals quicker and more hassle-free, hence I’m really pleased with how using a pressure cooker makes my life easier.
Freezer Meals
I also like to make lu rou fan in bulk and freeze them in individual portions. It is the perfect meal for days when I don’t feel like cooking. Simply heat it up in a microwave or over the stovetop and I will get piping hot, delicious and comfort food in minutes.

The Recipe
The recipe I used is similar to the one that I’ve blogged about previously. I made my own shallot oil from scratch this time round (also in the pressure cooker), but you can simply use store-bought fried shallots for convenience. I also added carrots in a bid to eat more vegetables – it’s not authentic so you can omit it if you’d like.
Happy New Year!
And with this is the last recipe I’m posting for 2022. I know I’ve not been the most active in posting new recipes, mainly because I’m lazy (oops). I do have many recipes that I’ve tried and would love to rebake / recook, photograph them nicely and share their recipes here. But err… I’ll see when I can get down to do that.
Here’s wishing all of you a very Happy New Year! I am truly grateful and thankful for each and everyone of you who had left a virtual footprint on this humble blog of mine. May 2023 bring you happiness, joy, great health, and delicious adventures ahead!
And here are the step-by-step photos and recipe!
Step-by-Step Photos | |
|---|---|
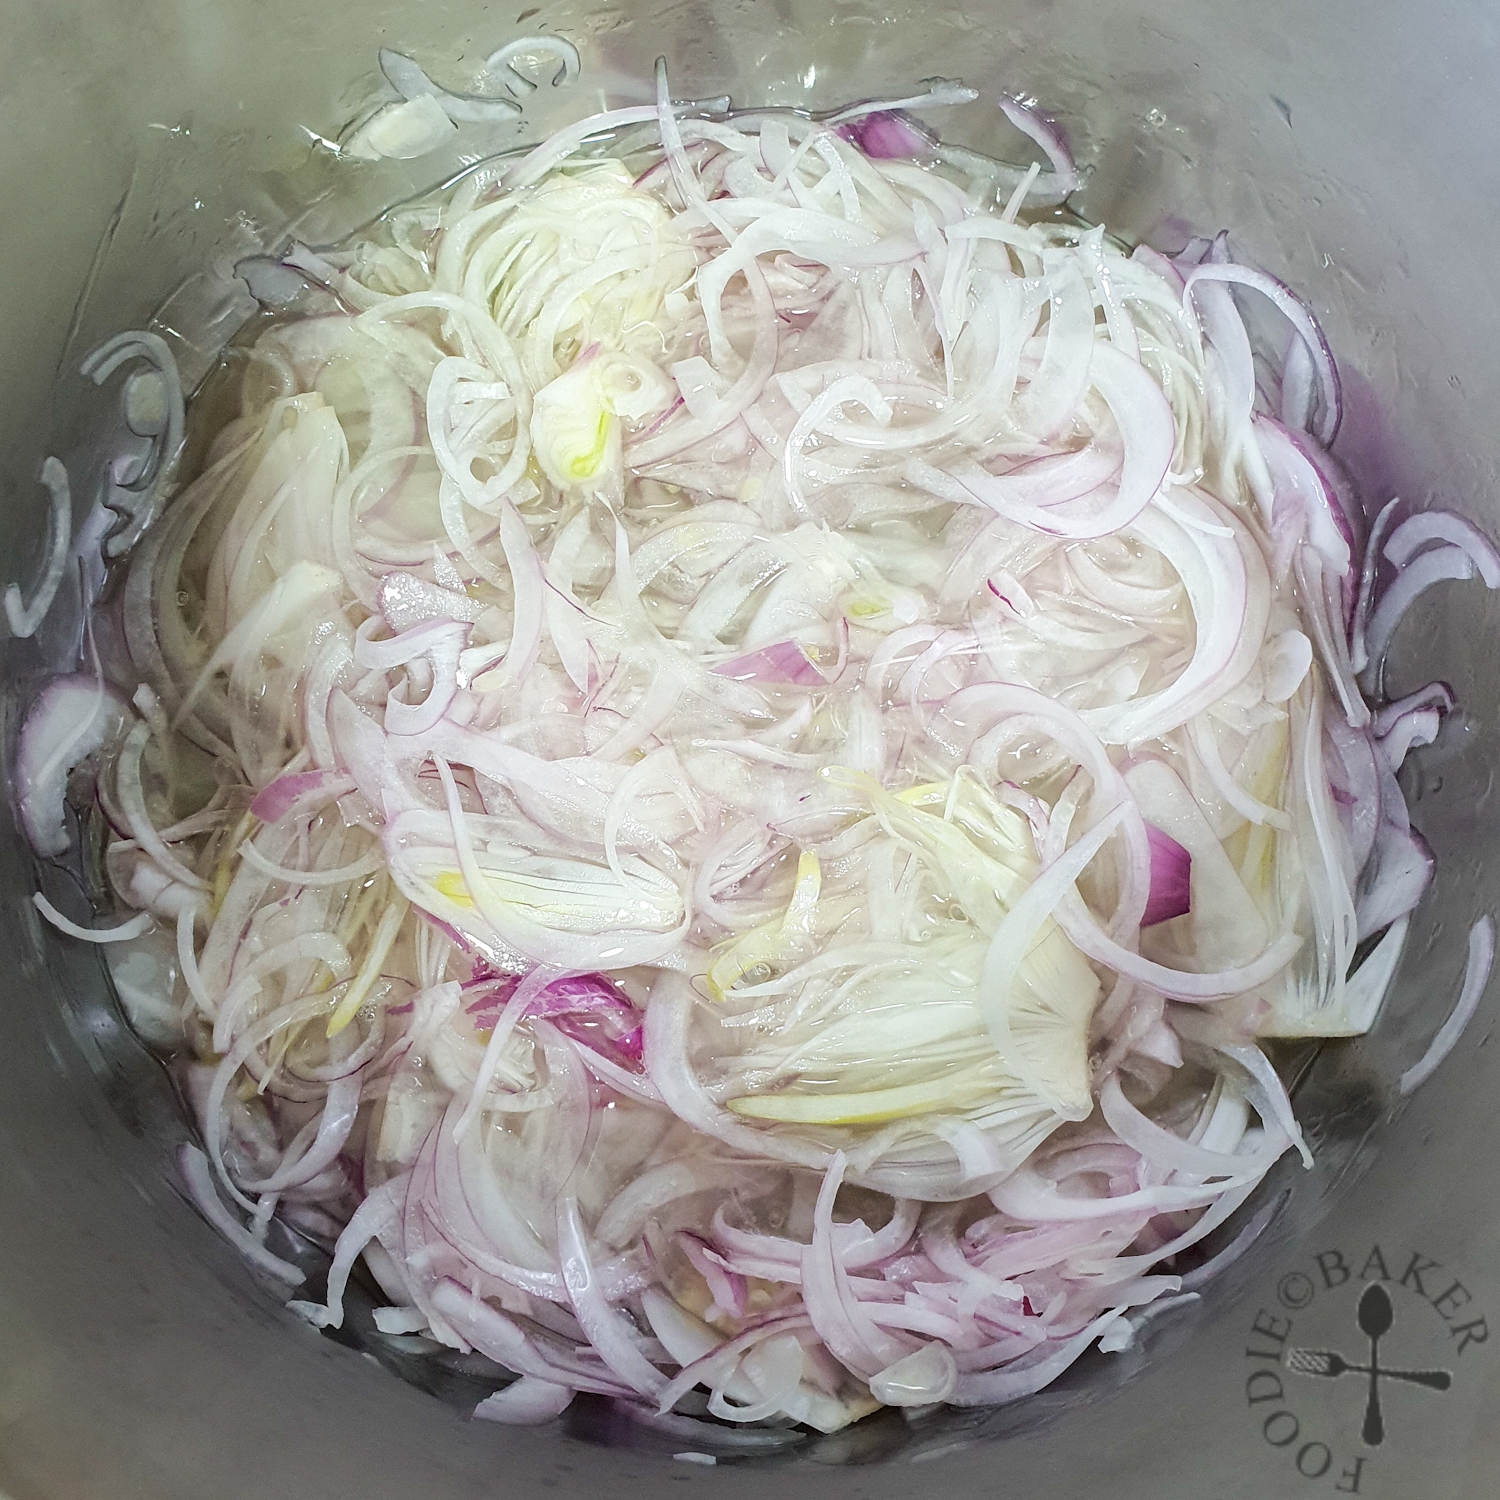 | 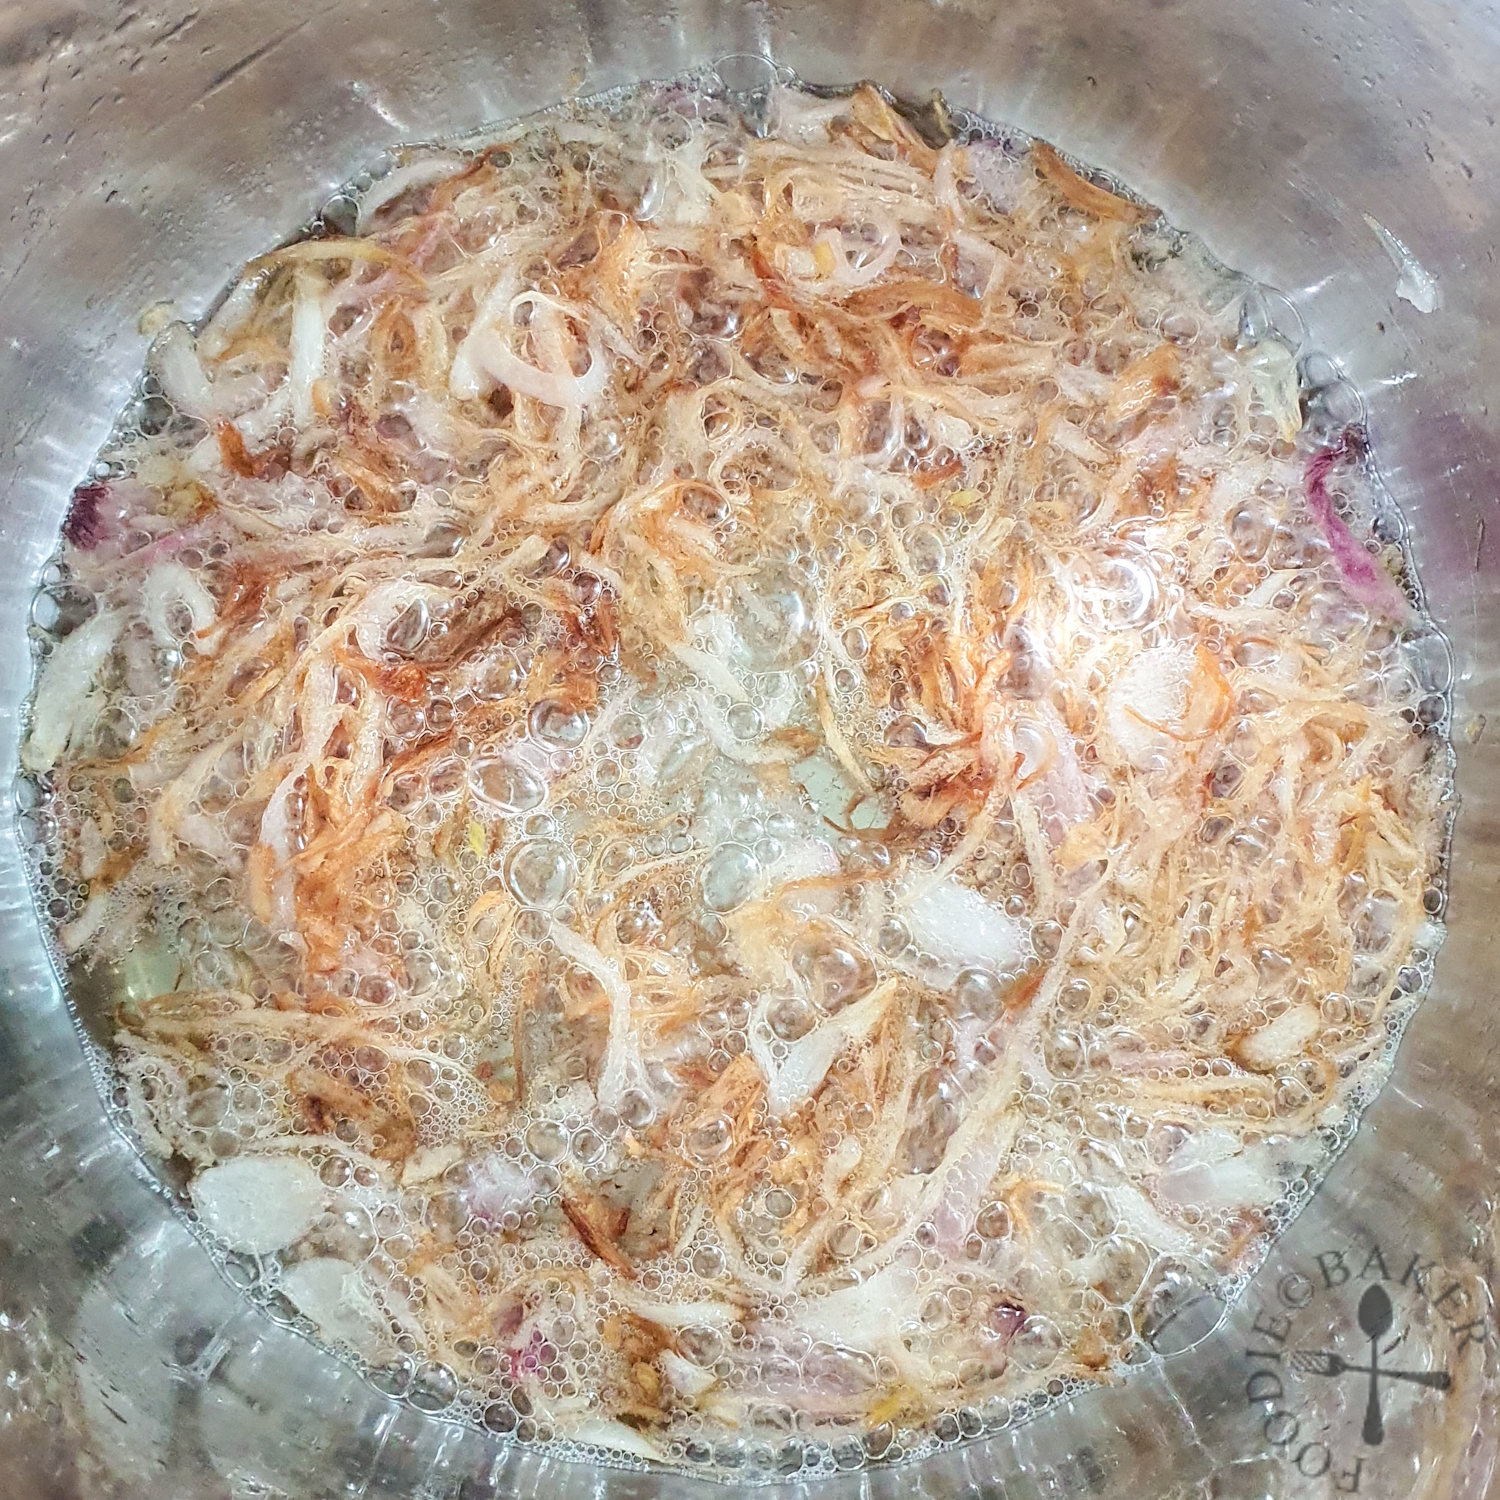 |
| 1) Add oil and shallots into Instant Pot insert. | 2) Set Instant Pot to "Sauté - Normal" mode. Cook, stirring frequently, until shallots start to turn golden in colour. |
 |  |
| 3) Strain the shallots into the sieve. | 4) Set Instant Pot to "Sauté - Low" mode. Add 1 tablespoon shallot oil and add in rock sugar. |
 | 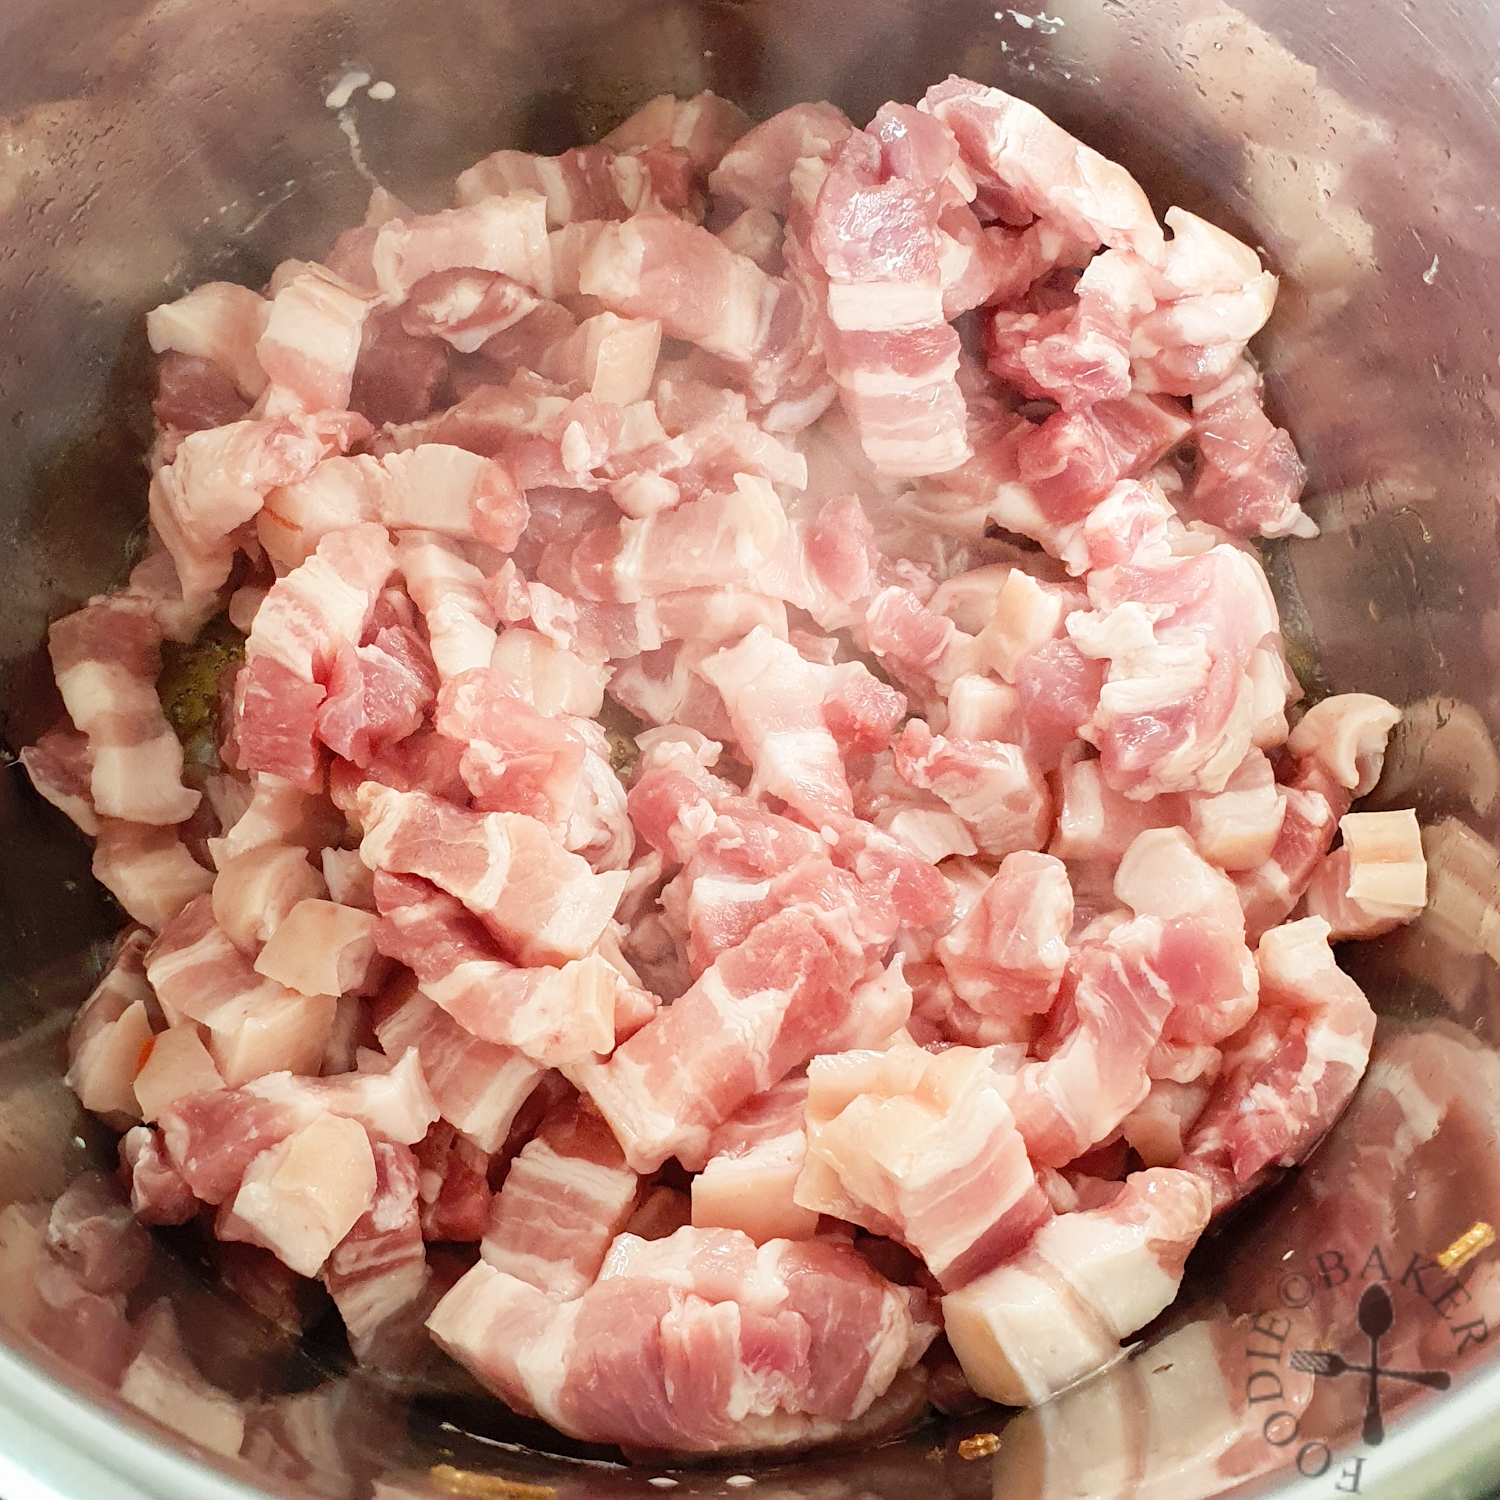 |
| 5) Cook, stirring frequently, until sugar has melted and starts to caramelise. | 6) Add in pork belly and stir to coat. |
 |  |
| 7) Until almost all of the pork belly has turned grey. | 8) Stir in the Aromatics, Seasoning and mushroom soaking water. |
 |  |
| 9) Pressure cook on high pressure for 30 minutes. Once done, carefully quick release the pressure. | 10) Portion whatever that you are not planning to eat today into containers. Then add eggs and tofu and simmer on "Low" for 10 minutes. Scoop over rice and serve with blanched greens. |

Pressure Cooker Lu Rou Fan
EQUIPMENT
- Pressure cooker – I'm using Instant Pot
INGREDIENTS
- 8 pieces dried shiitake mushrooms, fresh shiitake can also be used
- 800 grams pork belly
- 200 grams shallot, see Note 1
- 125 grams carrot, optional
- 125 ml canola oil / vegetable oil
- 2 tablespoons rock sugar
- 4 cloves garlic, peeled and minced
Spice
- 2 inches ginger, peeled and thickly sliced
- 2 star anise
- 1 cinnamon stick
Seasoning
- 80 ml Shaoxing wine, use the best quality you can afford
- 60 ml dark soy sauce, use the best quality you can afford
- 30 ml light soy sauce, 15ml = 1 tablespoon
- 30 ml oyster sauce
- 15 ml sesame oil
- 1 teaspoon five spice powder
Sides & Garnish
- 6 eggs, lesser if you are not planning to serve the entire pot today
- 2 firm tofu (tau kwa)
- Leafy vegetables, blanched until soft
- Fresh coriander leaves and chopped spring onion, as garnish
INSTRUCTIONS
- Soak Shiitake: Rinse the mushrooms. Place them in a bowl and pour boiling water over. Invert a bowl to submerge the mushrooms completely under water. Set aside to soak for 30 minutes or until soft.
Prep the Ingredients
- Rehydrated Shiitake: Squeeze out excess water. Reserve the water for cooking. Remove and discard mushroom stems. Dice the mushrooms into 1-cm cubes.
- Fresh Shiitake: Brush off the dirt (give the mushrooms a quick rinse). Remove and discard mushroom stems. Dice mushrooms into 1.5-cm cubes. Note: They are cut bigger as they will shrink as they cook.
- Pork Belly: It is optional whether you want to remove or keep the skin. Cut the pork belly into 1-cm thick lengths, then cut half into 1-cm pieces and half into 0.5-cm pieces. Note: I like this mix as I like varying textures in my lu rou fan.
- Shallot: Peel and thinly slice the shallots into 2-mm thick slices. Note: I used large red onions and used a mandolin slicer
- Carrot: Peel and dice carrot into 1-cm cubes. Note: Optional but I want to incorporate more vegetables into my diet.
- Spice: Place the spices in a disposable teabag or wrap them up with a small piece of cheesecloth. This will allow easy removal of the spices after cooking.
Make Shallot Oil
- Add oil and shallots into Instant Pot insert. Set a sieve over an empty bowl to catch the fried shallots and shallot oil.200 grams shallot, 125 ml canola oil / vegetable oil
- Set Instant Pot to "Sauté – Normal" mode. Cook, stirring frequently, until shallots start to turn golden in colour. Strain the shallots into the sieve. Shallot oil can be used for other dishes.
- Note: Shallots continue to cook after removing them from oil, hence do not wait until the shallots have turn golden to remove them as they will likely burn.
Cook
- Set Instant Pot to "Sauté – Low" mode. Add 1 tablespoon shallot oil and add in rock sugar. Cook, stirring frequently, until sugar has melted and starts to caramelise.2 tablespoons rock sugar
- Set Instant Pot to "Sauté – High" mode. Add in pork belly and stir to coat. Once almost all of the pork belly has turned grey, stir in the shiitake, carrot and garlic.8 pieces dried shiitake mushrooms, 800 grams pork belly, 125 grams carrot
- Stir in the Spice packet.4 cloves garlic, 2 inches ginger, 2 star anise, 1 cinnamon stick
- Then stir in the Seasoning.80 ml Shaoxing wine, 60 ml dark soy sauce, 30 ml light soy sauce, 30 ml oyster sauce, 15 ml sesame oil, 1 teaspoon five spice powder
- Strain in the reserved mushroom water (or just add hot water). The amount of liquid need not cover the ingredients as the water will not evaporate much in a pressure cooker as compared to cooking this on stove top. The water level only needs to reach about 1 to 1.5cm below the ingredient level.
- Pressure Cook: Set the pressure cooker lid in place. Set Instant Pot to "Pressure Cook" on high pressure for 25 minutes. Once done, carefully quick release the pressure. Discard the Spice packet.
- Note: If cooking ahead of time, set Instant Pot to "Pressure Cook" on high pressure for 20 minutes, then allow natural release of pressure.
Make Hard Boiled Eggs
- Place eggs (cold from the refrigerator) in a pot and fully submerge them in water. Place pot on high heat and allow water to come to a boil. Turn the heat down to a gentle simmer and cook the eggs for 10 minutes.6 eggs
- Immediately transfer the eggs into a bowl of ice water. Peel the eggs.
Portion (if necessary) and Braise the Eggs and Tofu
- Once the pressure in the pressure cooker has been released, taste and adjust seasoning. It should taste a little bit saltier than normal to balance the plain rice.
- At this point – portion whatever that you are not planning to eat today into containers. Chill or freeze the portions.
- Set Instant Pot to "Sauté – Low" mode. Add eggs and firm tofu and simmer for 10 minutes, until the eggs are coloured and tofu is heated through.
- At this point – turn off the heat to allow the eggs and tofu to steep in the sauce until ready to serve – the longer they steep in the braising liquid, the darker the colour.
Ready to Serve
- When ready to serve, set Instant Pot to "Sauté – High" mode to bring everything to a simmer. Scoop out the egg and tofu – halve the egg and slice the tofu as needed. Scoop the braised pork mixture over steamed white rice and serve with egg, tofu, blanched leafy vegetables. Garnish with coriander and spring onions and dig in.Leafy vegetables, Fresh coriander leaves and chopped spring onion
NOTES
- Instead of making fried shallots from scratch, you can substitute with store-bought fried shallots instead. Use 1/2 the amount of dried shallots. (e.g. 200 grams fresh shallots = 100 grams fried shallot)
- It is not recommended to freeze the braised eggs and tofu as their texture will change when thawed. a) Braise the eggs and tofu on the day that you are serving them; b) omit the eggs and tofu; or c) serve with sunny-side egg and pan-fried tofu instead .
What are you thinking?